On the fifth day of Christmas I was decking the halls with a felt banner. Santa, snowmen, reindeer are mixed with snowflakes and candy swirls to create this holiday banner. The banner is made from felt and ribbon.
It’s no secret that I love a good craft project. I dream up crafting projects, I copy things I see on Pinterest and I make crafts from kits. There are many great crafts that come from kits, they are cut and ready for assembly. Crafts from kits are particularly great to do with kids. Typically everything that you need comes in the right size and quantity and all you need to do is put it together. If you are short on time or crafting skills it’s still possible to impress your friends with a little homemade project. In my mind making crafts from kits is like baking cakes from box mixes (which is the only way I bake). I won’t tell if you won’t, it will be our little secret.
This is the perfect time to buy holiday crafting kits because they are most likely on sale, just in case you are inspired.
On the fourth day of Christmas four little monkeys came to play. I made a batch of these last year to give as gifts, and these little guys stayed to live with us. There are four of us and four monkeys so they kids play family with them. Because I made them all a little different they fight over who has stripes and who has dots.
Halloween is one of my favourite days of the year. With little ones it’s easy to get caught up in all of the excitement. Here are a couple of projects that we made for the holiday.
Mummy Cupcakes
We went to a Halloween party and brought these mummy cupcakes as dessert. They are chocolate cupcakes with white icing, and red M&M’s for eyes.
Pumpkin Rice Crispies
These treats went to one of my boys classes for a Halloween party. I found the instructions here. I took some liberties with the recipe and added pretzels for stems and green frosting leaves.
Halloween Wreath
I copied my own idea from last years Christmas wreath and made a similar wreath for Halloween with orange and black washi tape.
As a pretty passionate maker you might think that I would be making the kids halloween costumes but I don’t. The reason why is that it’s just too expensive. I do however make my own costume every year. This year I was little red riding hood. I didn’t make it into any of the photos this year 😦
I haven’t posted any craft related projects in a very long time but I am always working on something. Here are a couple of pictures for my most current project. I am knitting a chunky king size blanket. It’s the perfect season to make blankets. This one is almost done, I just need to knit enough to cover up my toes. When I am finished the pattern and finished pictures will be posted!
I have been writing about some heavy topics lately and I thought that I would lighten it up a bit with felt dryer balls. I have been using a bounce dryer bar but they have become difficult to find, and after checking a number of stores I gave up and made some dryer balls. I was a little skeptical that they would work but after a couple of weeks of using them I am converted. When I made the switch from dryer sheets to the dryer bar I no longer needed to remember to put in a dryer sheet with every load, nor did I need to fish out a dryer sheet at the end of the load. There are a few added benefits of felt dryer balls the first being that there is no garbage and the second is that there isn’t any chemicals. They are also so easy to make, I made these three one night while I was watching TV.
Instructions
Step 1 – using 100% wool wrap into a ball (mine are about the size of an orange). I used yarn for the entire ball but you could also use an old wool sweater.
Step 2 – once the balls are wrapped put them into an old nylon/pantyhose and knot after every ball as pictured. Wash in the washing machine in the hottest water possible. They can be washed with a load of laundry or alone. I sent mine through two loads. After they are felted cut them out of the nylons and dry them in the dryer.
These are the finished dryer balls. I leave them in the dryer most of the time occasionally the kids steal them and play which is something that they couldn’t do with dryer sheets. I am going to experiment with adding oils into the balls to make the laundry smell nice.
I can’t believe the school year is over, maybe it’s because we got a late start due to a strike, or maybe it’s because this was my oldest’s first year of school. Either way it’s over and summer is officially here. Along with the graduation cupcakes, and the vacationing bear cupcakes I also made some teacher’s gifts. Last year I made watermelon tea towels with some lovely ladies, but this year it was a last minute race to get the presents done on time.
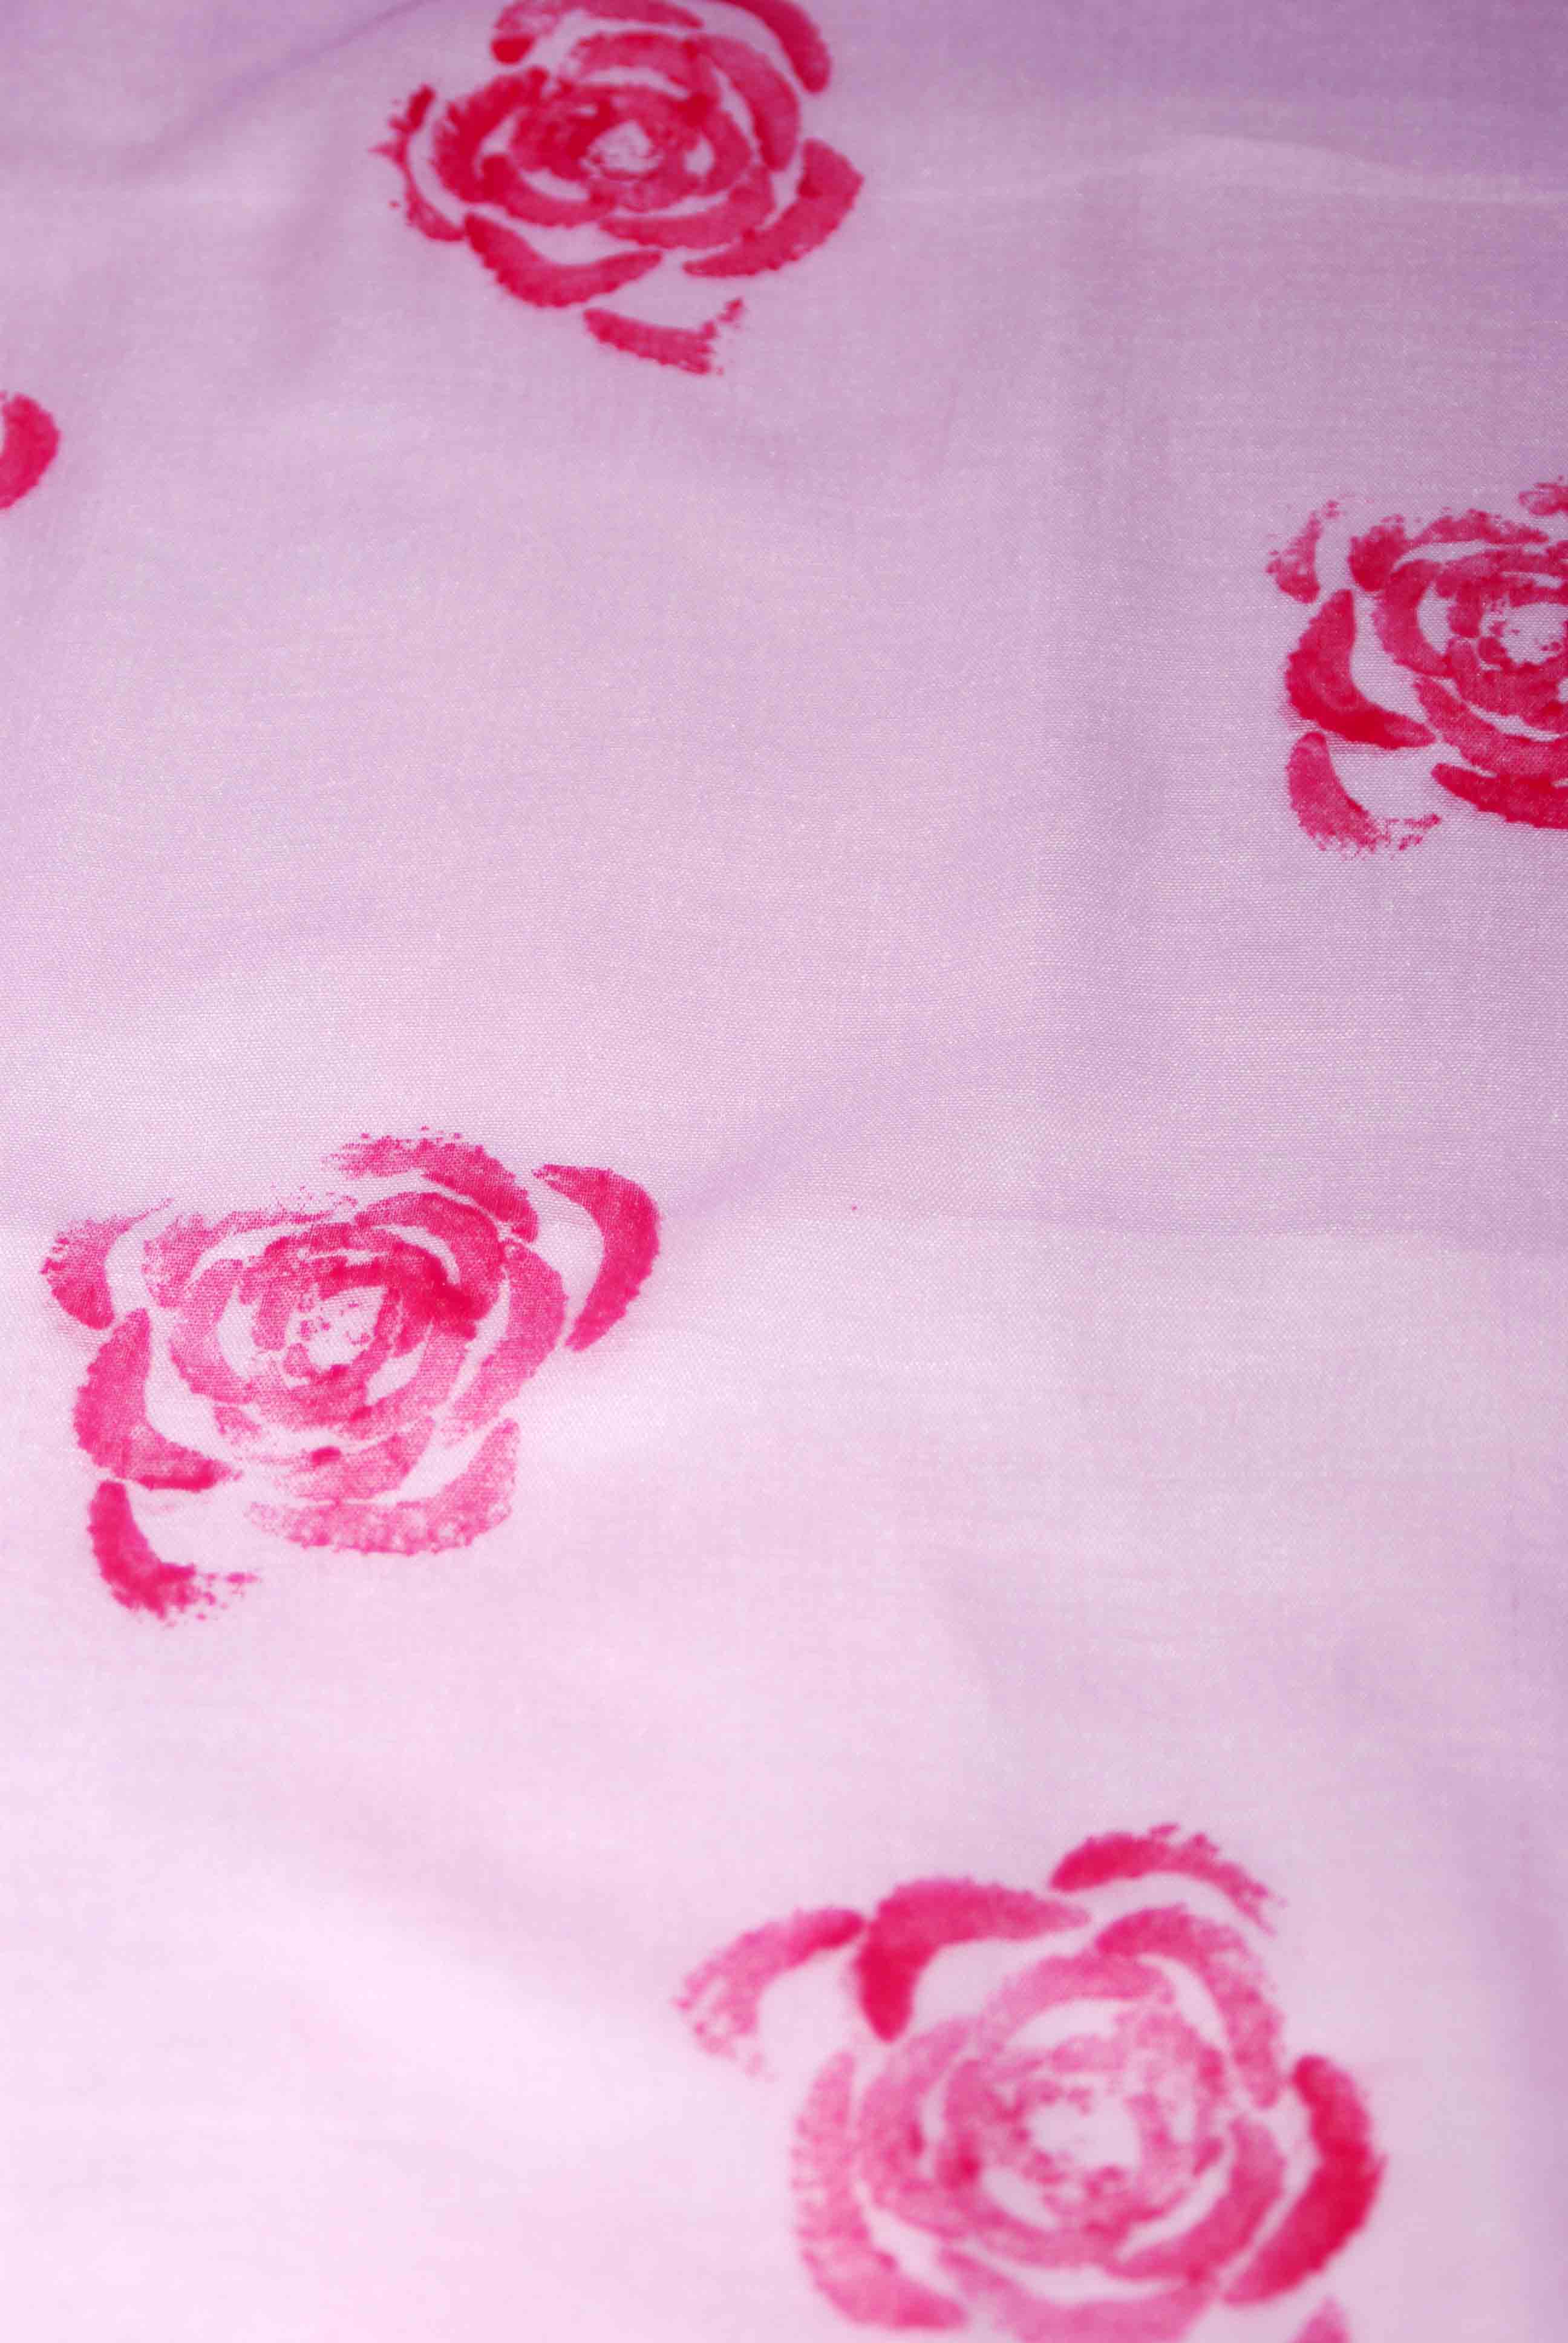
The cost of this gift is in no way related to the thanks I have for S’s amazing teachers this year. I am hoping that the thought and effort outweighs the $1.25 that I spent. Honestly if I didn’t tell you that I spent $1.25 you would never know. Being that I have a overflowing closet of crafting supplies I didn’t need to buy paint, but even if I had needed to the total cost of this project would still be less than $5.00. If you happen to have a pile of kids, celery, and a dollar store near by this might be right up your alley.
Supplies
scarf – $1.25 at the dollar store
Craft paint – $1.00 per colour (dollar store or craft store)
textile medium – $2.50 at a craft store
paint brush
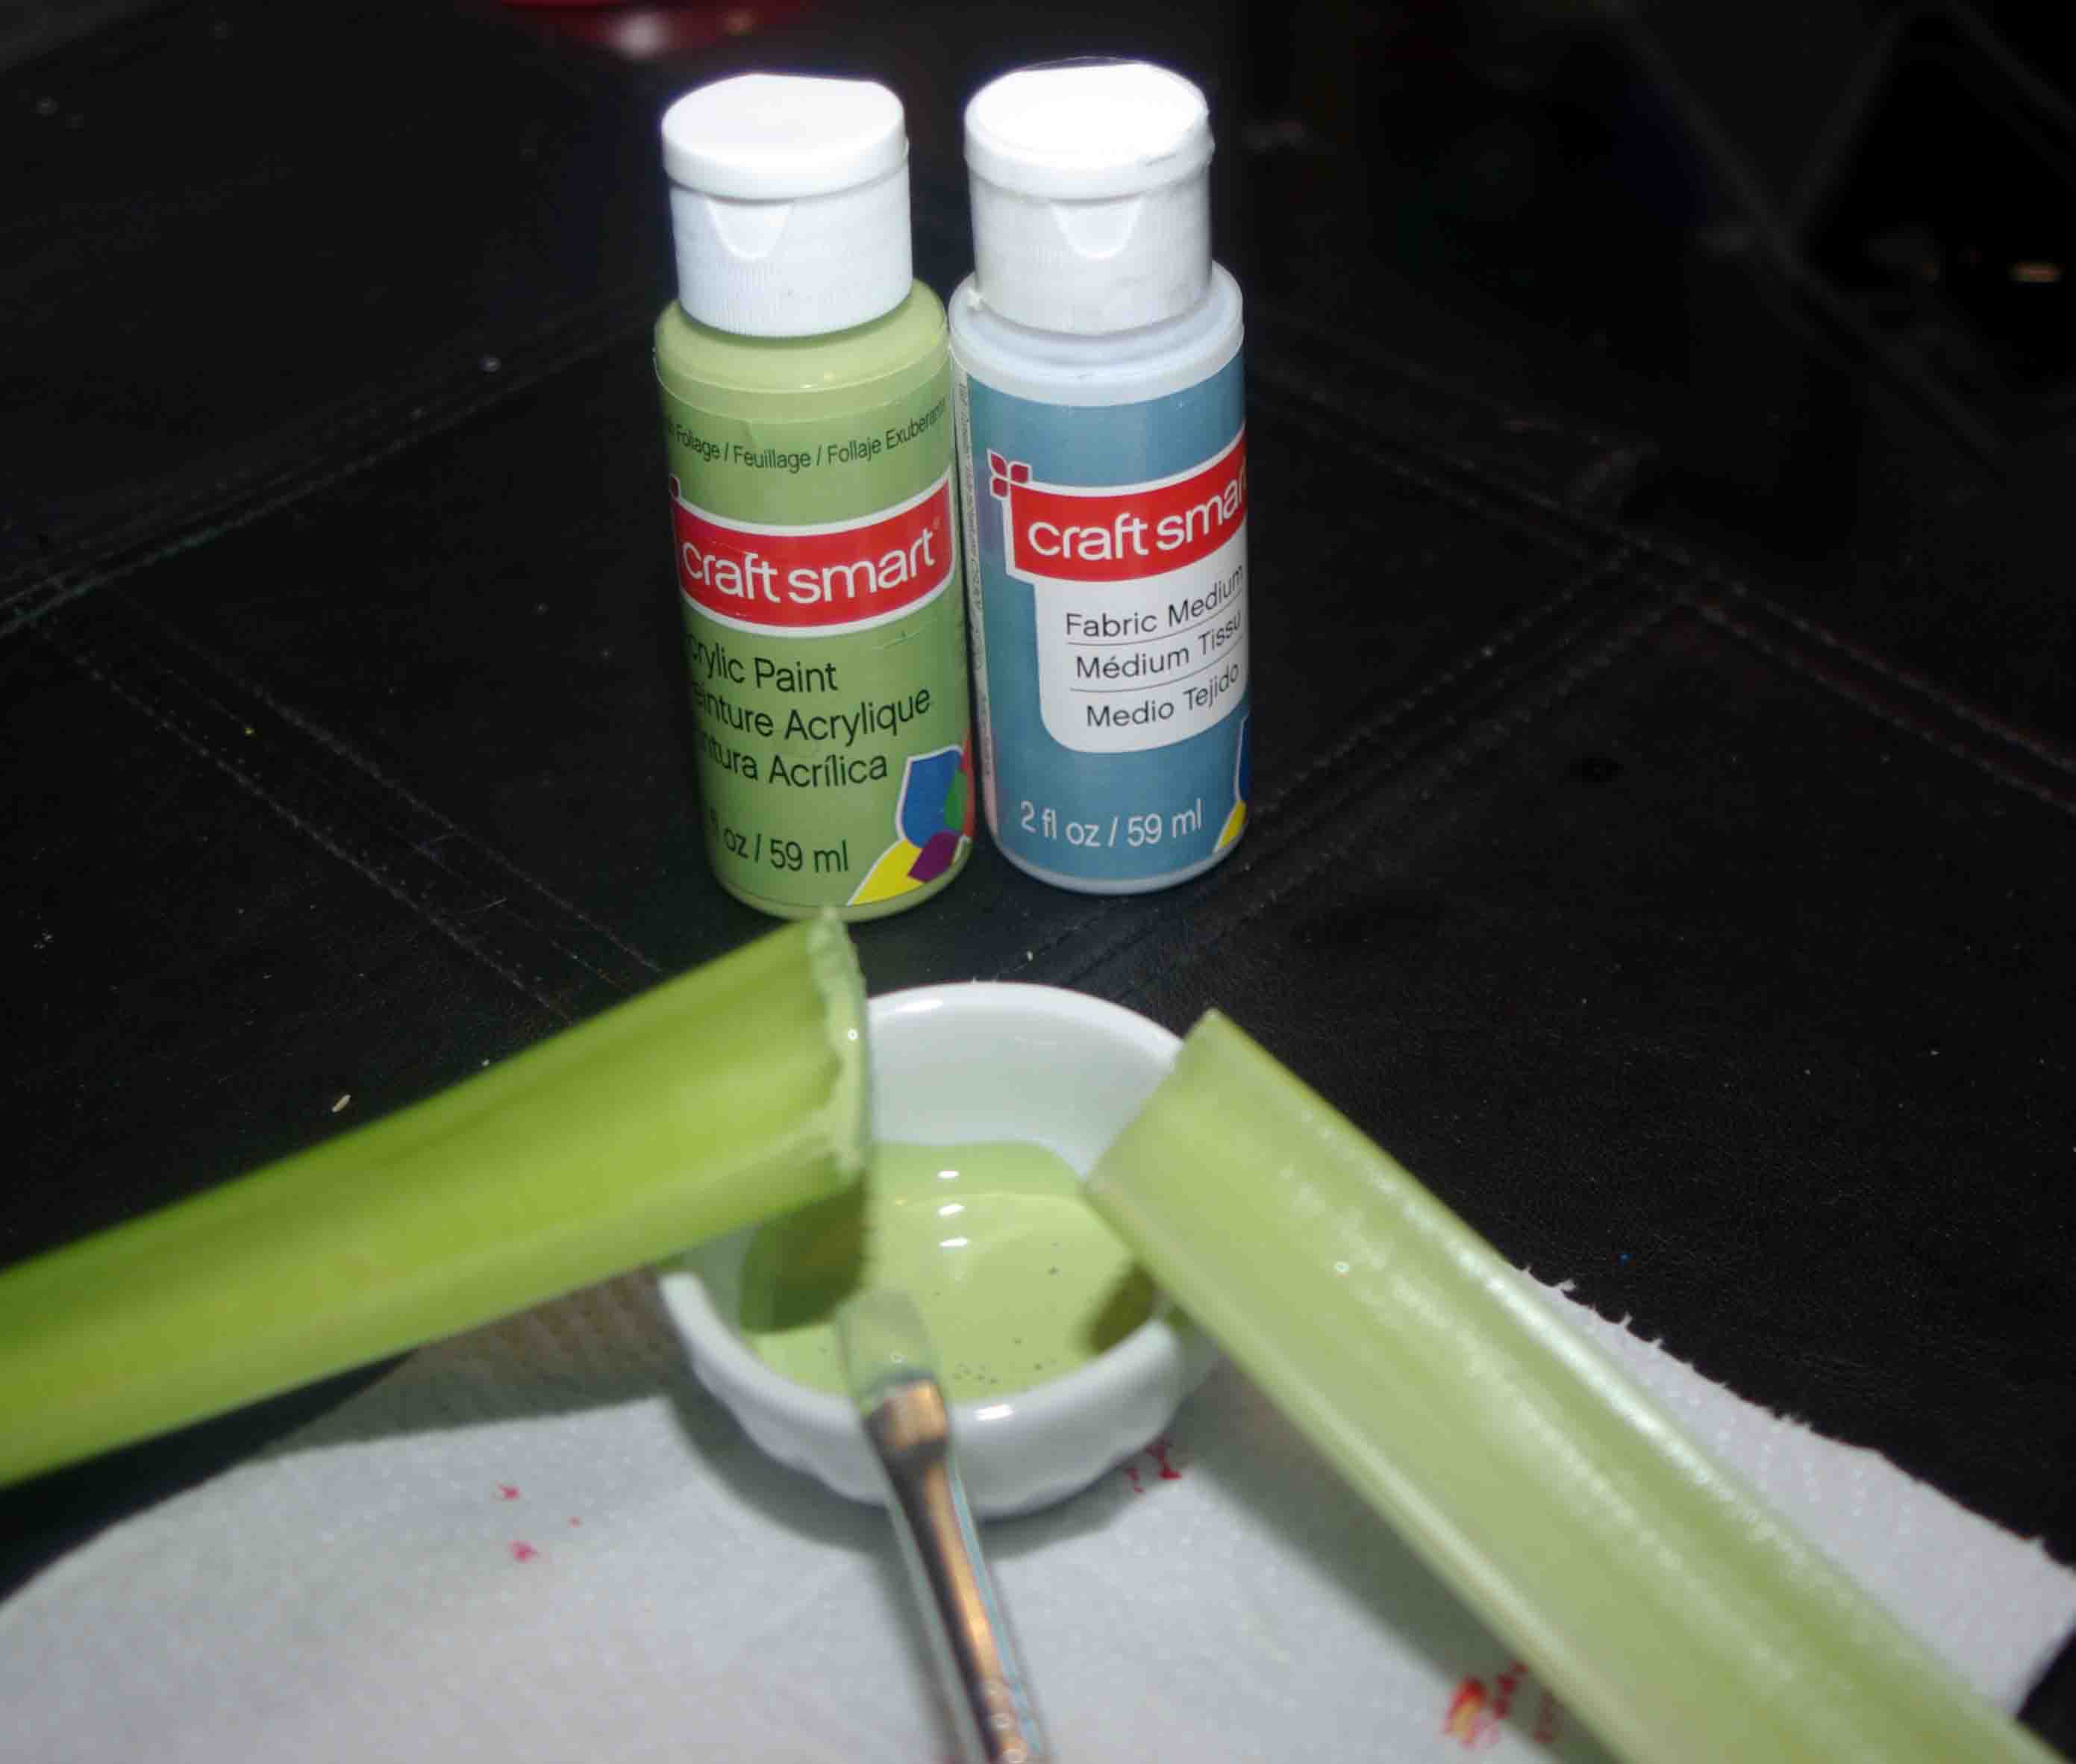
Celery – if you eat celery then you probably already have what you need
paper towels
Instructions
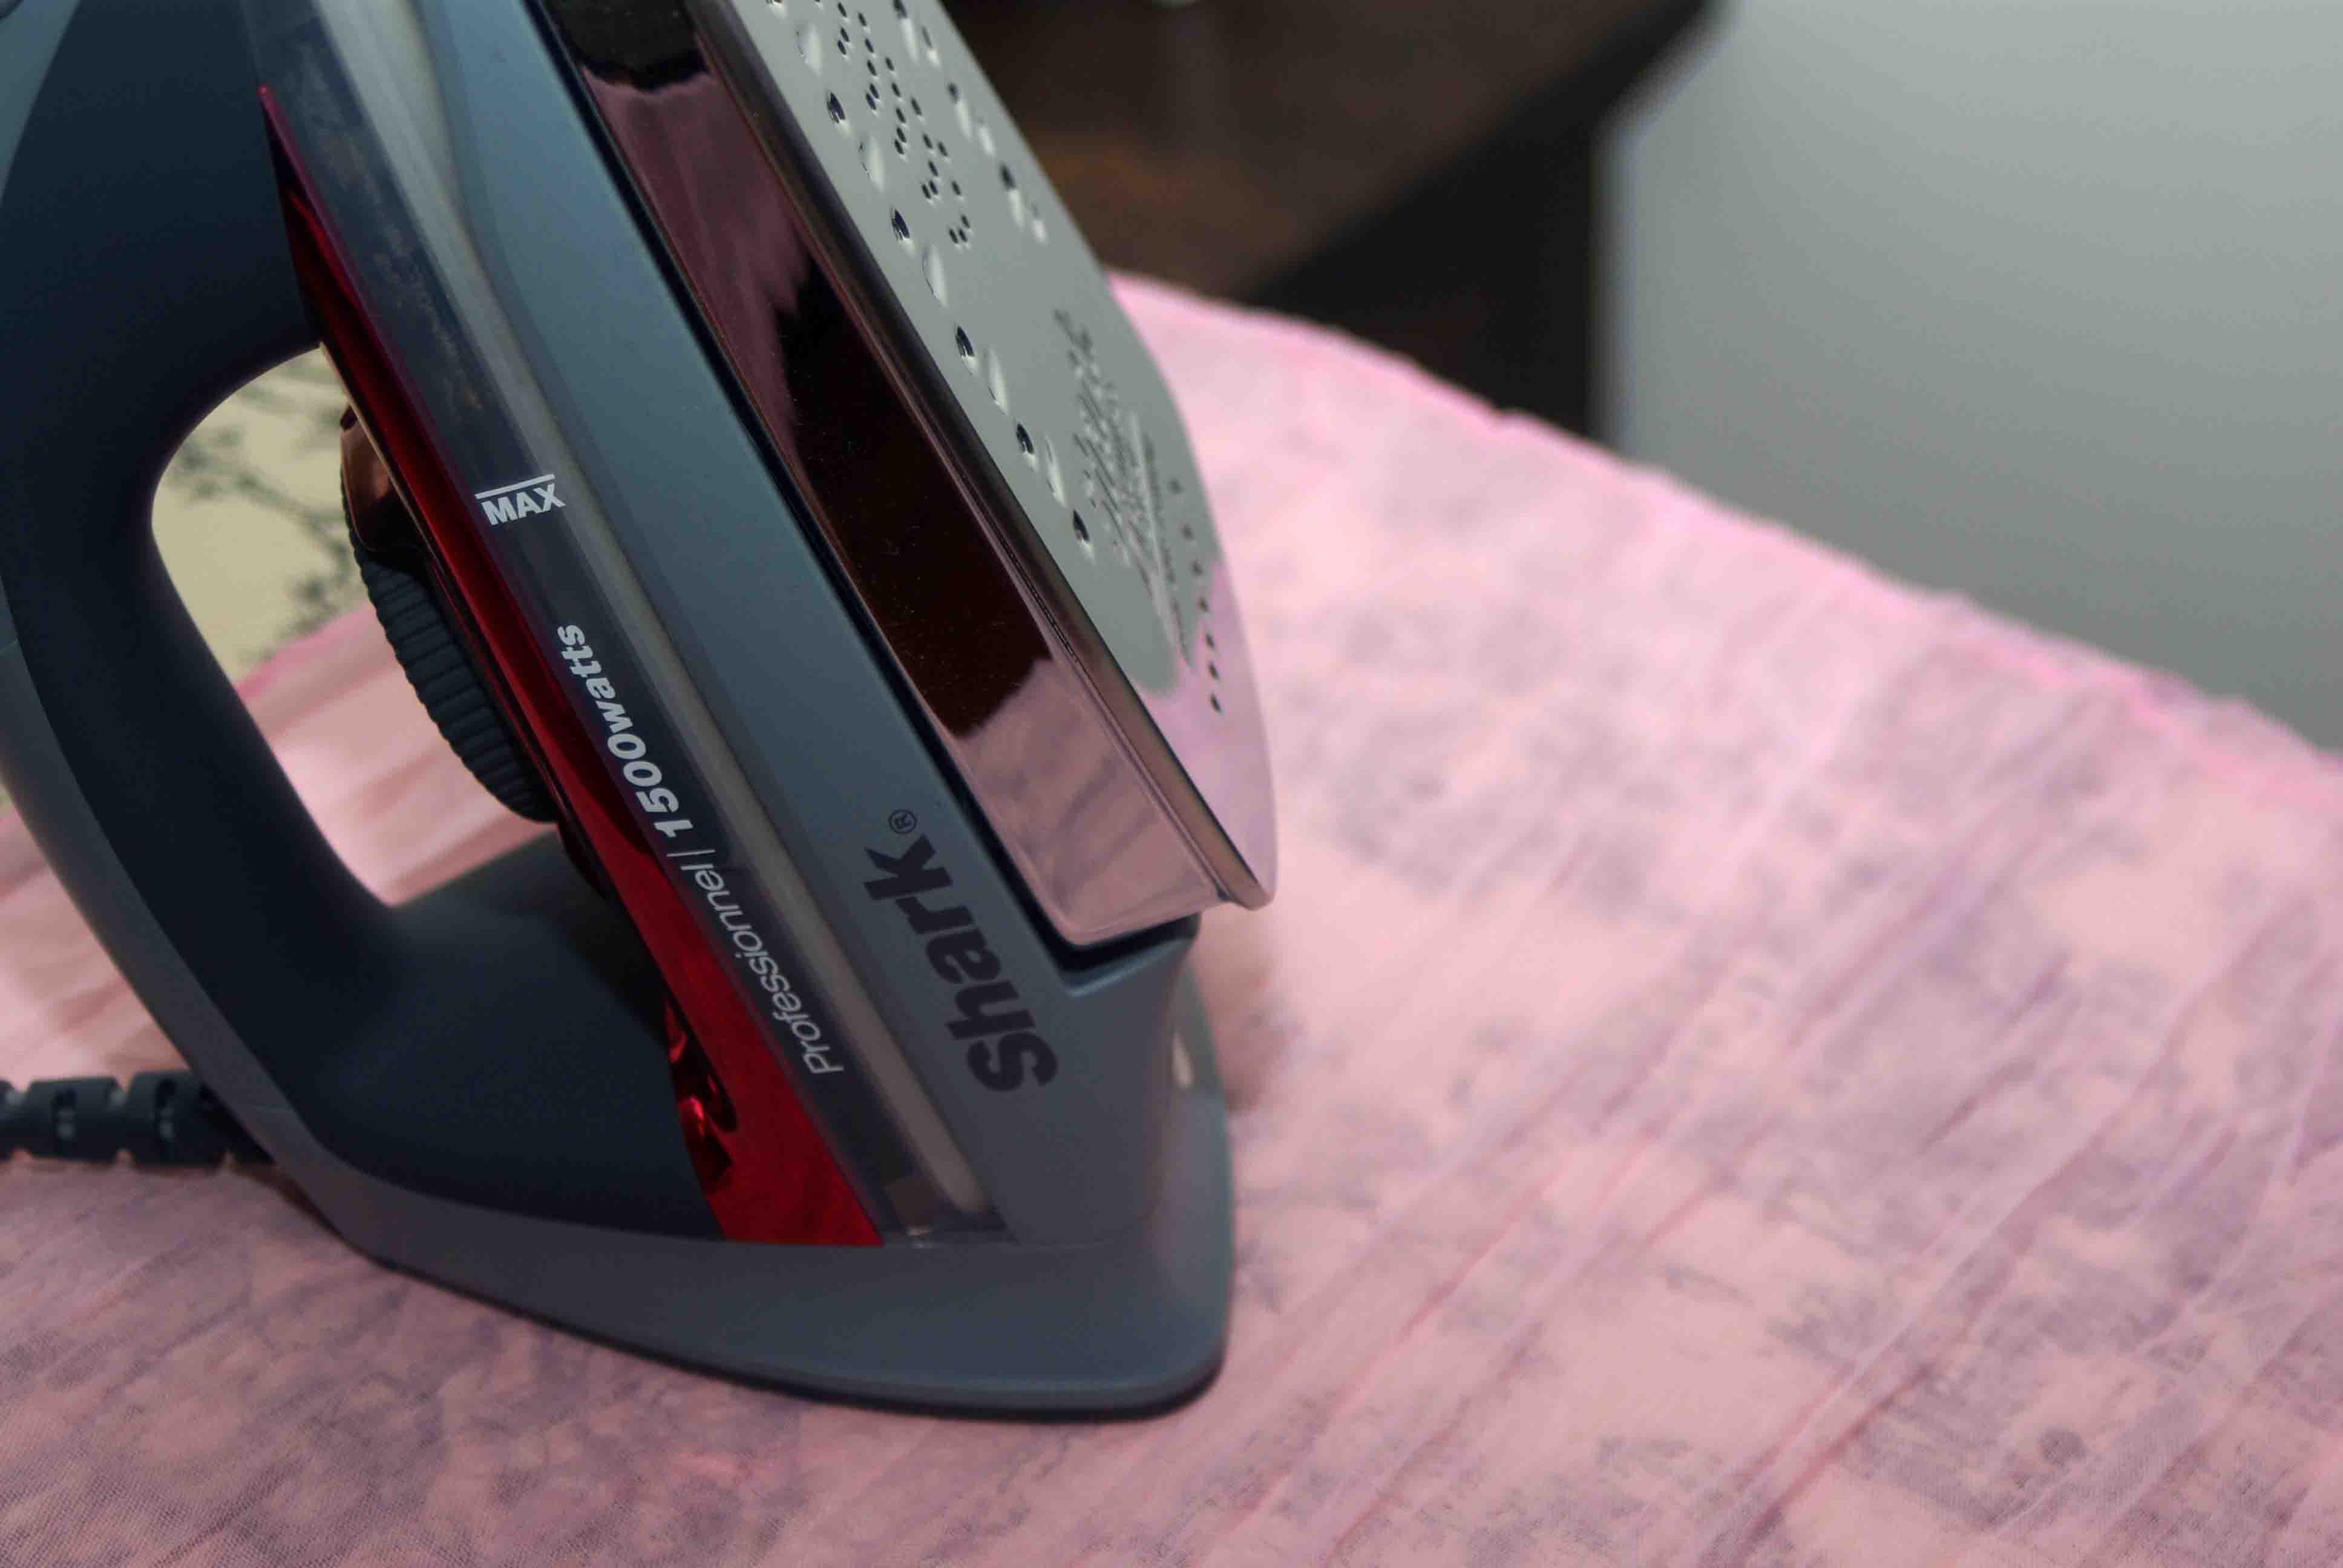
1. wash and iron the scarves
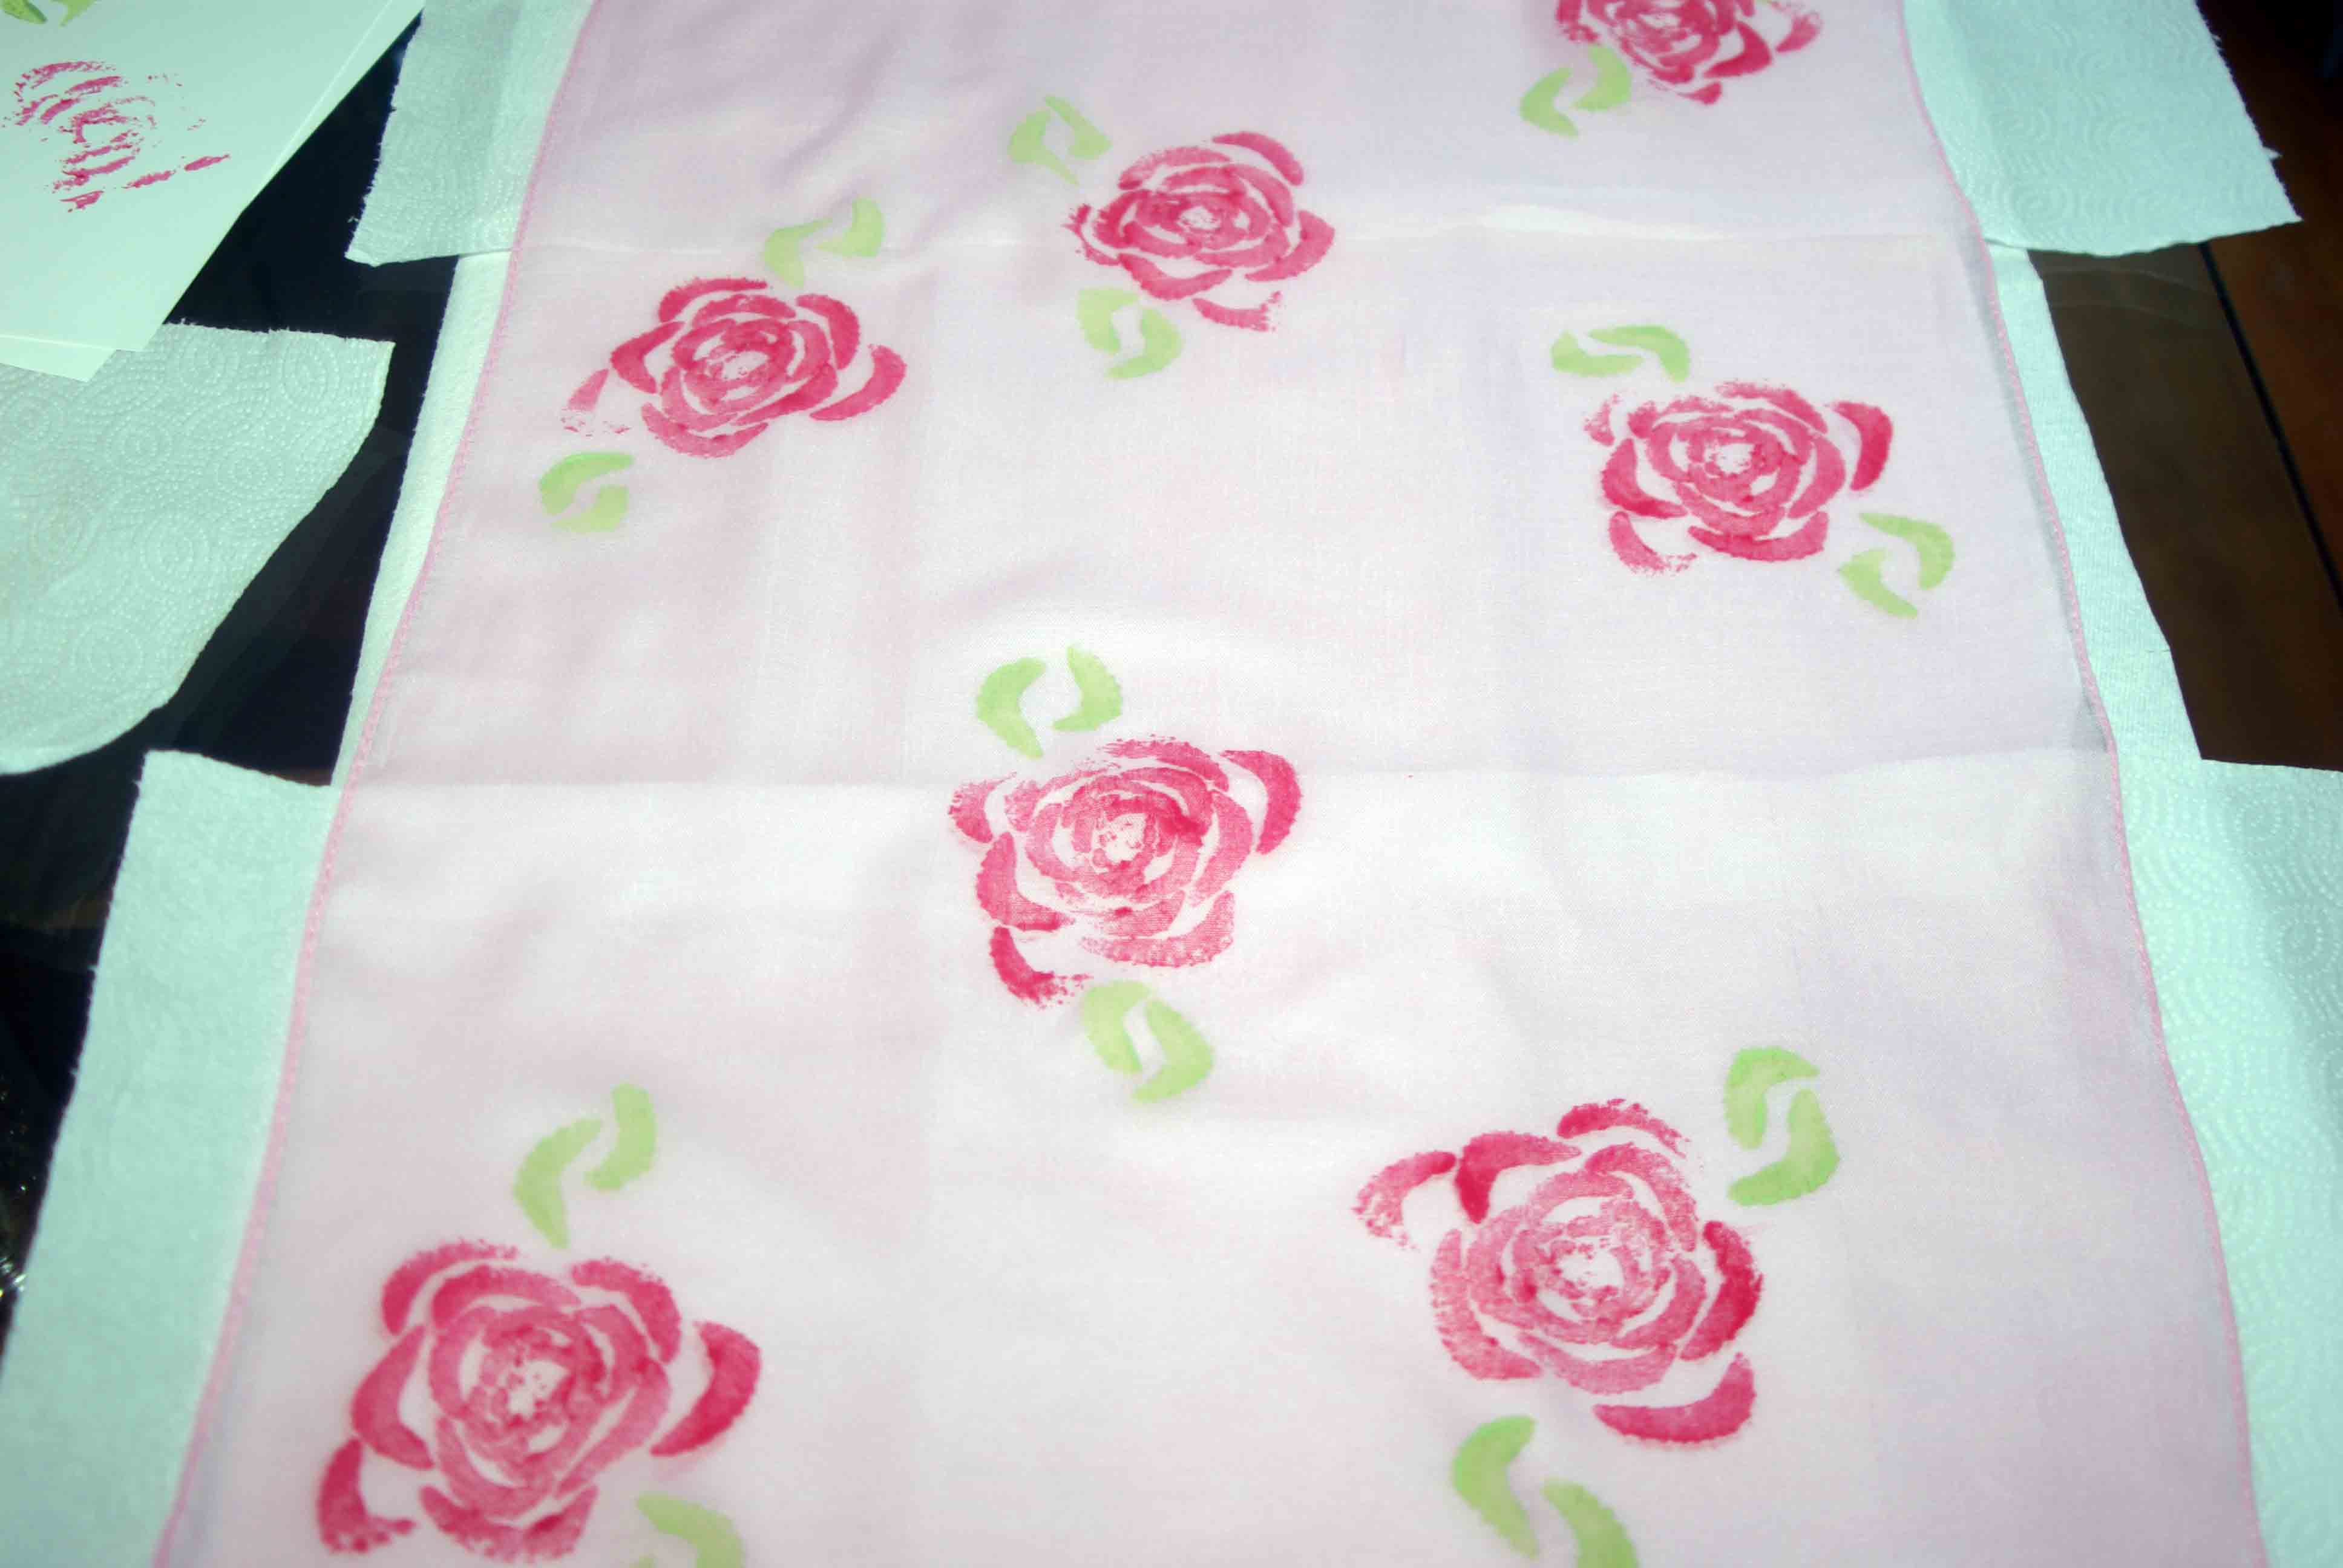
2. Lay the scarf out on a flat surface, and place paper towels under it so that you don’t ruin the table or get the scarf stuck to it
3. Chop the end off of a bunch of celery, and cut one stalk in half for the leaves
4. Mix the paint and textile medium as per the bottle instructions
5. Paint the end of the celery bunch and stamp it onto the scarf
6. Repeat step 5 until you have a desired pattern
7. Paint the end of the celery stalks to make the green leaves, and stamp onto the scarf
8. Repeat step 7 until all of the roses have leaves
10. Once the scarf it dry iron it to set the colours
Being that the project cost me so little I made one for me too. I don’t usually take selfies, so I could use a little practice. But you can see how the scarf looks when finished, and I really don’t think you could guess that it cost me $1.25 to make.
One of the moms in my son’s class had the brilliant idea of hosting a party for 40 kids graduating from Kindergarten. It was an opportunity for all of the families to meet and a chance for all of the kids to get together on the weekend outside of the school environment. There were a group of moms that got together to plan the event. We rented a “block party” trailer from the city which included chairs, tents, tables and games. With 40 kindergarten children plus their parents, and siblings we ended up with just over 100 people in attendance. With a group that large we opted to book a local park with a playground. We ordered party platters of fruit, veggies, cheese and meat to compliment the chips, popsicles and cupcakes. There was also two surprise guests from the movie Frozen who made a special appearance.
The weather was fantastic. The turnout was amazing. And my kids were exhausted and that is the sign of a good party. I volunteered to bake the cupcakes, all 100 of them. It was a bit of an undertaking but it was a challenge that I eagerly accepted. If you happen to be planning a graduation party these cupcakes were a hit.
Ingredients:
boxed cake mix
eggs
vegetable oil
canned frosting
fruit rollups
mini peanut butter cups
chocolate covered cookies
m&m’s
Instructions:
1. Bakes the cupcakes as per the box instructions and let cool
2. Place chocolate covered cookies upside down on a tray (so that you can put them in the freezer)
3. Put a dab of frosting in the middle of each one
4. Place the small end of the mini peanut butter cup in the frosting/cookie
5. Place the try in the freezer to set for 15-20 minutes
6. Cut the fruit rollup into 1/4″ x 1 1/2″-2″ strips
7. Remove from freezer once stuck together and flip all of the cookies over so that they are standing on the peanut butter cup
8. Put a dab of frosting in the middle of each cookie to adhere the tassel and M&M
9. Place the fruit rollup “tassel” and them the M&M in the frosting and place the tray back into the freezer to set
10. Ice the cupcakes
11. Place the graduation cap (mortarboards) in the center of the cupcakes
12. Refrigerate or freeze (because we were having an outdoor party I froze the cupcakes so that the chocolate hats would melt slower. We had them out for an hour and only had a couple break before eaten)
Whenever I get out crafting supplies one of my kids asks what I am making. When I told my oldest that I was making crowns to give as birthday presents for a couple of upcoming parties, he requested one. I had a crown pattern drawn with stars on it and when I showed him he requested more points and to change the stars to diamonds. So this project was designed by my oldest and sewn by me. He is my biggest critic, greatest source of inspiration and the king of the castle. At least one of the kings of the castle, my youngest is challenging him at every step. No one around here wants to be the dirty rascal.
My youngest is yelling to the neighbourhood “I’m the king of the castle you are the dirty rascal”. He is also sporting his superhero cape and his love shirt.
If you are interested in making a crown here is a pattern. If you are interested in buying one here is a link to my Etsy store.
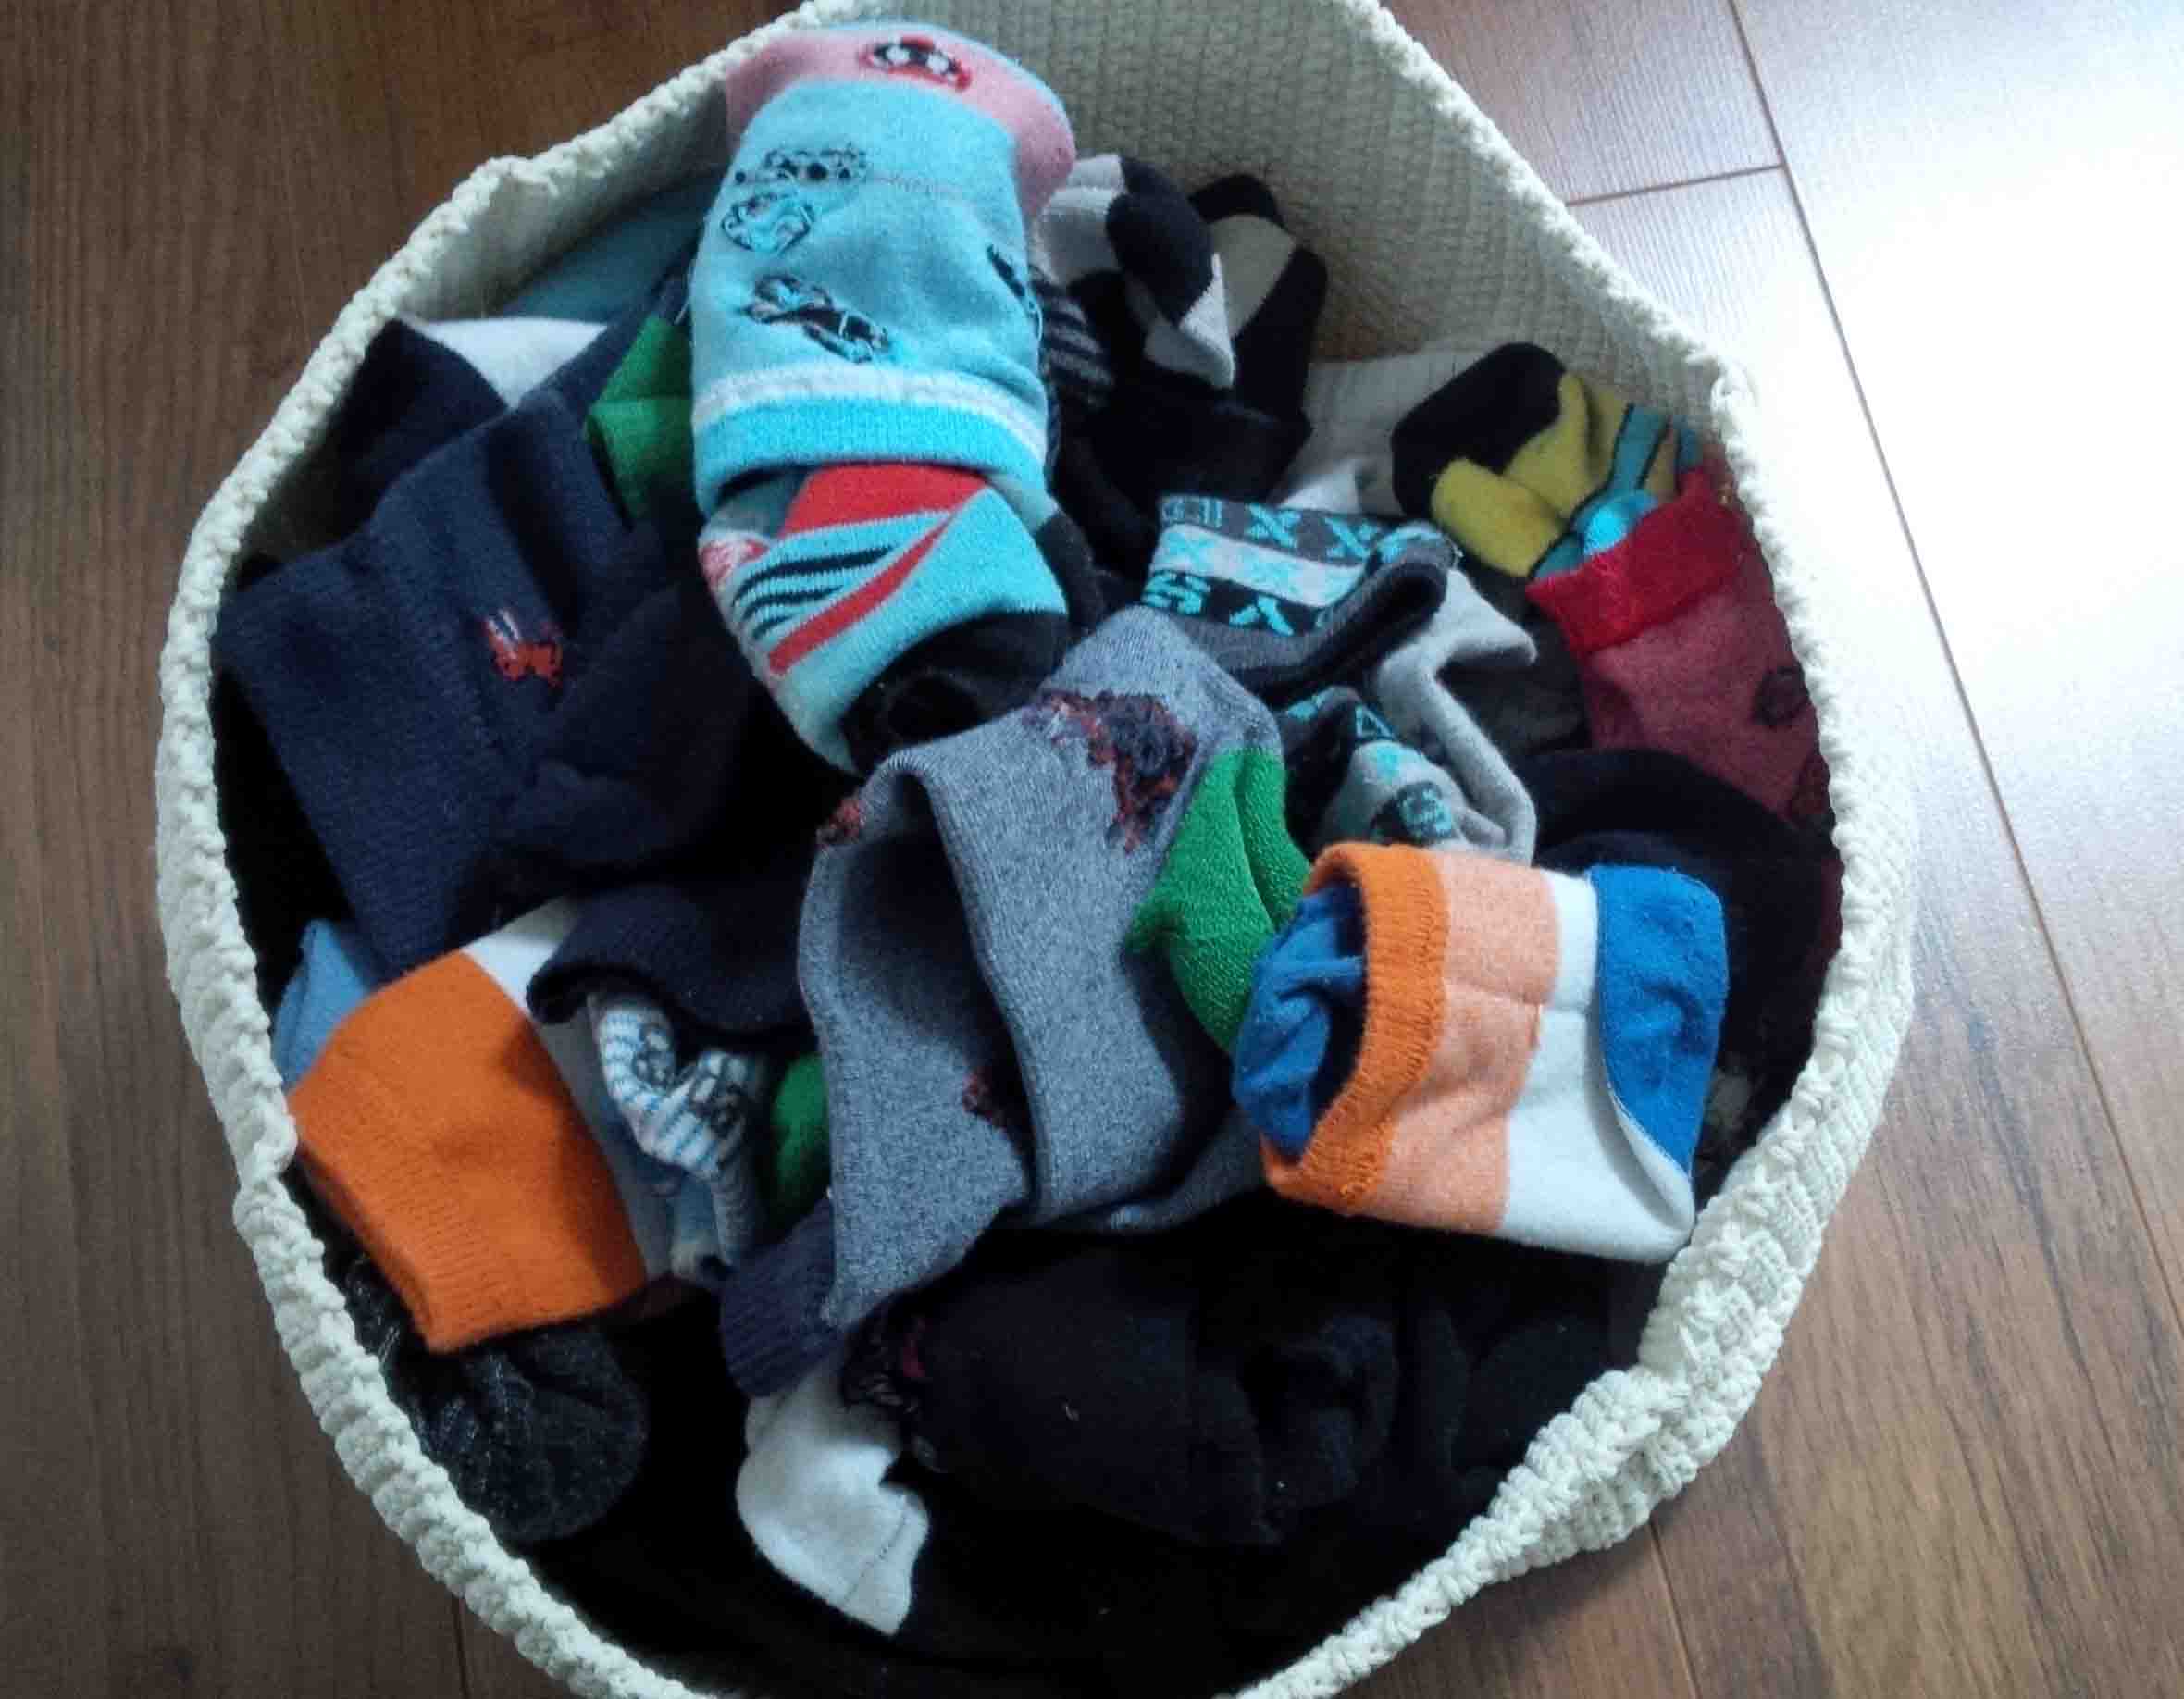
There are two people in my house that love to wear socks, and there are two of us that don’t. My husband and oldest son are the sock wearers. They seem to go through socks so quickly. I am not a fan of socks, and only put them on with sneakers, or in the winter. The rest of time I am barefoot, as is my youngest. I rarely wear out a pair of socks, usually the elastic goes before I wear holes in them. This is not the case for our resident sock wearers, they are constantly wearing through socks. I have been saving them because it seems such a waste to throw them out.
I am also an avid recycler. Pants, shirts, doors, milk jugs, new socks and now even the holey old socks in our house gotten a new lease on life. Meet our newest house guest, “Sunday” the sock snake. He is constructed of mainly of my husband, and eldest son’s holey socks. He is named Sunday because one of the pairs of socks said Sunday on the bottom, so I though that it was fitting. He is also the only snake that I know that has a mustache, or many mustaches.
If you are interested in giving your old socks a new lease on life, check out this tutorial from Grosgrain. I made a couple of alterations to the tutorial with the main one being using quilting batting instead of stuffing. I learned when making sock monkeys that it’s really hard to get the socks stuffed with out having big lumps, so for the snake I used batting. Here are some pictures of my battle with the batting. It was a full body workout to get Sunday stuffed. Now I will need to make a second one because I still have a pile of holey socks.
I saw an idea for a pom pom rug on Pinterest and I thought that it looked interesting. But it also looked like a bit of work to make all of the pom poms and then attach them all to a backing. So I decided to do a trial run in the form of a pillow to test the process. It is a lot of work, and I will not be making a rug. Especially since the morning after I finished sewing all of the pom pom’s onto the pillow Logan (my 2 year old) came to me with piles of yarn in his hands that used to be pom pom snowballs). He had sat quietly and pulled apart about 10 white pom poms, now I can’t really blame him, he’s 2 and I am sure it was fun. It was days before Easter when the snowball massacre occurred, and the yarn became the “Easter grass” for the kids new Easter baskets. But this pillow was far too much work to be destroyed by his little hands in a matter of minutes. So until he is over his destruction phase (hopefully before his 18th birthday) this pillow will stay on the top shelf 😦


 d cake mix