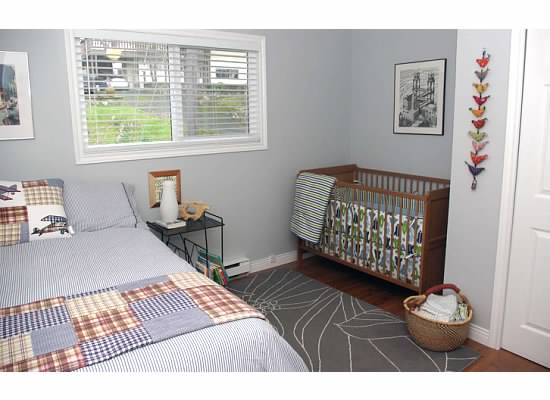
I know that it’s nowhere near Christmas I’m just getting caught up on a few items on my to do list. This is a project that we (my husband and I) have been working on for a long time. Starting with the day that I first saw our current house 4 years ago. When I first saw what would be Logan’s room before Logan was even an idea I knew that the space would be perfect for a built-in bunk bed. But first we needed to get the house, get pregnant, and have the baby. When Logan was born we put the crib in the “nook” and I patiently waited until he was old enough to make the transition into a big bed which happened this fall. I wanted to build this about as much as a five-year old boy would want it. In September we went to Great Wolf Lodge and the boys spent their first night in a bunk bed.
That sparked Sasha to ask for a bunk bed for Christmas. After explaining that Santa doesn’t have room in his sleigh for a bunk bed, Stanko and I decided that it was time to build one in the “nook” in Logan’s room. We finished building it right before Christmas and Sasha promptly moved into Logan’s room. It took me the last 4 months to get it painted, hang the pictures, hem the drapes, and make more pillows.
I love that we have enough space so that the kids can be sleep together, apart, in the same room or in different rooms. If one of them is sick we can separate them into their own rooms, yet most of the time they opt to sleep together in Logan’s double bed. Sasha’s room goes unoccupied almost all of the time so it’s fair game for visitors.
My kids are my inspiration for most of my projects. The following items can be found in Logan’s room.
- Pom pom pillows
- Star Pillows
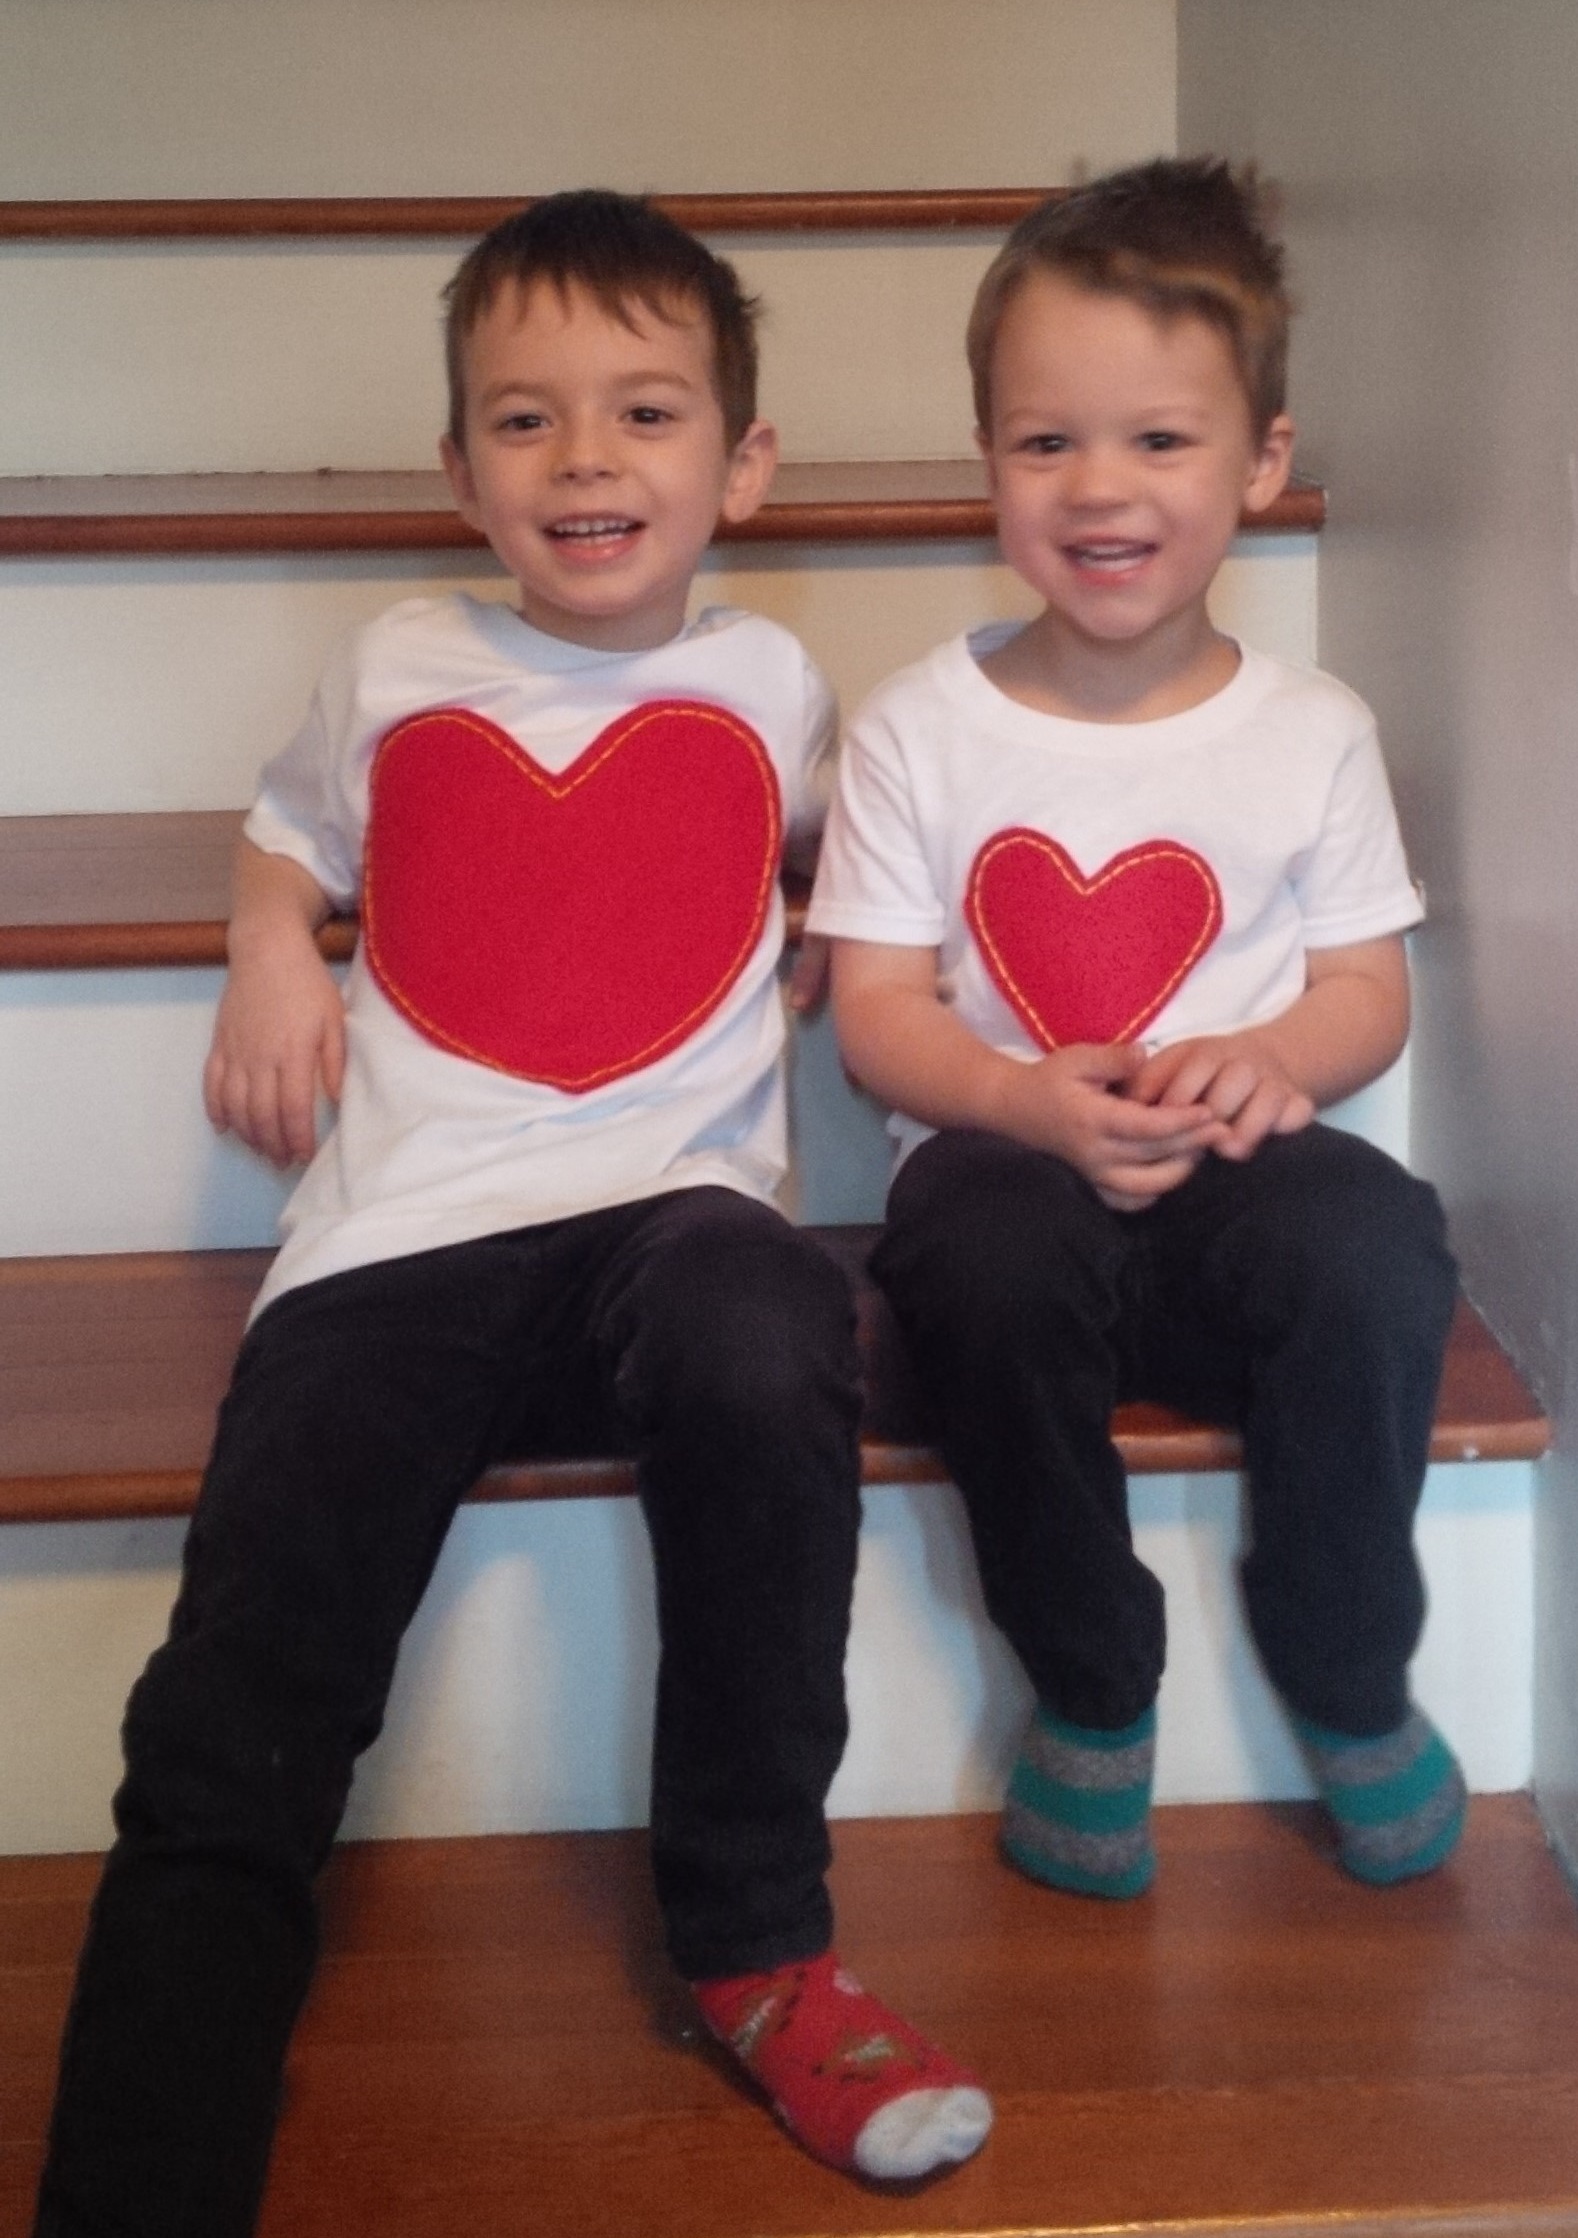
- Shirt Pillows
- Bunting
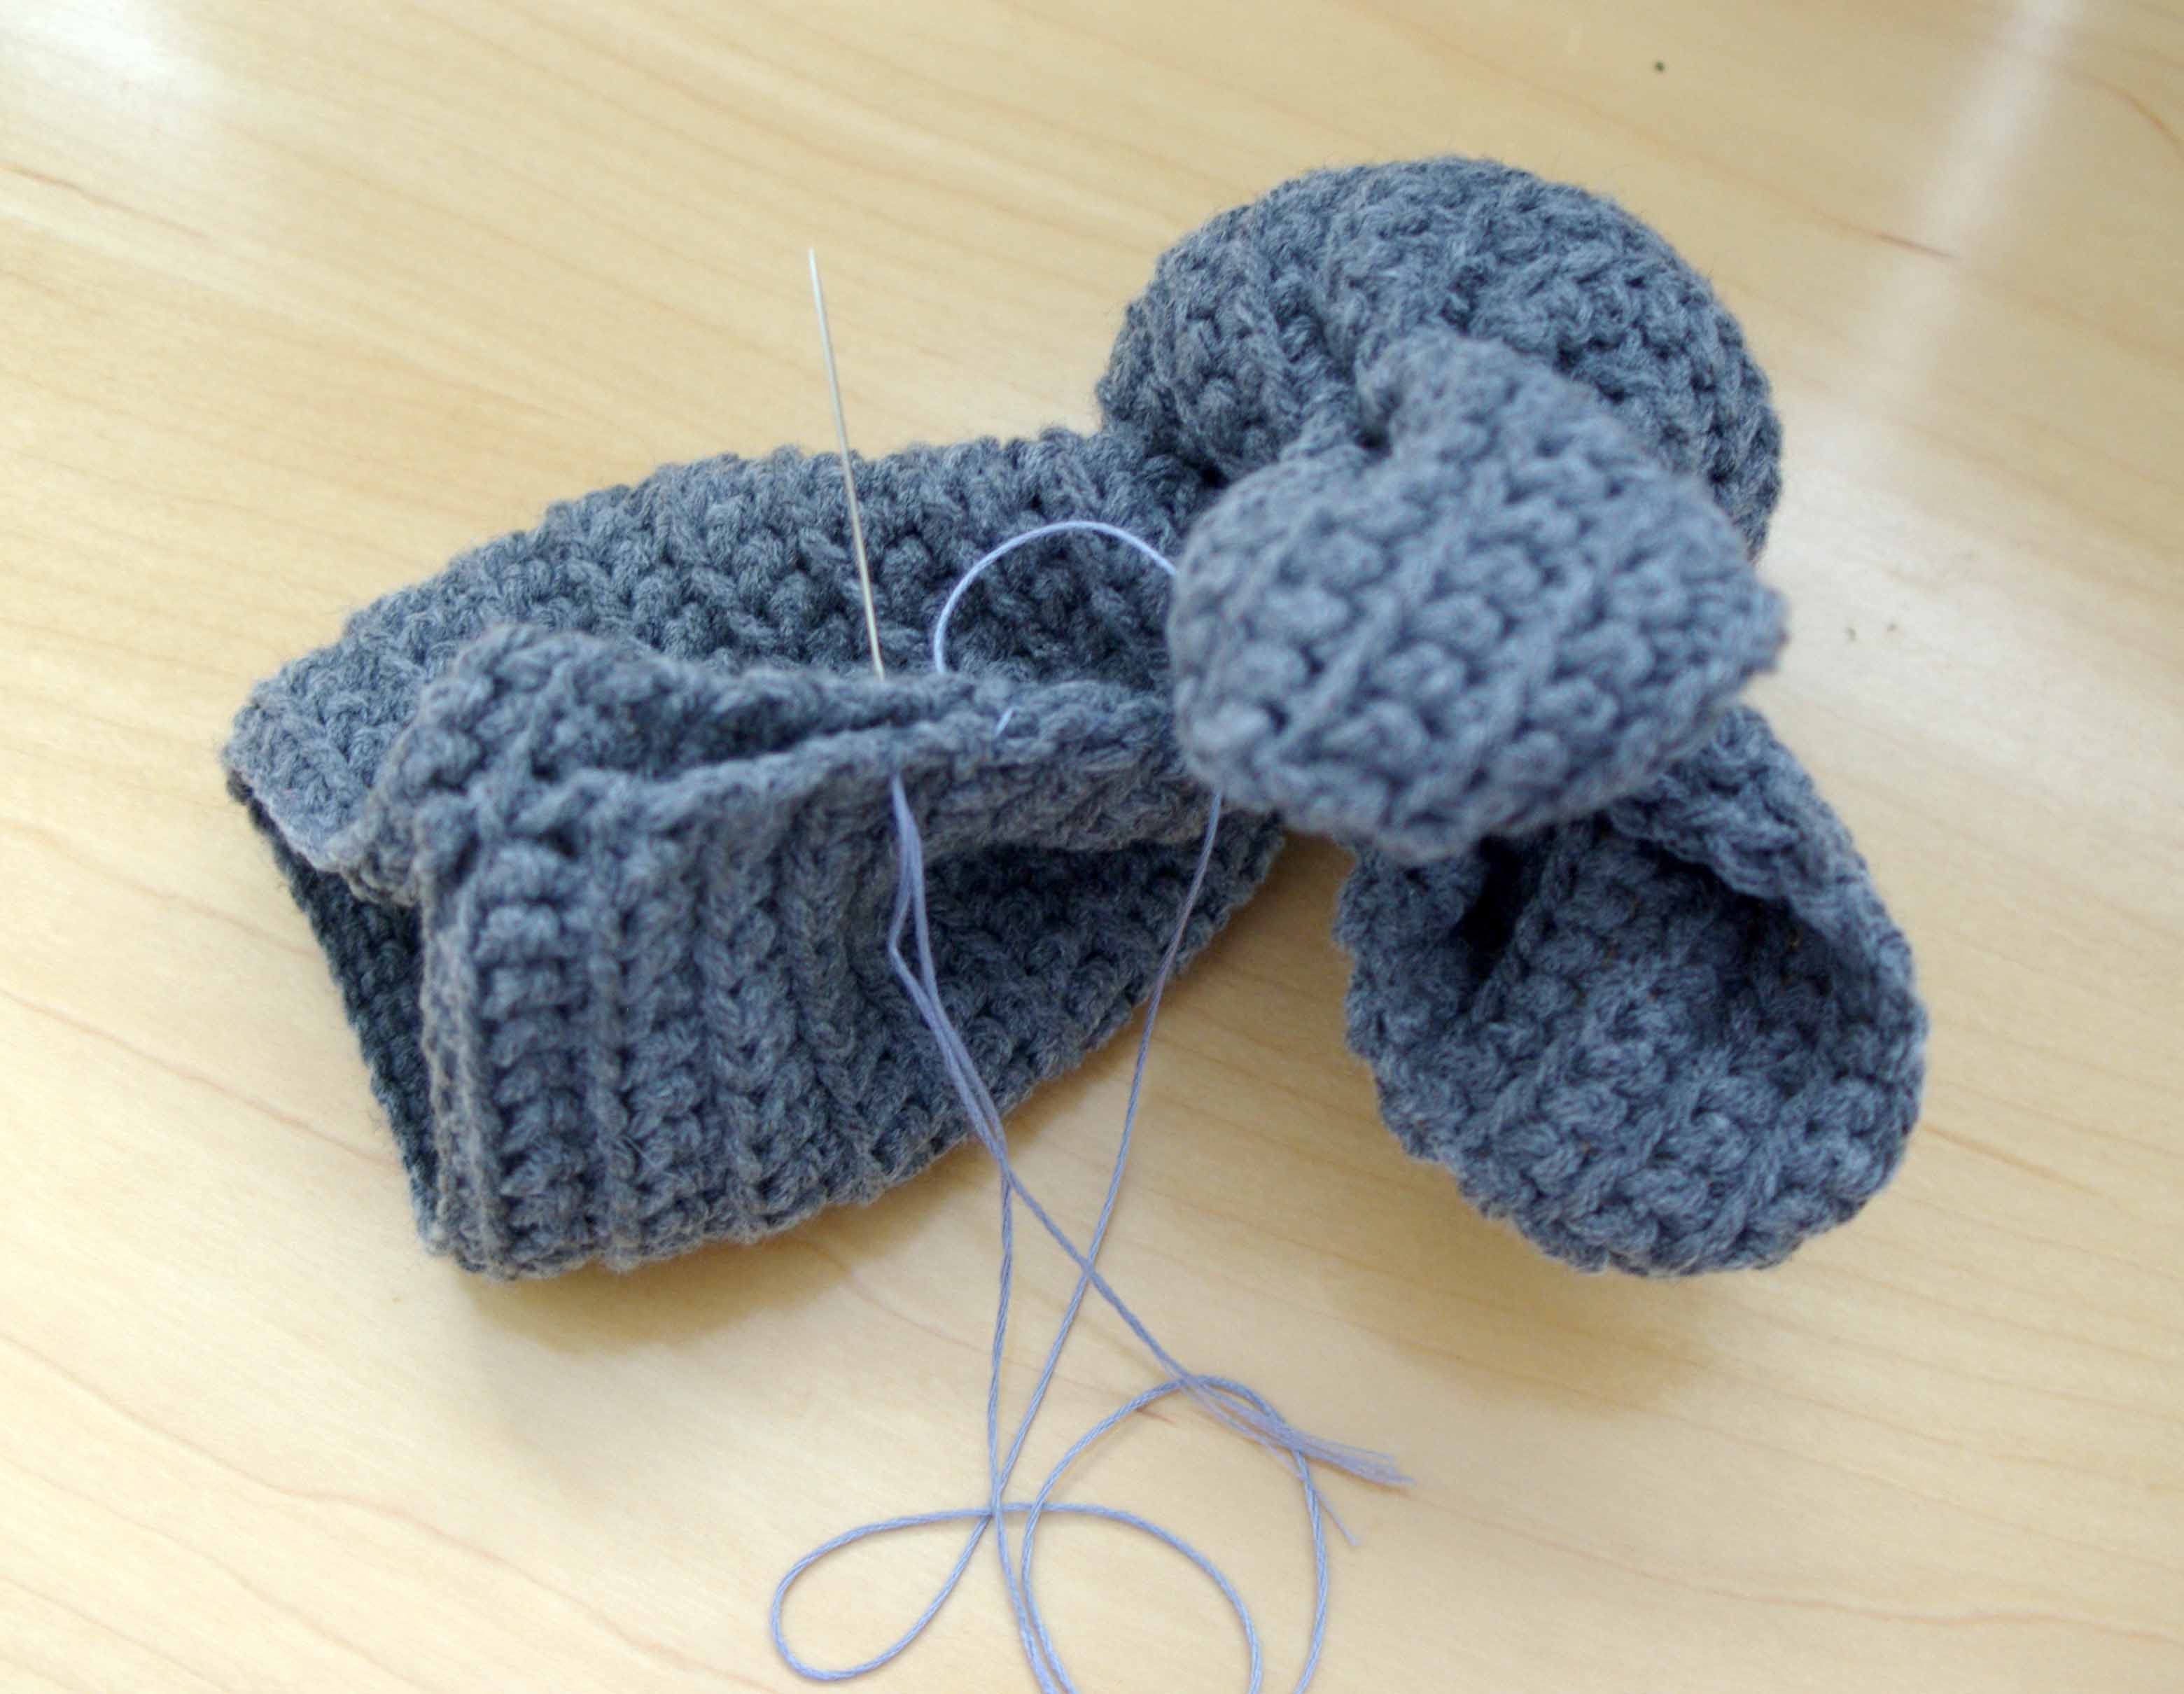
- Knit Teddy Bear
- Scrabble Tiles
- Button Letters (on the wall you can’t see)
- Heart Knit Blanket
- Growth Chart (behind the door)
- Stacking Cubes (on the wall you can’t see)
Here is the before…
During…


After…


If you are looking for me I will be napping in the bottom bunk with the drapes closed.