 The other day my son asked if we could paint. My answer to that question is usually an astounding YES. I wanted to switch it up a bit because I am running out of space for their master pieces. I usually let them paint on canvas but the downside is that the paintings aren’t easy to store or recycle. But the upside is that they take their time and are more dedicated than if I give them a piece of paper. These are a few of my favourites that I keep in my office.
Painting
When life gives you lemons….
When life gives you lemons you can make lemonade but you better hope that life is also giving you a pound of sugar.
Other options to try if life has given you lemons
- When life gives you lemons, squeeze them in people’s eyes. (that just seems wrong)
- When life gives you lemons grab tequila and salt (unless you have a brain tumor and alcohol can increase your risk of seizures, not my best option right now)
- When life gives you lemons stick them in your bra and work it (I love this one, but I could hide a few lemons in my bra and you wouldn’t even know they were there. ;))
- and my ultimate favourite…..When life gives you lemons, you paint that shit GOLD!
Damn skippy I will. When life gives you lemons (or a brain tumor as luck would have it), you paint that shit gold. This saying has become my new motto. It has also inspired the painting below. I haven’t painted since I was a student at the Ontario College of Art and Design in the mid 90’s (OMG I sound so old). So don’t be too judgy. I did however signup for a painting/drawing class in Italy 8 years ago and not once did I paint. I ended up giving away all of my art supplies to make room in my suitcase for shoes and purses. While my classmates were painting I took thousands of photos. Some were of lemons. I used one of the photos taken on that trip as the basis of this painting.


I am going to proudly hang these lemons in my house because once I survive this brain tumor I am not going to forget the big basket of lemons that I was given. I realize that these aren’t exactly gold but I believe that the saying is more about making the best of a bad situation. Everyone has their lemons, I am going to paint mine gold.
Rocking Out


Forgive me mother nature for I have been embellishing your creations. Sasha is studying his letters, and learning to spell so I made these alphabet rocks to help him on his journey. Using acrylic craft paint, I painted a letter and some dots (just for fun) on each rock, and when they were dry I sprayed them with a gloss paint so the rocks will stand up to touching and outdoor life. To complement the rocks I spray painted the top surface of a IKEA coffee table with chalkboard paint. The idea is to use the rocks and the table together to copy the letters and spell out words. I will post some more info about the chalkboard table in the future. But for now keep rocking out.
READ
Recently I hurt my back, and I was very limited in what I could do. I couldn’t make any crafts but I could catch up on my reading. I added my Goodreads info on the right side of this blog, so if you are a reader please join me on Goodreads and we can share book ratings and recommendations.
While we have a lot of books, but we also use the library weekly. I love that I can get books, movies and E-books for FREE from the library. I have even gone so far as requesting that the library order newly released books, which they do for FREE. I love the library, and encourage you to use your local library if you don’t already. I also belong to two book clubs in Victoria so if you are interested in joining, please leave me a comment.
We read to our kids daily and both have large collections of books, so I though that these over-size scrabble tile letters might be a good addition to Logan’s bookshelf.


These can be made any size you wish. I made these from 7 1/4″ x 7 1/4″ x 3/4″ pine.
Materials:
- Pine board (as knot free as you can get) 7 1/4″ x 3/4″ by the length you need depending on number of letters
- Jig Saw
- Printer/Computer
- Black paint
- Paint brush
- Painter’s Tape
- Pencil
- Stain, or Tung Oil
- Sandpaper
Instructions:
1. Cut the wood into squares 7 1/4″ x 7 1/4″
2. Sand the squares on all sides (going with the grain) using 120-220 grit sandpaper
3. Print out the letters and number using a computer & printer. I used Century Gothic font with a size of 500 for the letters, and 150 for the numbers.
4. Cut out the letters and numbers
5. Tape the letters on to the wood with painter’s tape
6. Trace the letters with a pencil
7. Using black acrylic craft paint, paint in the letters and numbers.
8. Once dry the paint is dry (24 hours) finish with stain, tung oil, or leave natural
Keep reading, crafting & creating.
I just got my own blog website, find me at http://www.makingalife.me or sign-up for email updates below.
A Sweet Bite Of Summer
Summer is on the way and so is the end of another school year for the kiddies. I am always on the look out for teacher gift ideas that I can make. I have been thinking of making this craft for a while, since I saw watermelon wrapping paper posted on Pinterest. I typically don’t make cards or packaging, because it seems like a waste especially because wrapping paper ends up in the recycling bin so quickly. But I loved the idea of the watermelon potato print, and figured that I could adopt if for a tea towel print, which I can give to Sasha’s teacher for a year-end present. It is also a super easy craft that school age kids can help with.
Here are the instructions:
Step 1. Wash the tea towels (or not, I am lazy and didn’t but it is a good idea)
Step 2. Iron the tea towels (even if you didn’t wash them)
Step 3. Cover the surface that you are working on so that the paint doesn’t ruin your table.
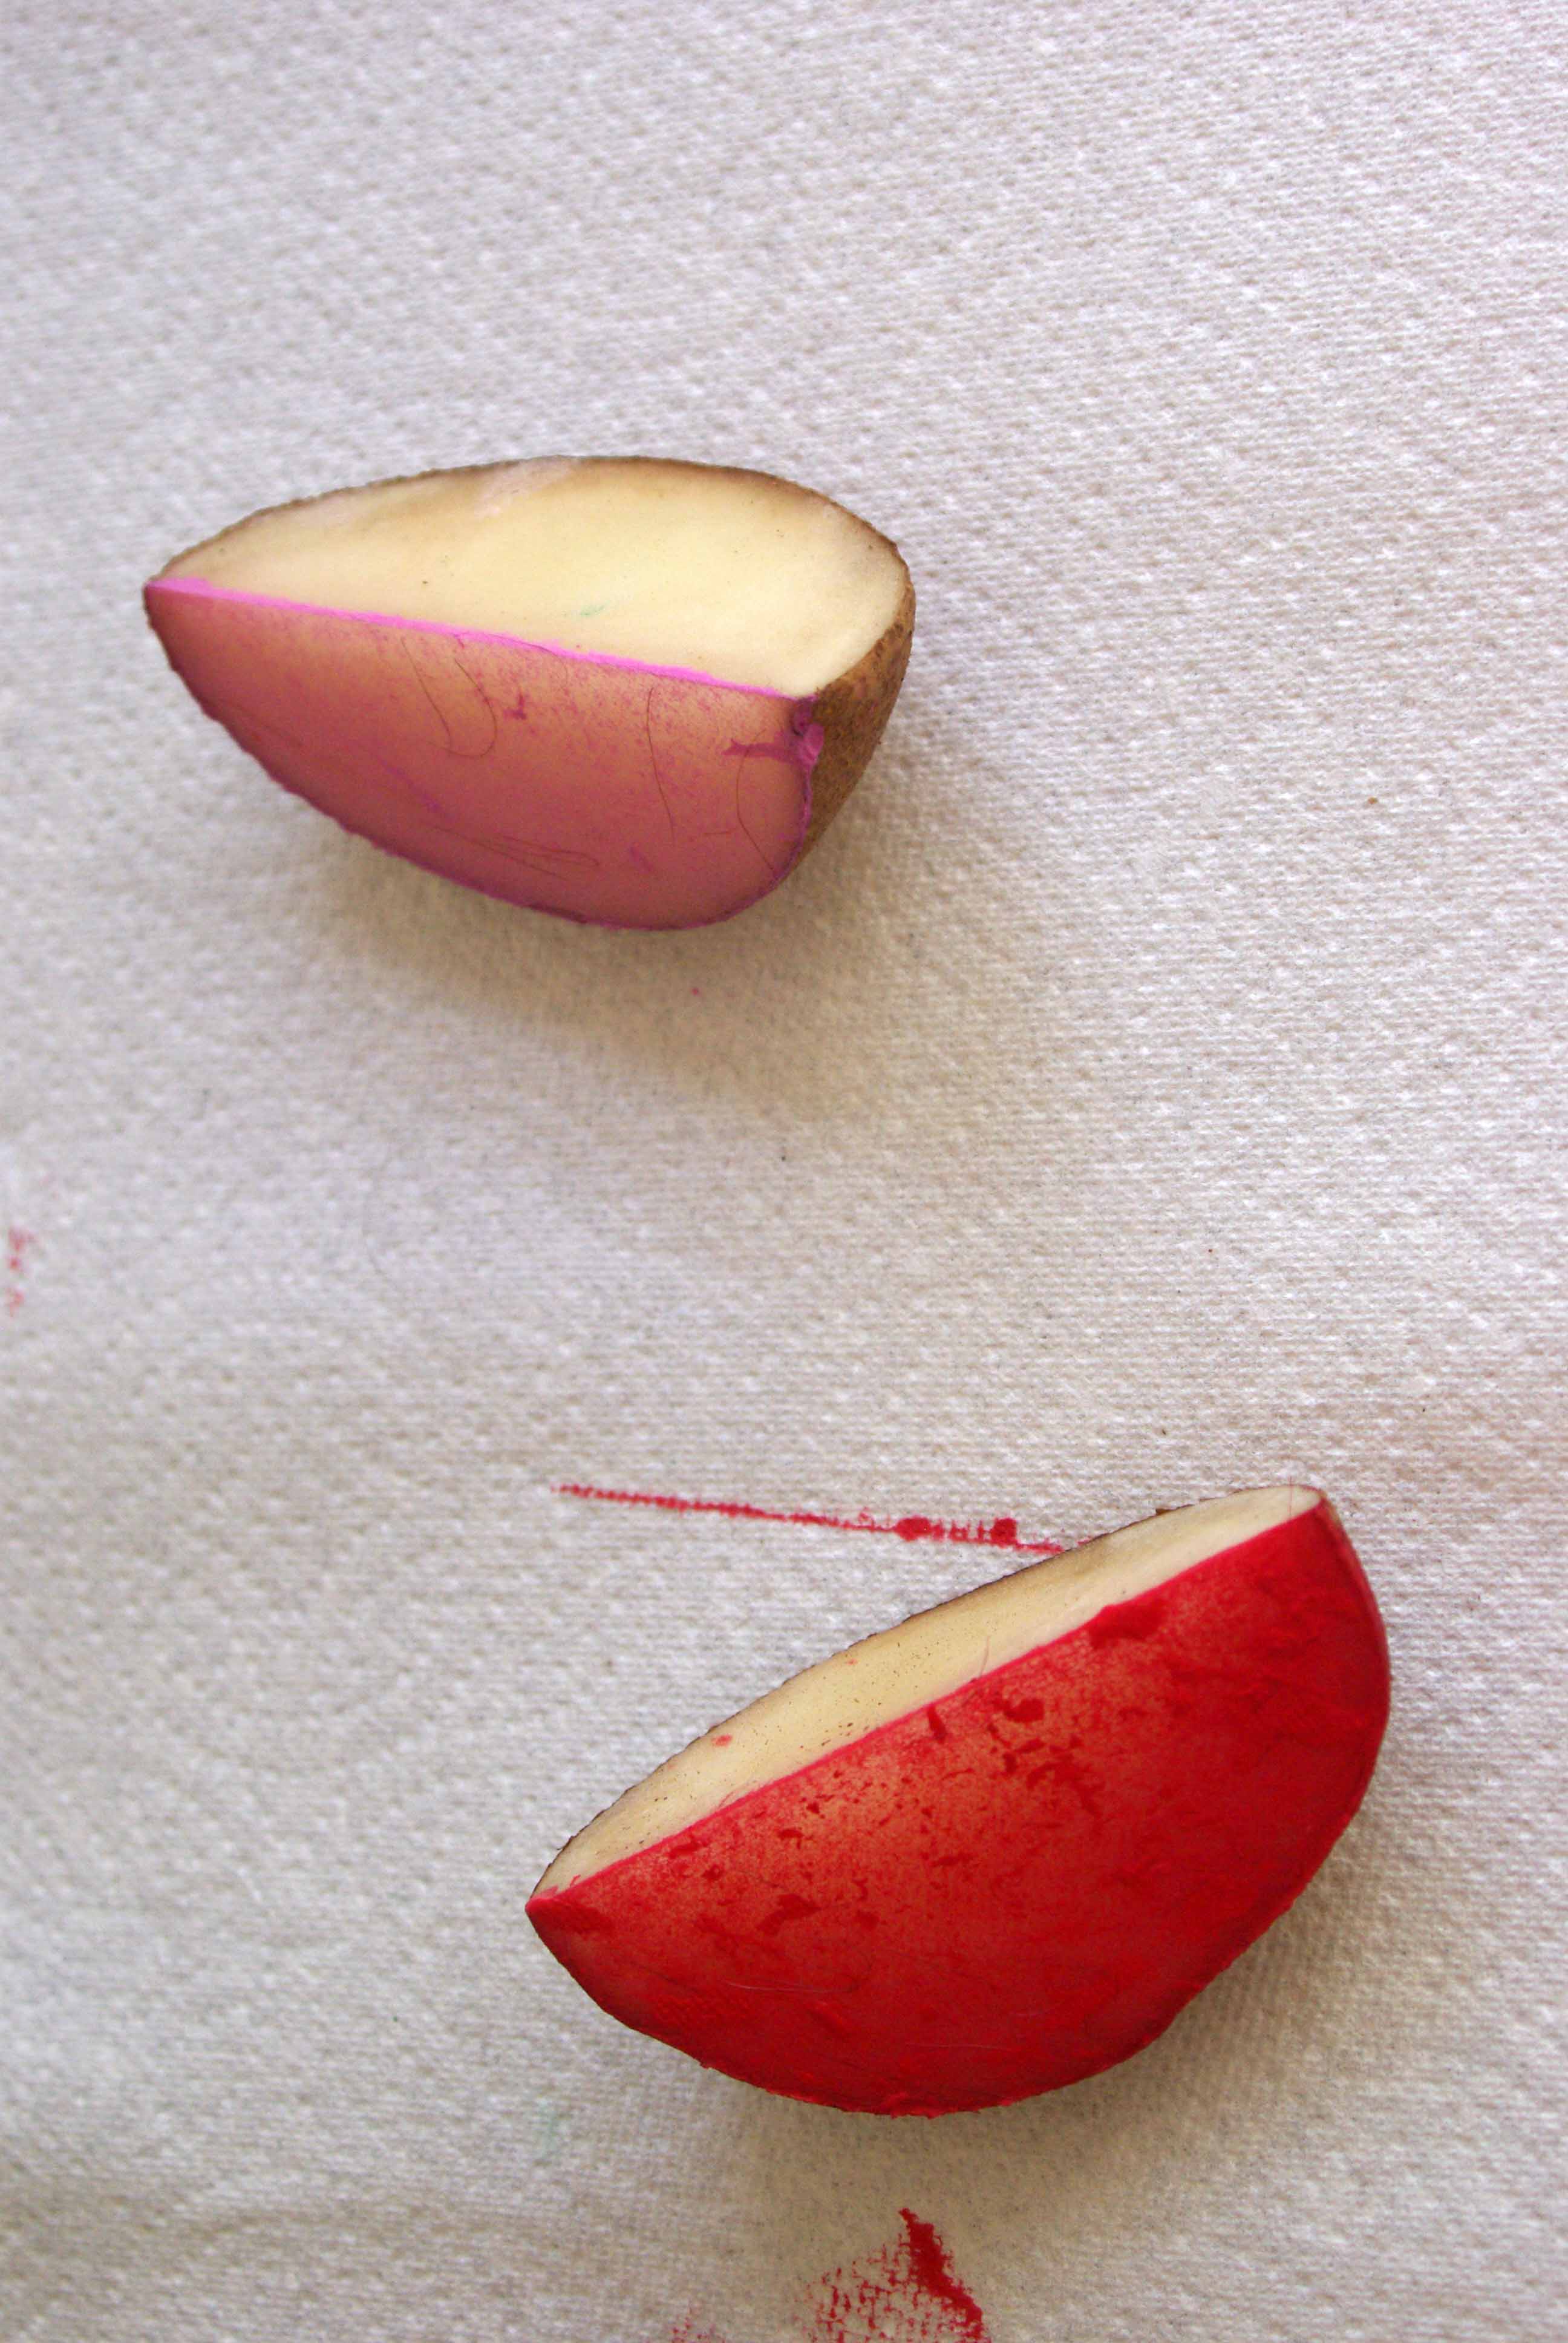
Step 4. Cut a potato into 4 pieces, length wise is best. The goal is a watermelon looking shape.
 Step 5. Mix Acrylic Craft paint with Textile Medium. Textile medium is a product that when mixed with acrylic craft paint help the paint from fading when washed. Some fading will happen, but I have bleached T-shirts and other tea towels that have been printed with the paint textile medium mix without an issue. Follow the instructions on the textile medium when mixing.
Step 6. Using a paint brush paint the potato section in the colour of your choice. I used a red and a pink on some of the towels for a little variety.
Step 7. With a little pressure stamp the painted potato on the tea towel, and repeat Step 6 & 7 until the desired pattern is reached.

Step 8. Using a green paint mixed with textile medium and a brush, paint a rind on every watermelon.

Step 9. Using black paint, dab on the seeds using a brush.

Step 10. Let dry.
Step 11. Iron once dry to set the paint.


Keep crafting, creating and giving.
