What do brain tumours and photography have in common? Probably not much. But having been recently diagnosed with a brain tumour has prompted me to yet again have family photos taken. When I told my husband that I wanted to have photos taken his response was “really AGAIN”. It has only been a year since the last batch and I understand his point but I played the brain tumour card anyway. You never know what the future may bring, so while I can get some family shots taken I went for it. Scroll to the bottom to see the lovely pictures that Nicola at Lily and Lane took for us.
We don’t have a lot of family pictures of all of us, there are a pile of the kids, and lots of my husband with the kids. I am almost always behind the camera so just in case something goes wrong and Timmy the tumour wins (which is highly unlikely in my opinion) my family will have some new shiny pictures of me. Until that dark day (holy morbid) inevitably happens sometime in my late 90’s I plan on enjoying the photos. Which means that they need to make their way out of the computer.
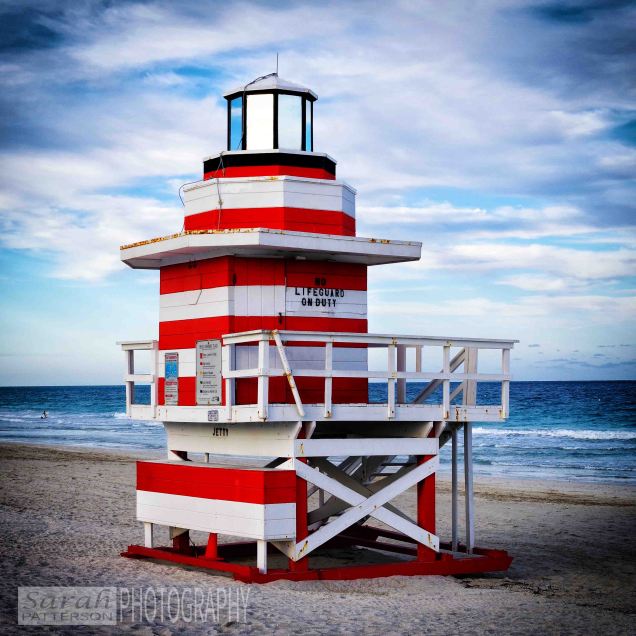
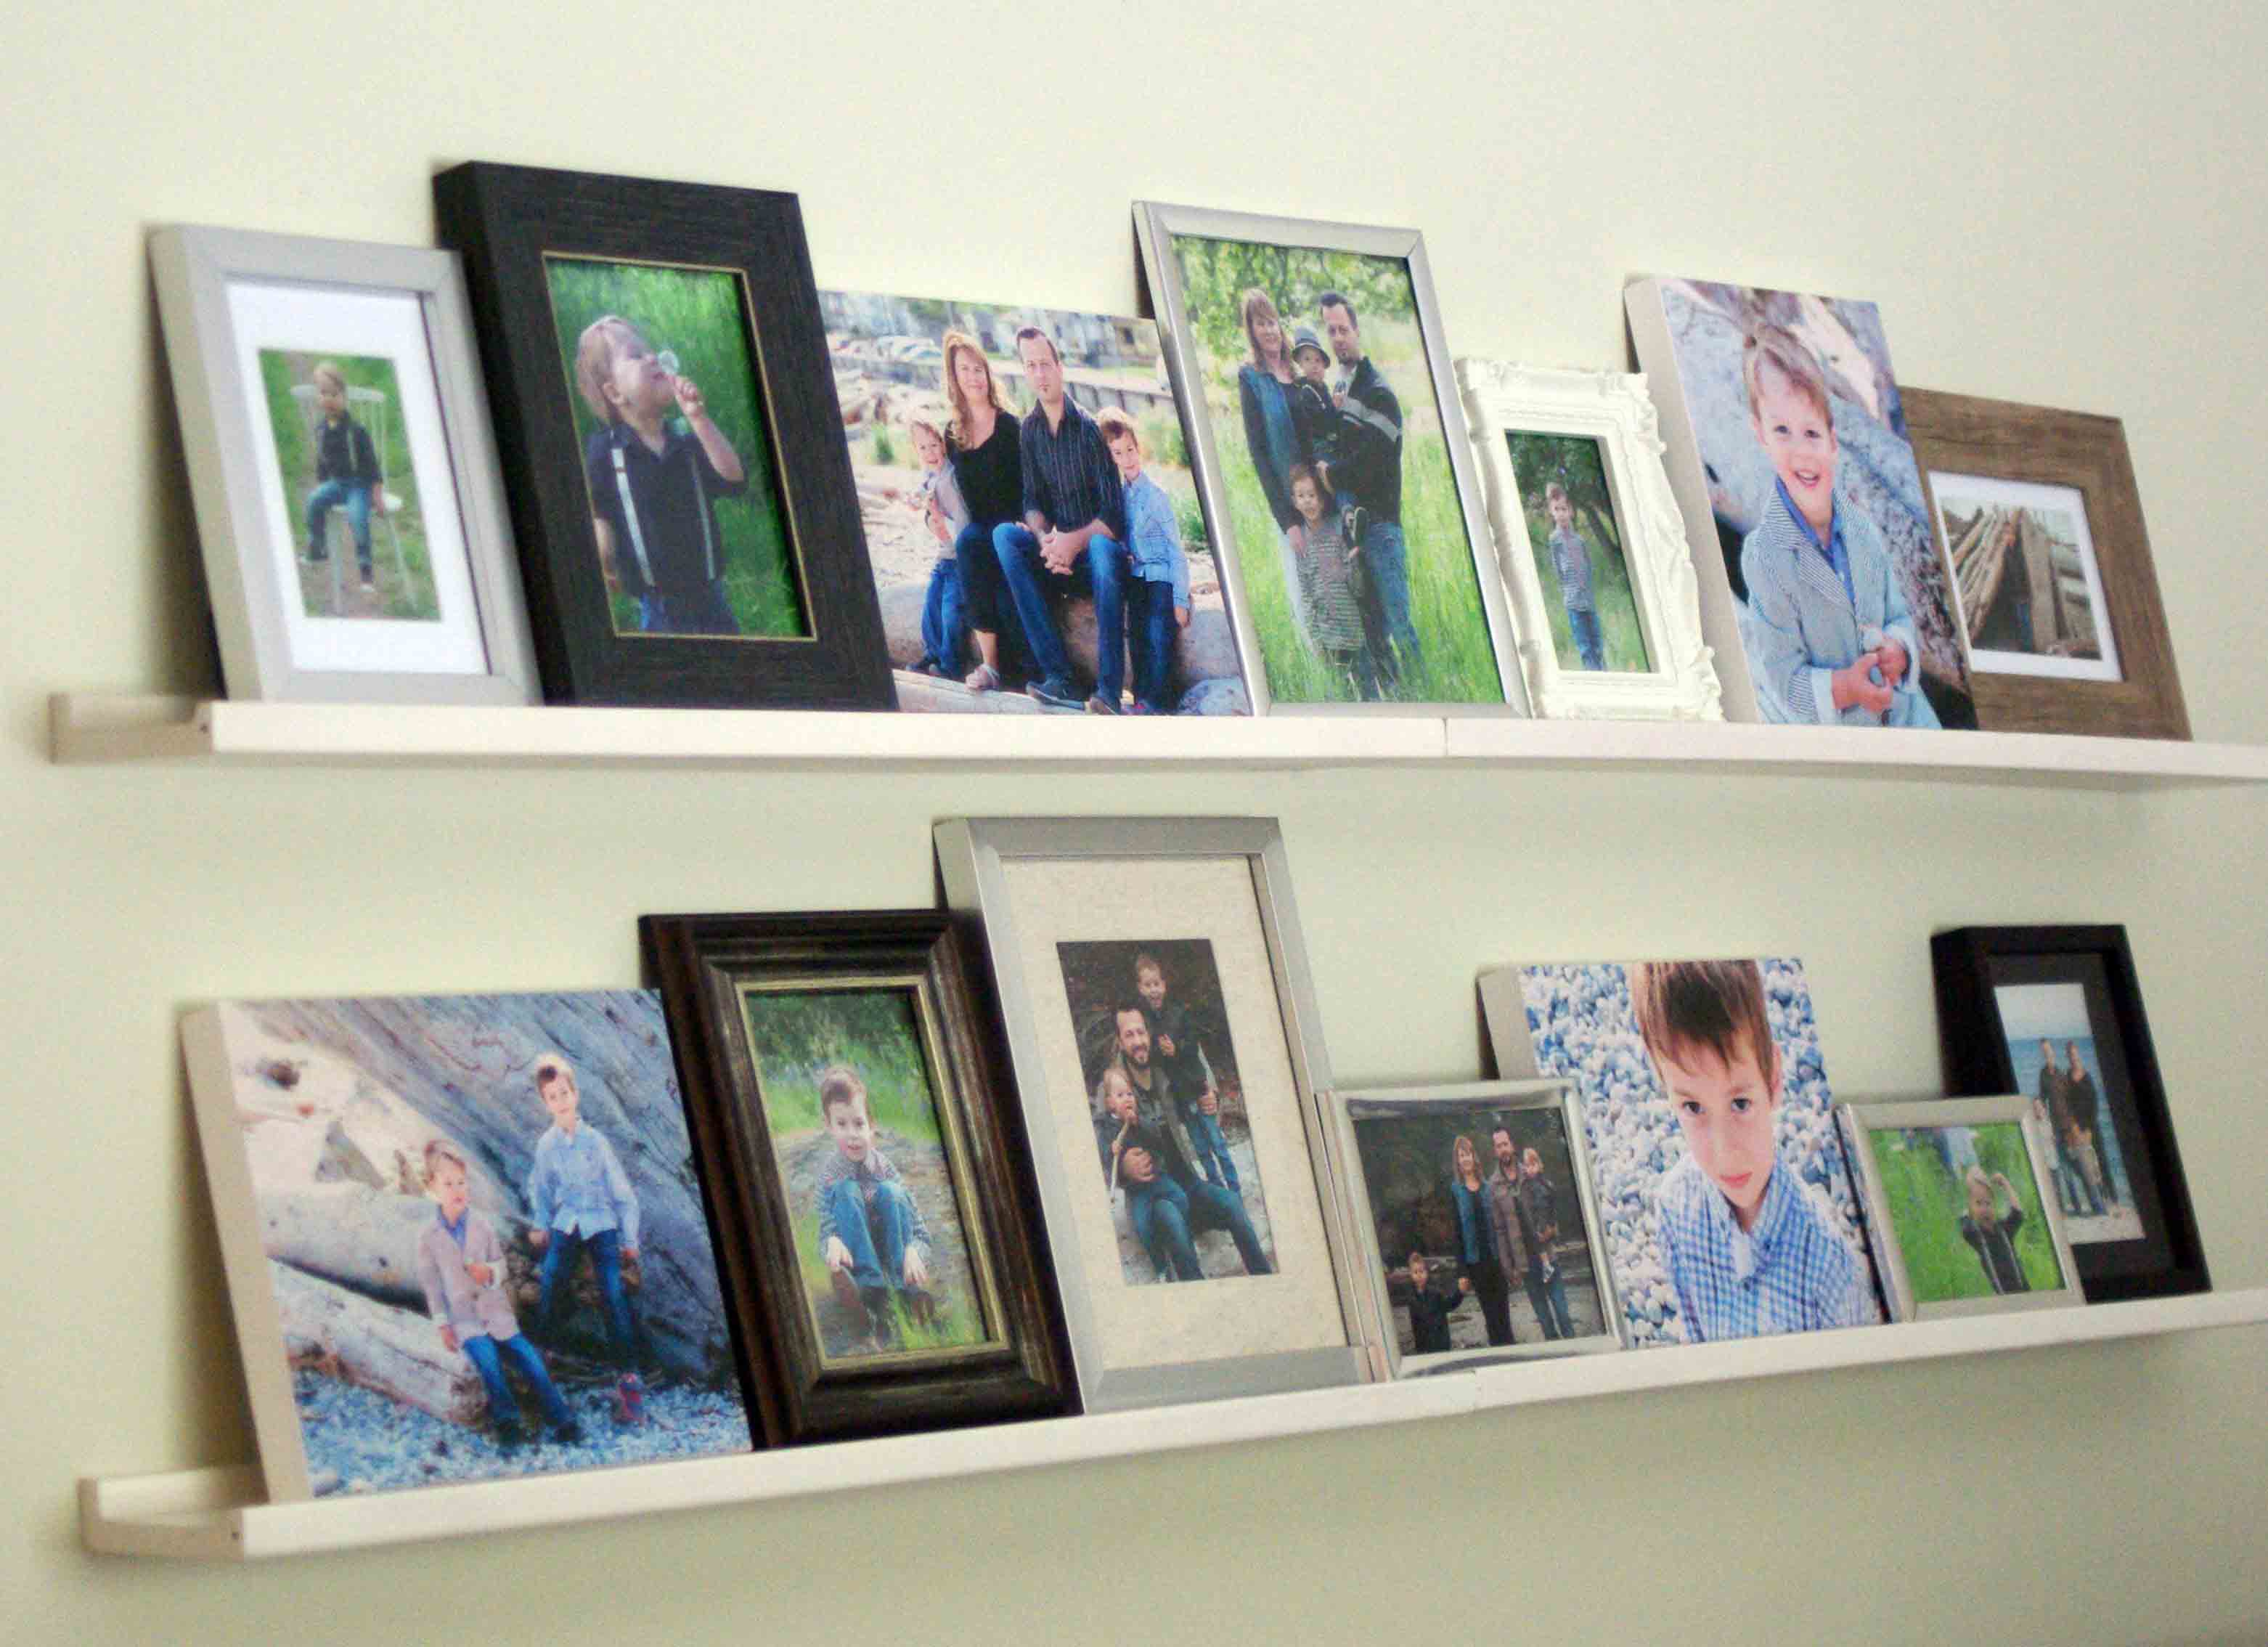
Step 1 is getting the photos, Step 2 is getting them out of the computer and into some form that you can enjoy. Hint, hint nudge nudge. I stumbled across this fantastic INEXPENSIVE, EASY, AND QUICK way to display photos. In the image above there is a mix of pictures taken by three different photographers (myself included). In the top row the 3rd and 6th images from the left, and first and fifth images in the bottom row I mounted on wood artist panels. It’s really rare that I come across any DIY project that is all three, so I am pretty excited to share this one with you. This project cost $2.00 for the wood artist board at the dollar store, $3.00 for the 8×10 print, $1.00 craft paint to paint the edges from the dollar store. I already had a jar of modge podge and a paint brush, but neither of those items will break the bank.
What you need:

- 8×10 photo
- modge podge
- Canvas or wood artist board
- A paint brush/foam brush
- craft paint to paint the edges
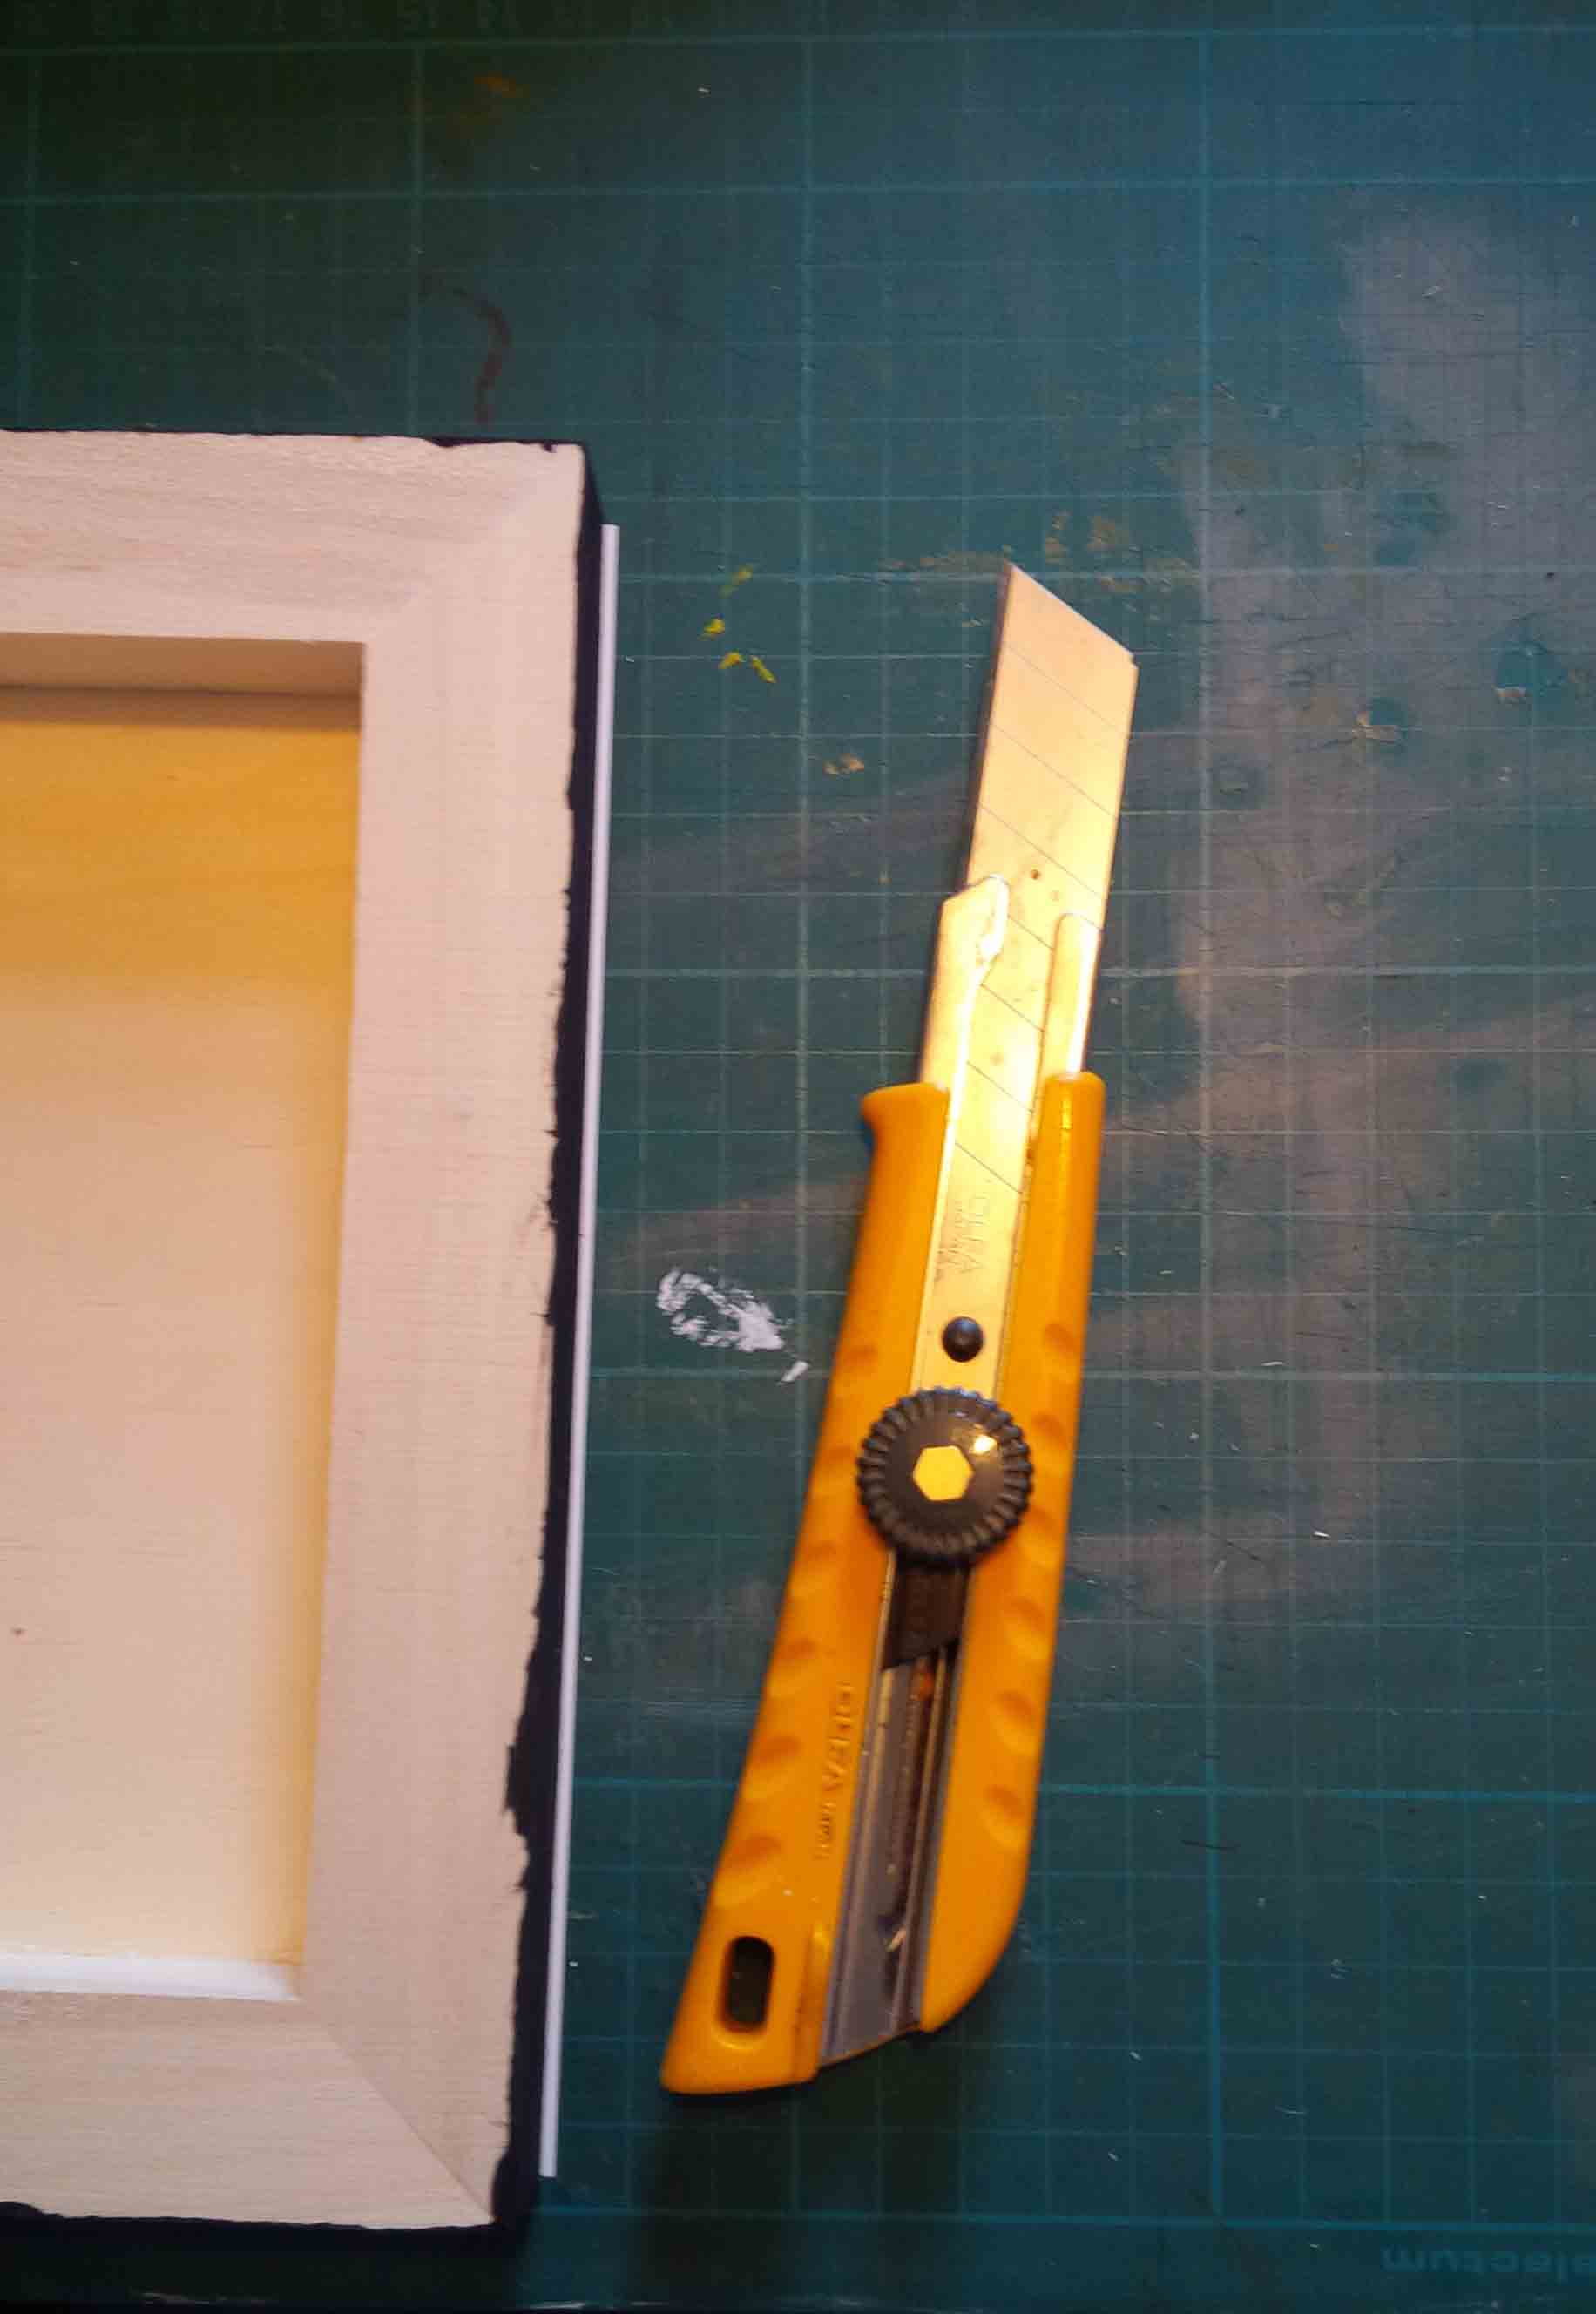
- Exacto knife
Instructions:
Step 1 – paint the edges of the canvas or wood board and wait for it to dry. Have a glass of wine while you wait.

Step 2 – Apply a second coat of paint if needed and wait for it to dry
Step 3 – Apply a coat of modge podge to the canvas/board and lineup the photo making sure to remove any air bubbles, wait for it to stick
Step 4 – Trim around the edges of the canvas/board

Step 5 – Apply a coat of modge podge as evenly as possible over the entire photo to seal it. A foam brush is better than a bristle brush.

Photo Gallery


 The other day my son asked if we could paint. My answer to that question is usually an astounding YES. I wanted to switch it up a bit because I am running out of space for their master pieces. I usually let them paint on canvas but the downside is that the paintings aren’t easy to store or recycle. But the upside is that they take their time and are more dedicated than if I give them a piece of paper. These are a few of my favourites that I keep in my office.
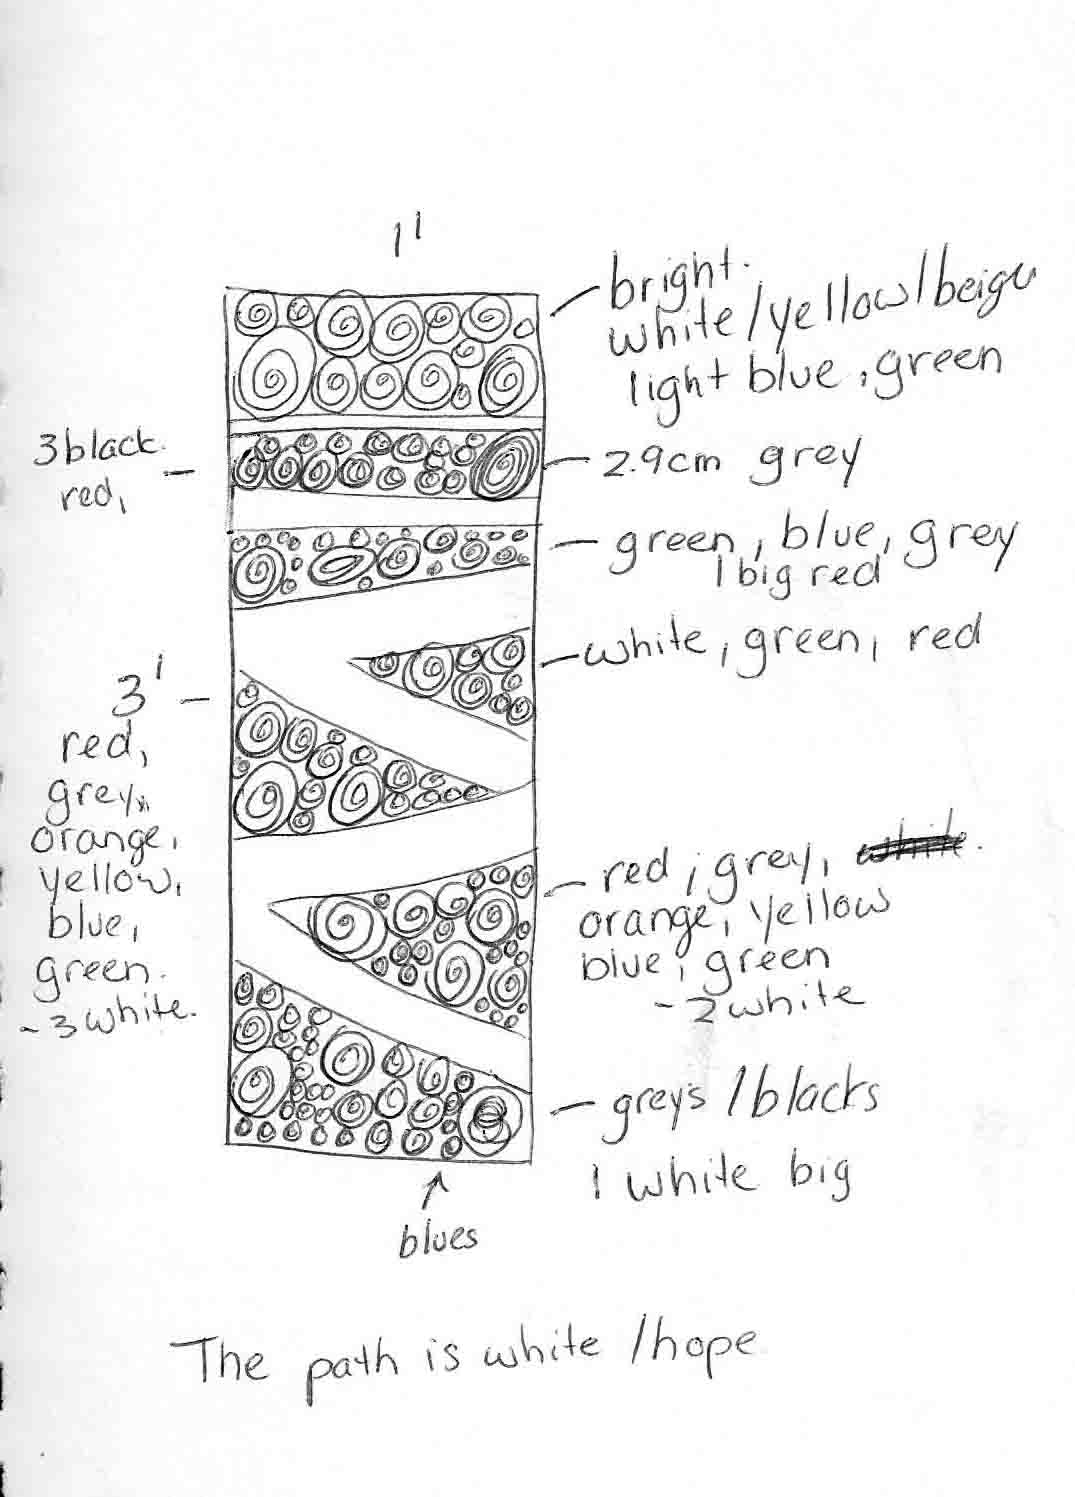


")
")
")
")
")
")
")
")
")
")
")