Twelve Days of Christmas – Day One

It’s that holly jolly time of year again and you better believe I’ve been crafting up a storm again this year. I’ve been at this blog for many years and there are bound to be a few ideas that are similar if not identical because I’m becoming a bit of a creature of habit as I level up each year.

Day one brings a pile of knit hats. I have made 4 so far this season from this pattern called Tin Star by designer Kelly Vu. Yarn is Loops & Treads Cozy Wool.

Cuddle + Kind

If you have signed up for any retail emails you have probably been bombarded in the last few days. Black Friday, Cyber Monday, 50% off, buy one get one free, free shipping… I can hardly keep up. There have been so many emails lately about buying stuff, piles and piles of stuff. Stuff that doesn’t do much for anyone except maybe the buyer, and even then, it’s questionable.

I will admit that I joined in the Black Friday madness, and fought my way through the throngs of people with piles of bags on my arms. When I got home I began questioning my purchases because I bought so much and I didn’t really need any of it. Not one thing….well maybe I can quantify the vacuum. I am a sucker for a good deal.

Had I bought a pile of Cuddle + Kind dolls I would not be racing back to the mall making returns right now. Do you want to purchase a product that has a positive impact on the lives of others? Me too! Join me in supporting Cuddle + Kind on giving Tuesday, and every other day. Cuddle + Kind ethically produces hand-knit dolls that feed children. When you purchase a Cuddle + Kind doll, or poster you are also giving meals for children in need. How cool is that?

Cuddle + Kind produces 21 hand-knit dolls made of natural, premium cotton by artisans in Peru. They are ethically produced through fair trade employment. Every doll gives 10 meals to children in need, 1 doll = 10 meals. Cuddle + Kind has donated 1,527,878 meals in just two years!


Oliver the bear recently came to live in our “wild” house. With our wild boys. I hope he can keep up with the pace. I have one son reading him “The Very Cranky Bear” and the other teaching him how to growl. As Oliver would say “Stay wild at heart”.

I am often asked to promote products, and occasionally I say yes.  When I do say yes it’s because the products are in line with my own values and I believe in the companies that I support. Oliver the Bear came to live in our wild house courtesy of Cuddle + Kind, as did his inspirational poster. But the opinions are 100% mine.

A Sweet Bite Of Summer

Summer is on the way and so is the end of another school year for the kiddies.  I am always on the look out for teacher gift ideas that I can make.  I have been thinking of making this craft for a while, since I saw watermelon wrapping paper posted on Pinterest.  I typically don’t make cards or packaging, because it seems like a waste especially because wrapping paper ends up in the recycling bin so quickly.  But I loved the idea of the watermelon potato print, and figured that I could adopt if for a tea towel print, which I can give to Sasha’s teacher for a year-end present.  It is also a super easy craft that school age kids can help with.

Here are the instructions:

Step 1. Wash the tea towels (or not, I am lazy and didn’t but it is a good idea)

Step 2. Iron the tea towels (even if you didn’t wash them)

Step 3. Cover the surface that you are working on so that the paint doesn’t ruin your table.

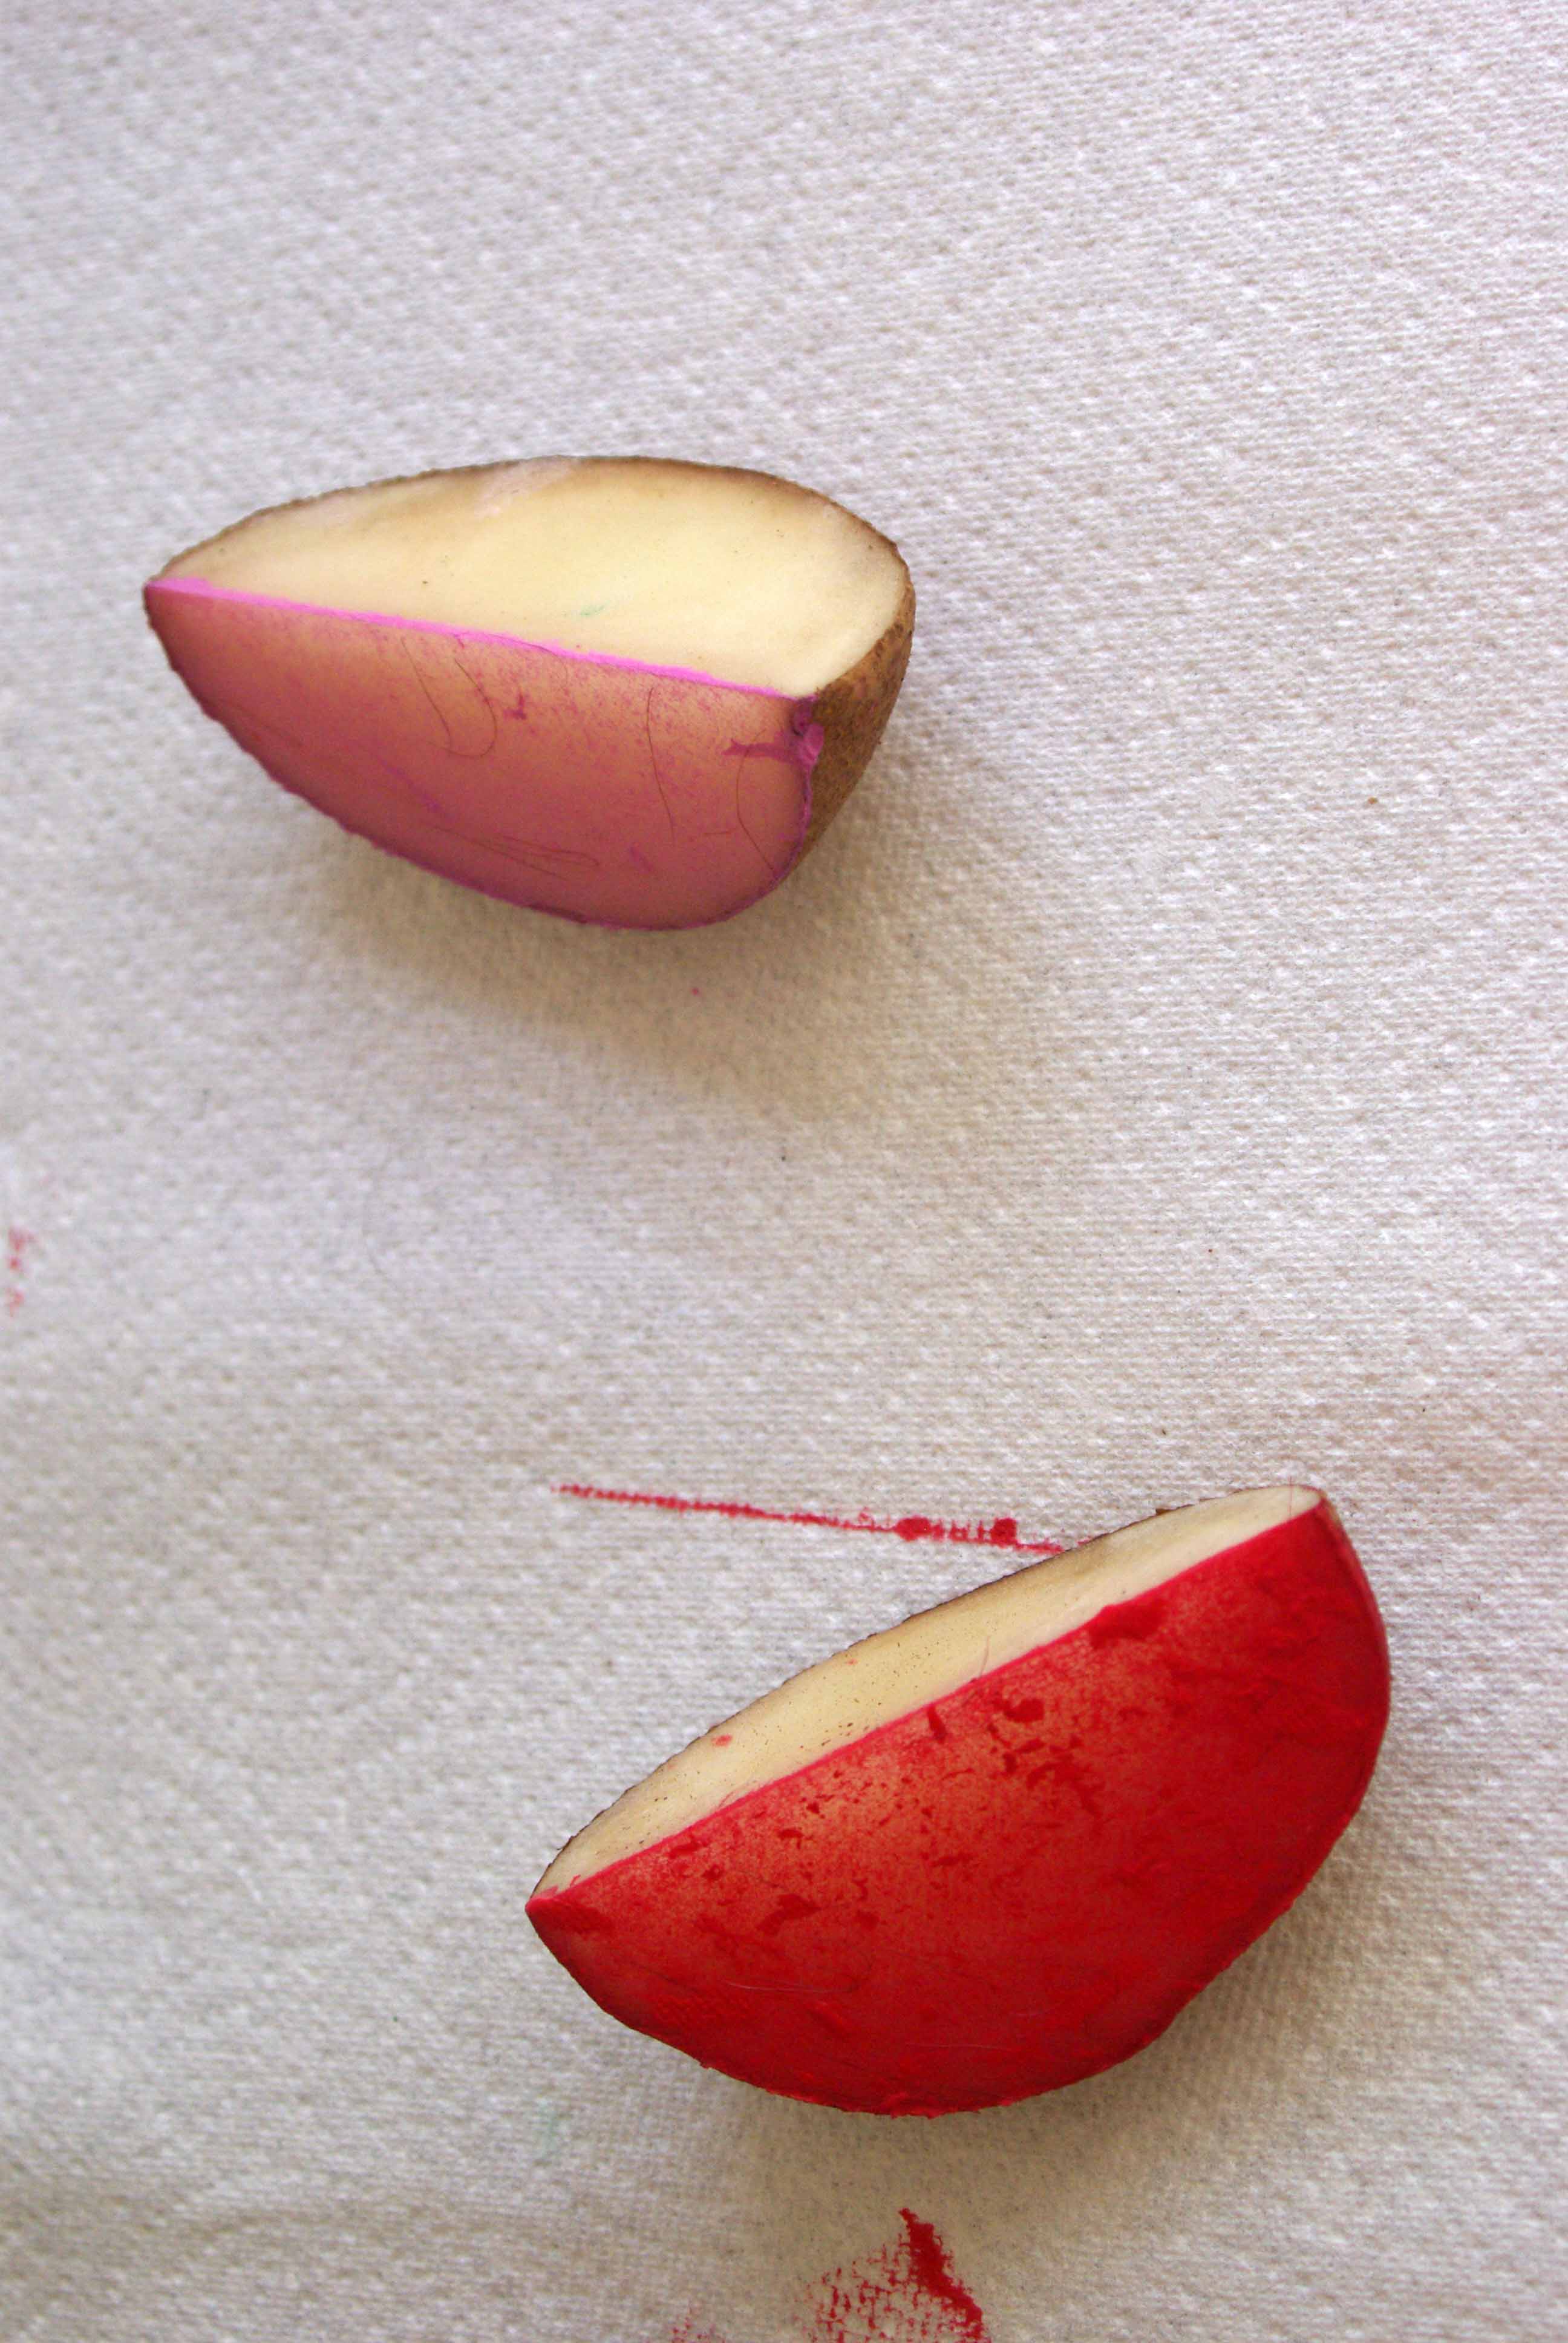
Step 4. Cut a potato into 4 pieces, length wise is best.  The goal is a watermelon looking shape.

step 1     Step 5. Mix Acrylic Craft paint with Textile Medium.  Textile medium is a product that when mixed with acrylic craft paint help the paint from fading when washed.  Some fading will happen, but I have bleached T-shirts and other tea towels that have been printed with the paint textile medium mix without an issue.  Follow the instructions on the textile medium when mixing.

Step 6.  Using a paint brush paint the potato section in the colour of your choice.  I used a red and a pink on some of the towels for a little variety.

Step 7.  With a little pressure stamp the painted potato on the tea towel, and repeat Step 6 & 7 until the desired pattern is reached.

step 2

Step 8.  Using a green paint mixed with textile medium and a brush, paint a rind on every watermelon.

step 3

Step 9.  Using black paint, dab on the seeds using a brush.

towels 5

Step 10.  Let dry.

Step 11.  Iron once dry to set the paint.

Keep crafting, creating and giving.

Enter your email address to subscribe to this blog and receive notifications of new posts by email.