Worms, Dirt & Sprouts

cupcakes 3

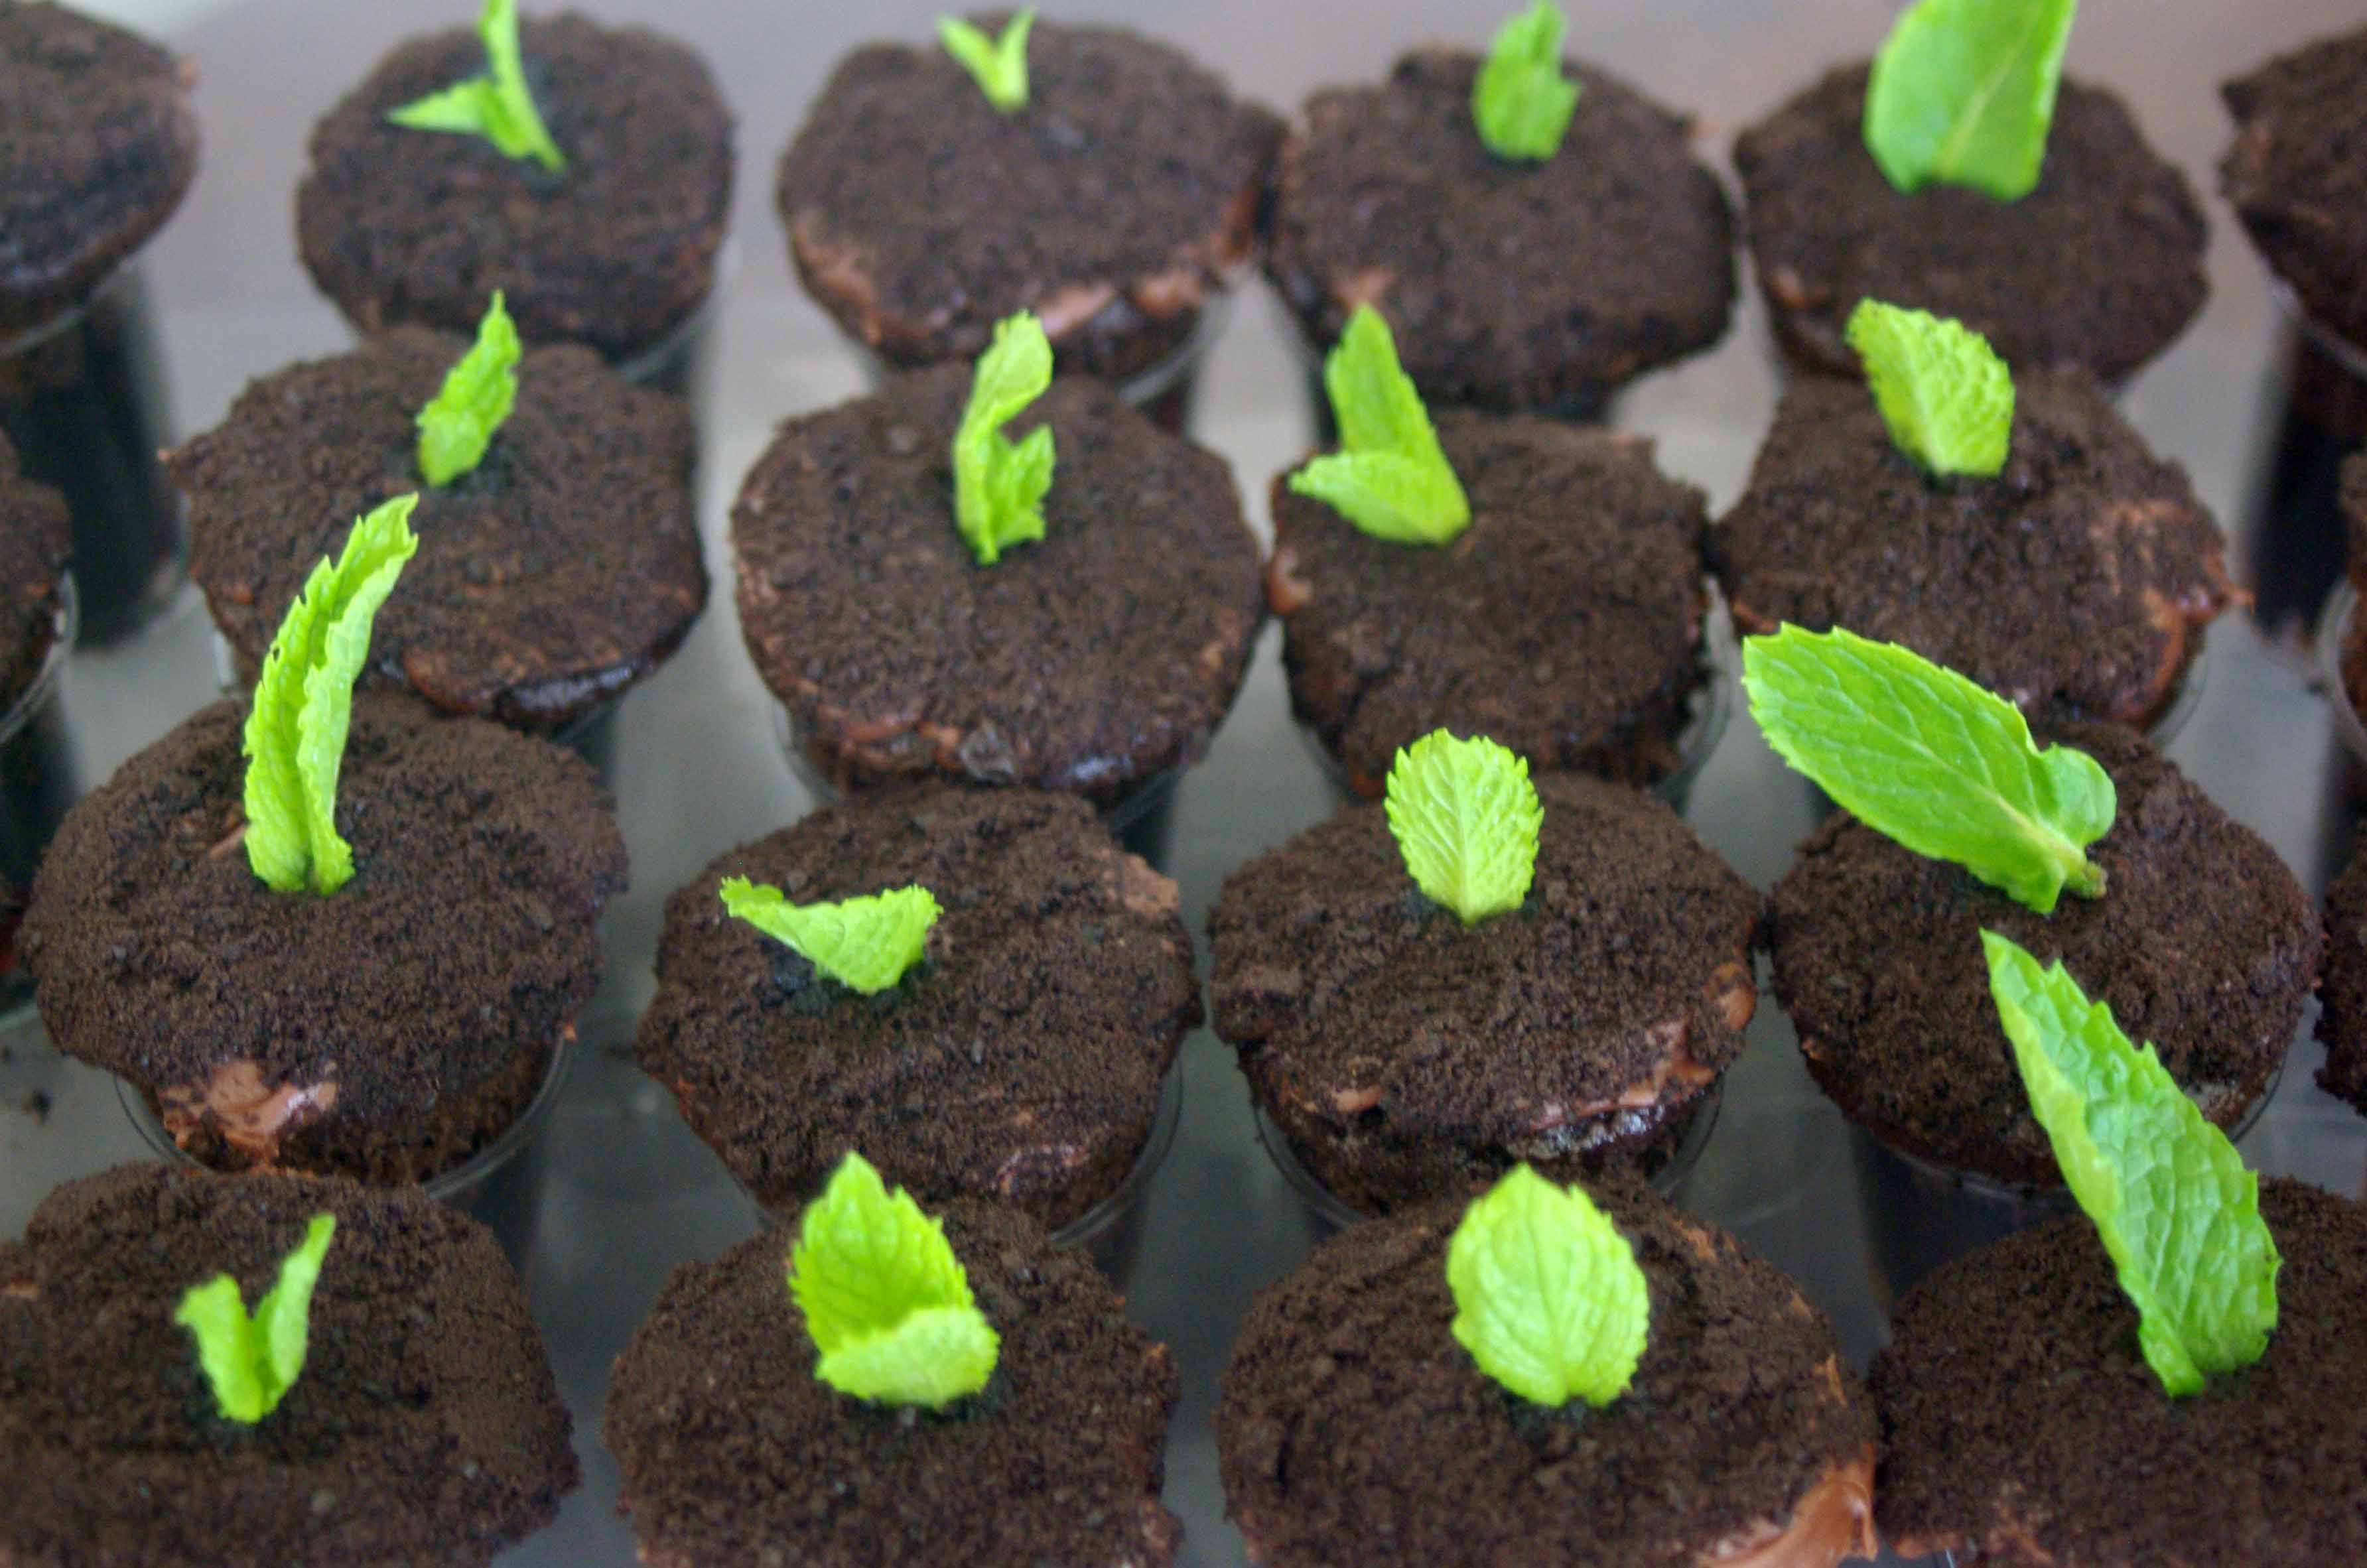
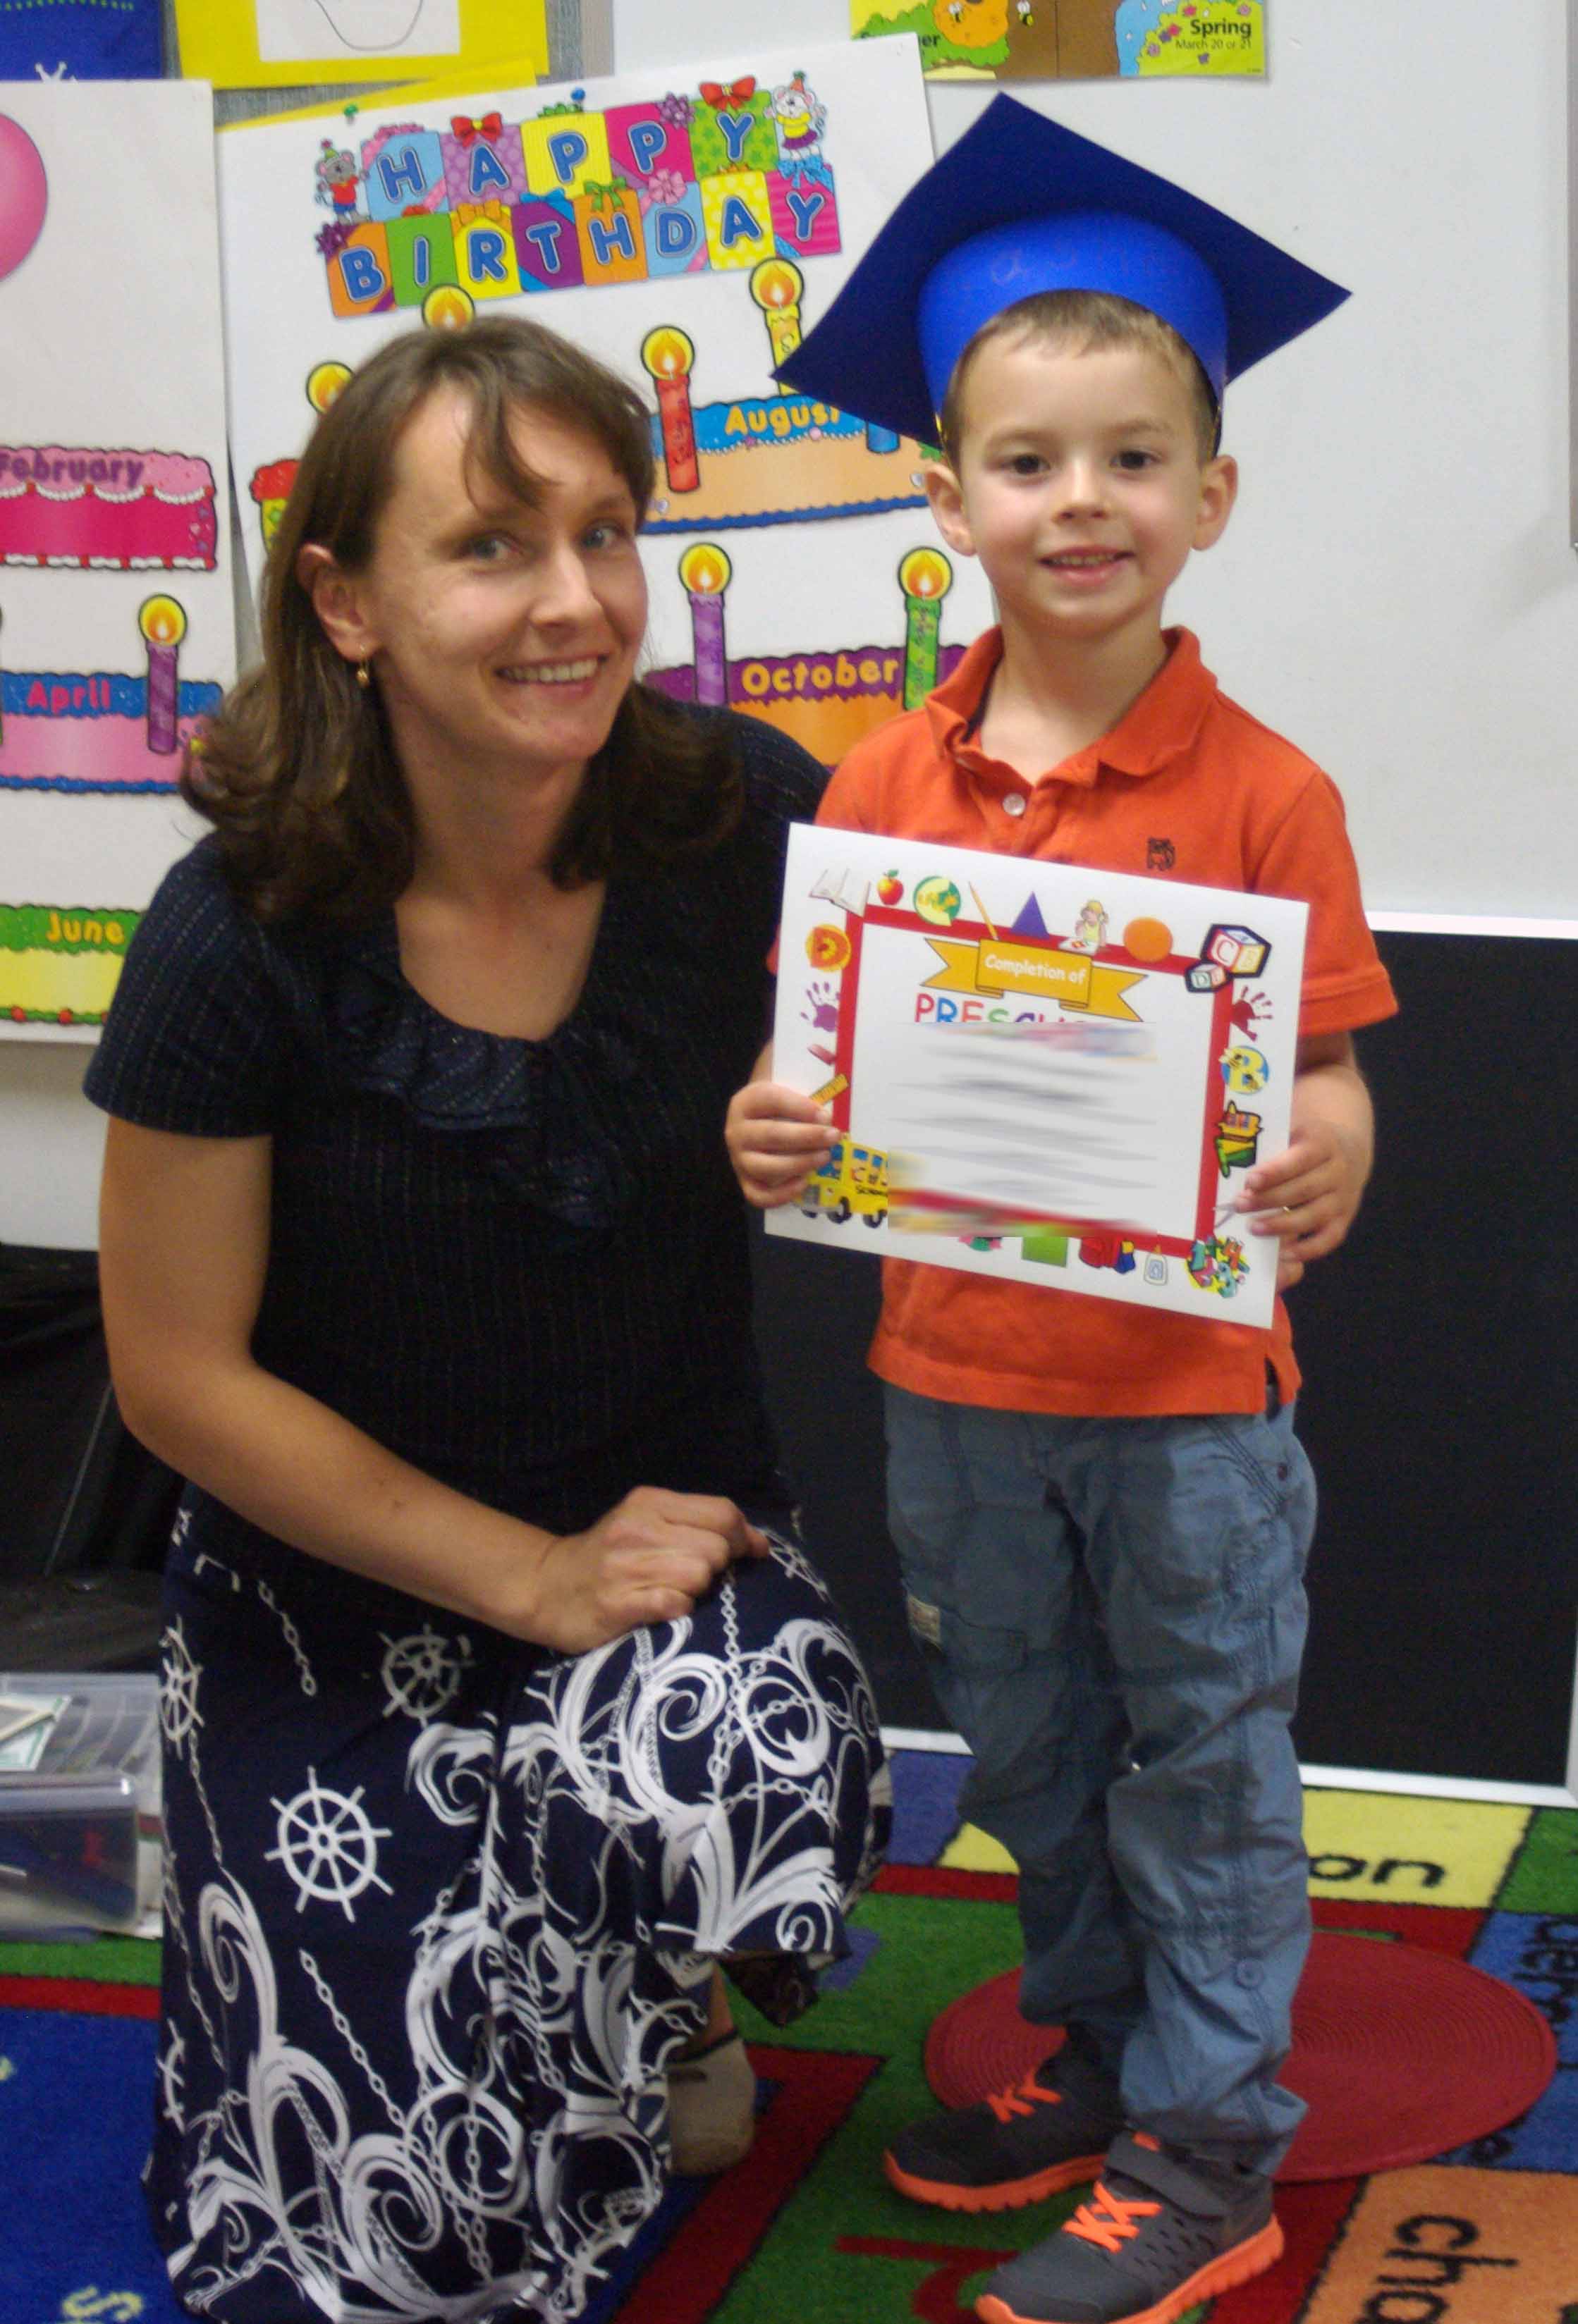
When I ask Sasha what he wants to eat for dinner, the standard responses are worms & dirt, or bugs & worms.  He is a five-year old boy, so no surprises there.  Now if he was served worms, dirt or bugs I am sure that his response would change.  Sasha graduated from pre-school this week, and I thought that these little sprout cupcakes complete with worms & dirt would be perfect for the occasion.

What you need to make these:

  • Chocolate mini cupcakes
  • Chocolate icing
  • Chocolate cookie crumbs
  • gummy worms
  • mint
  • mini clear plastic shot glasses

cupcake 2 helpercupcake 1

Directions:

  1. bake & ice cupcakes with chocolate frosting
  2. dip the tops of the cupcakes in the cookie crumbs
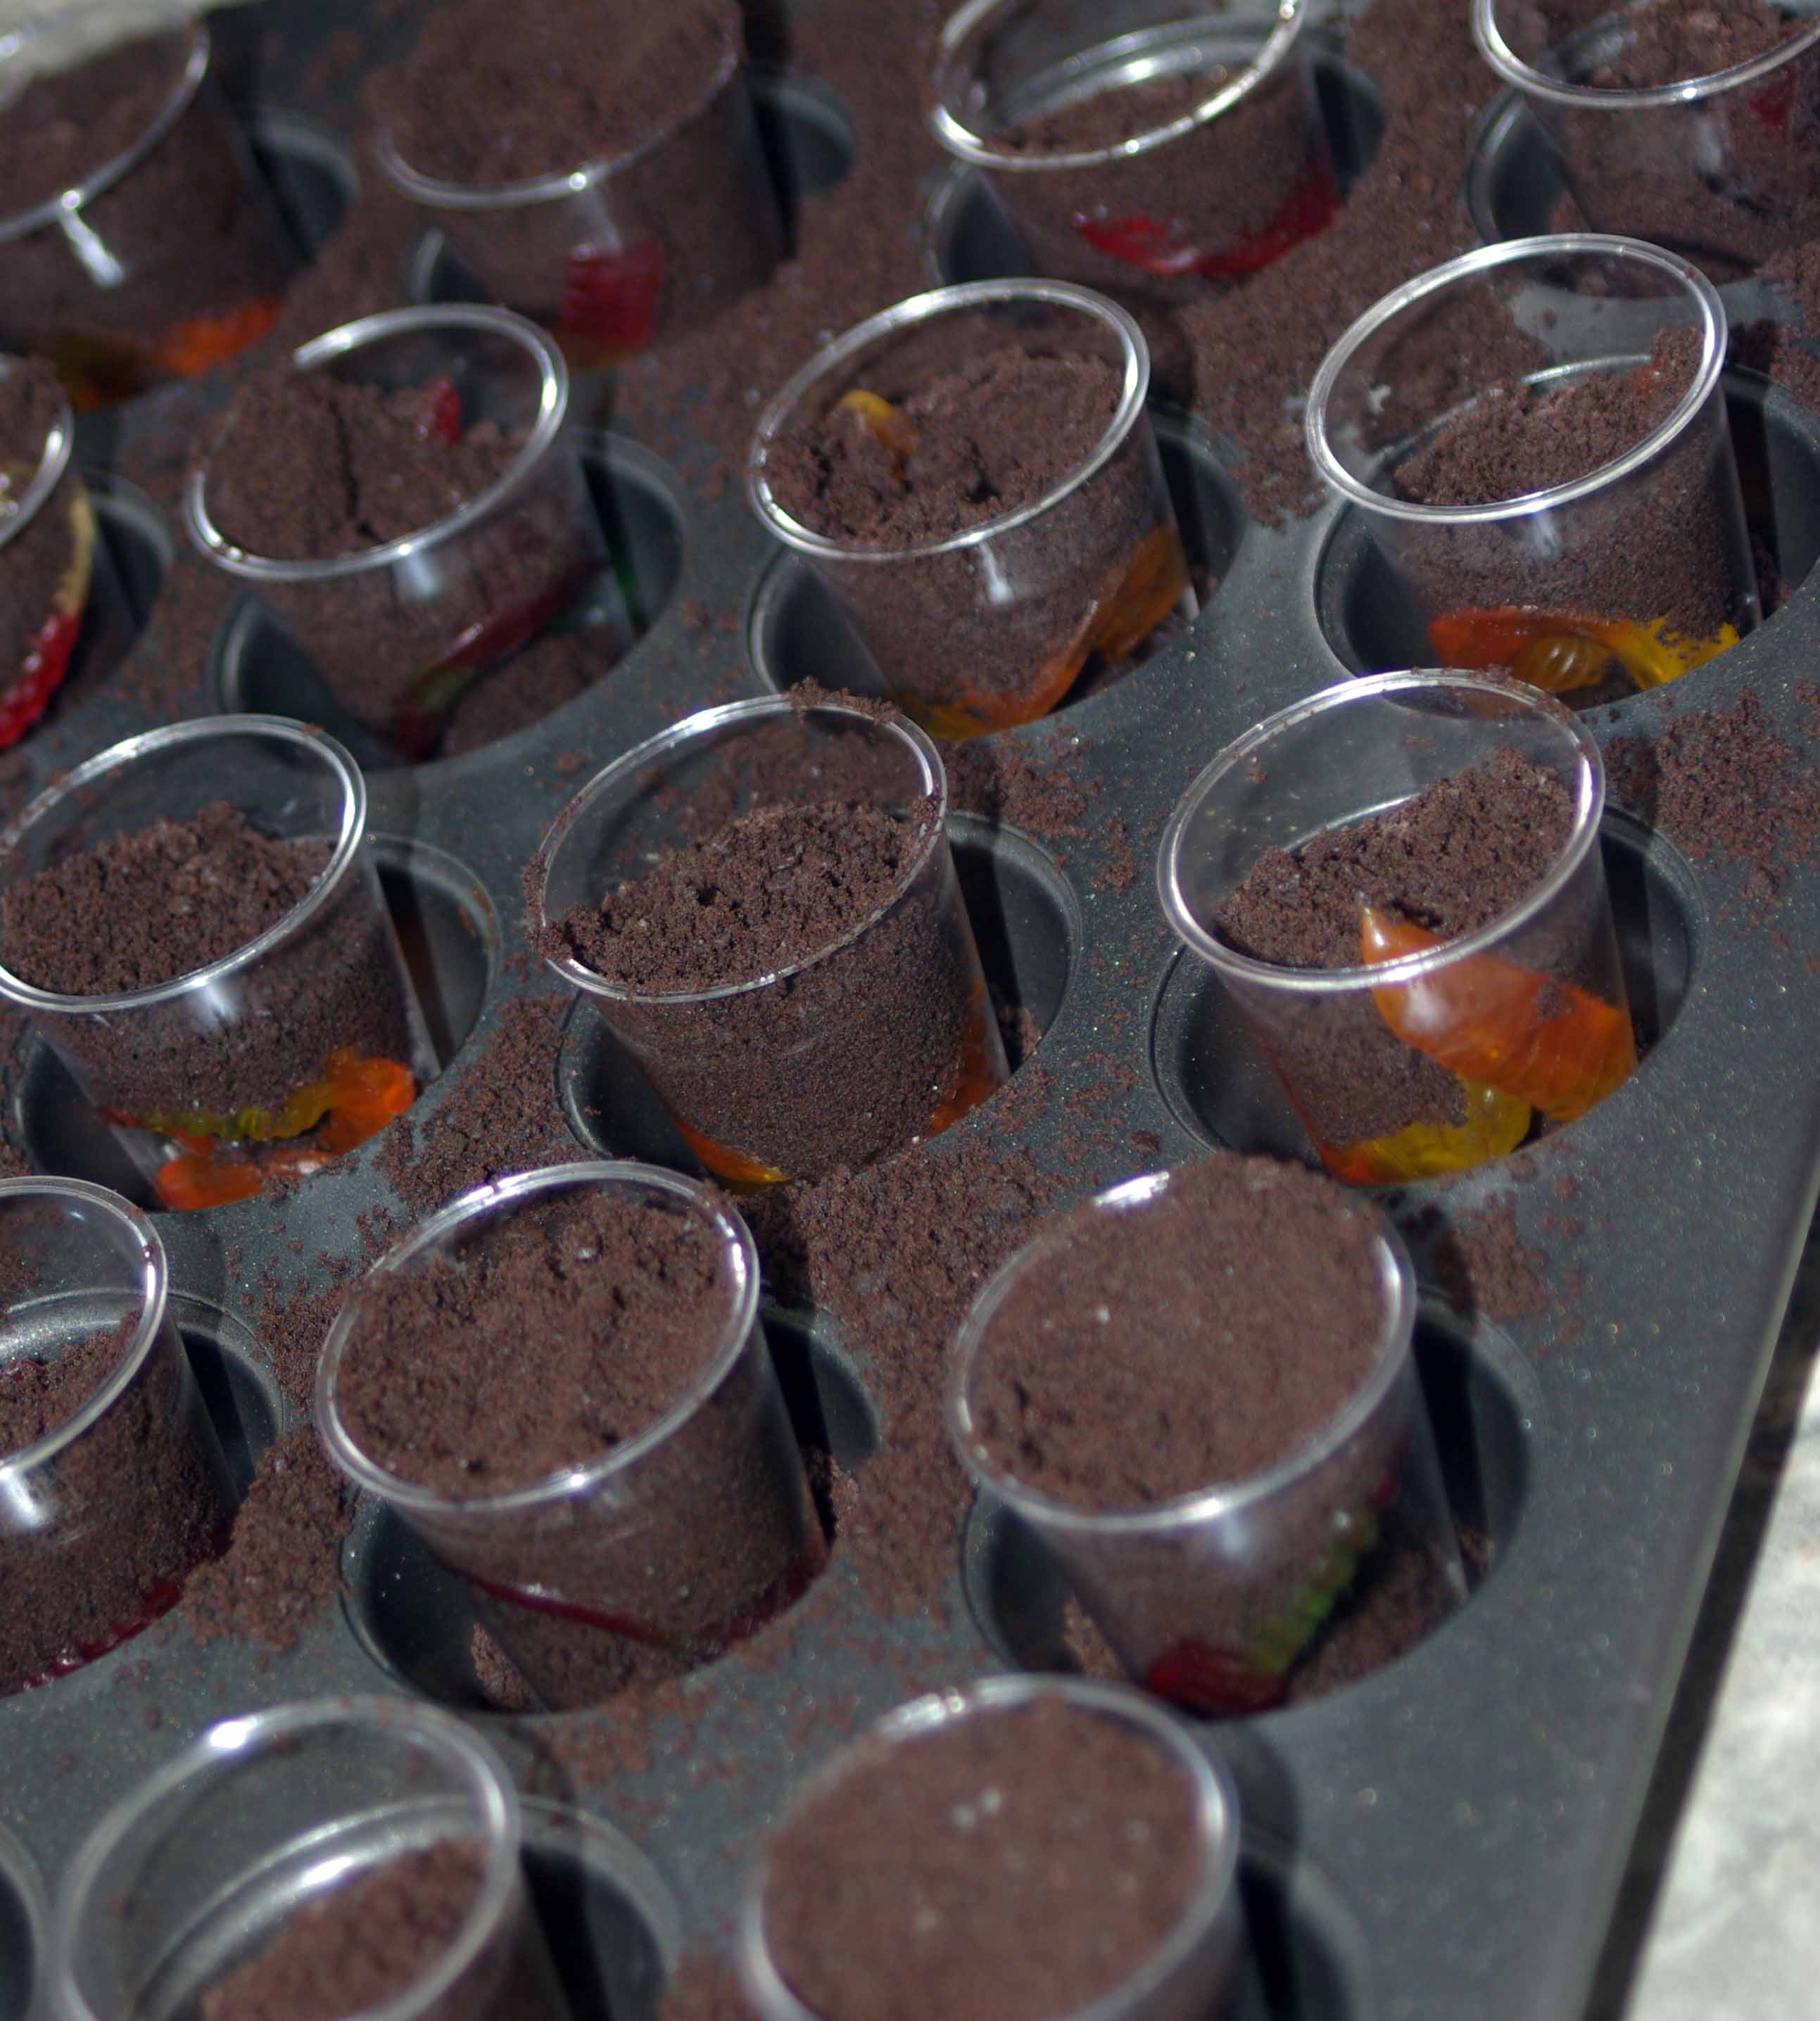
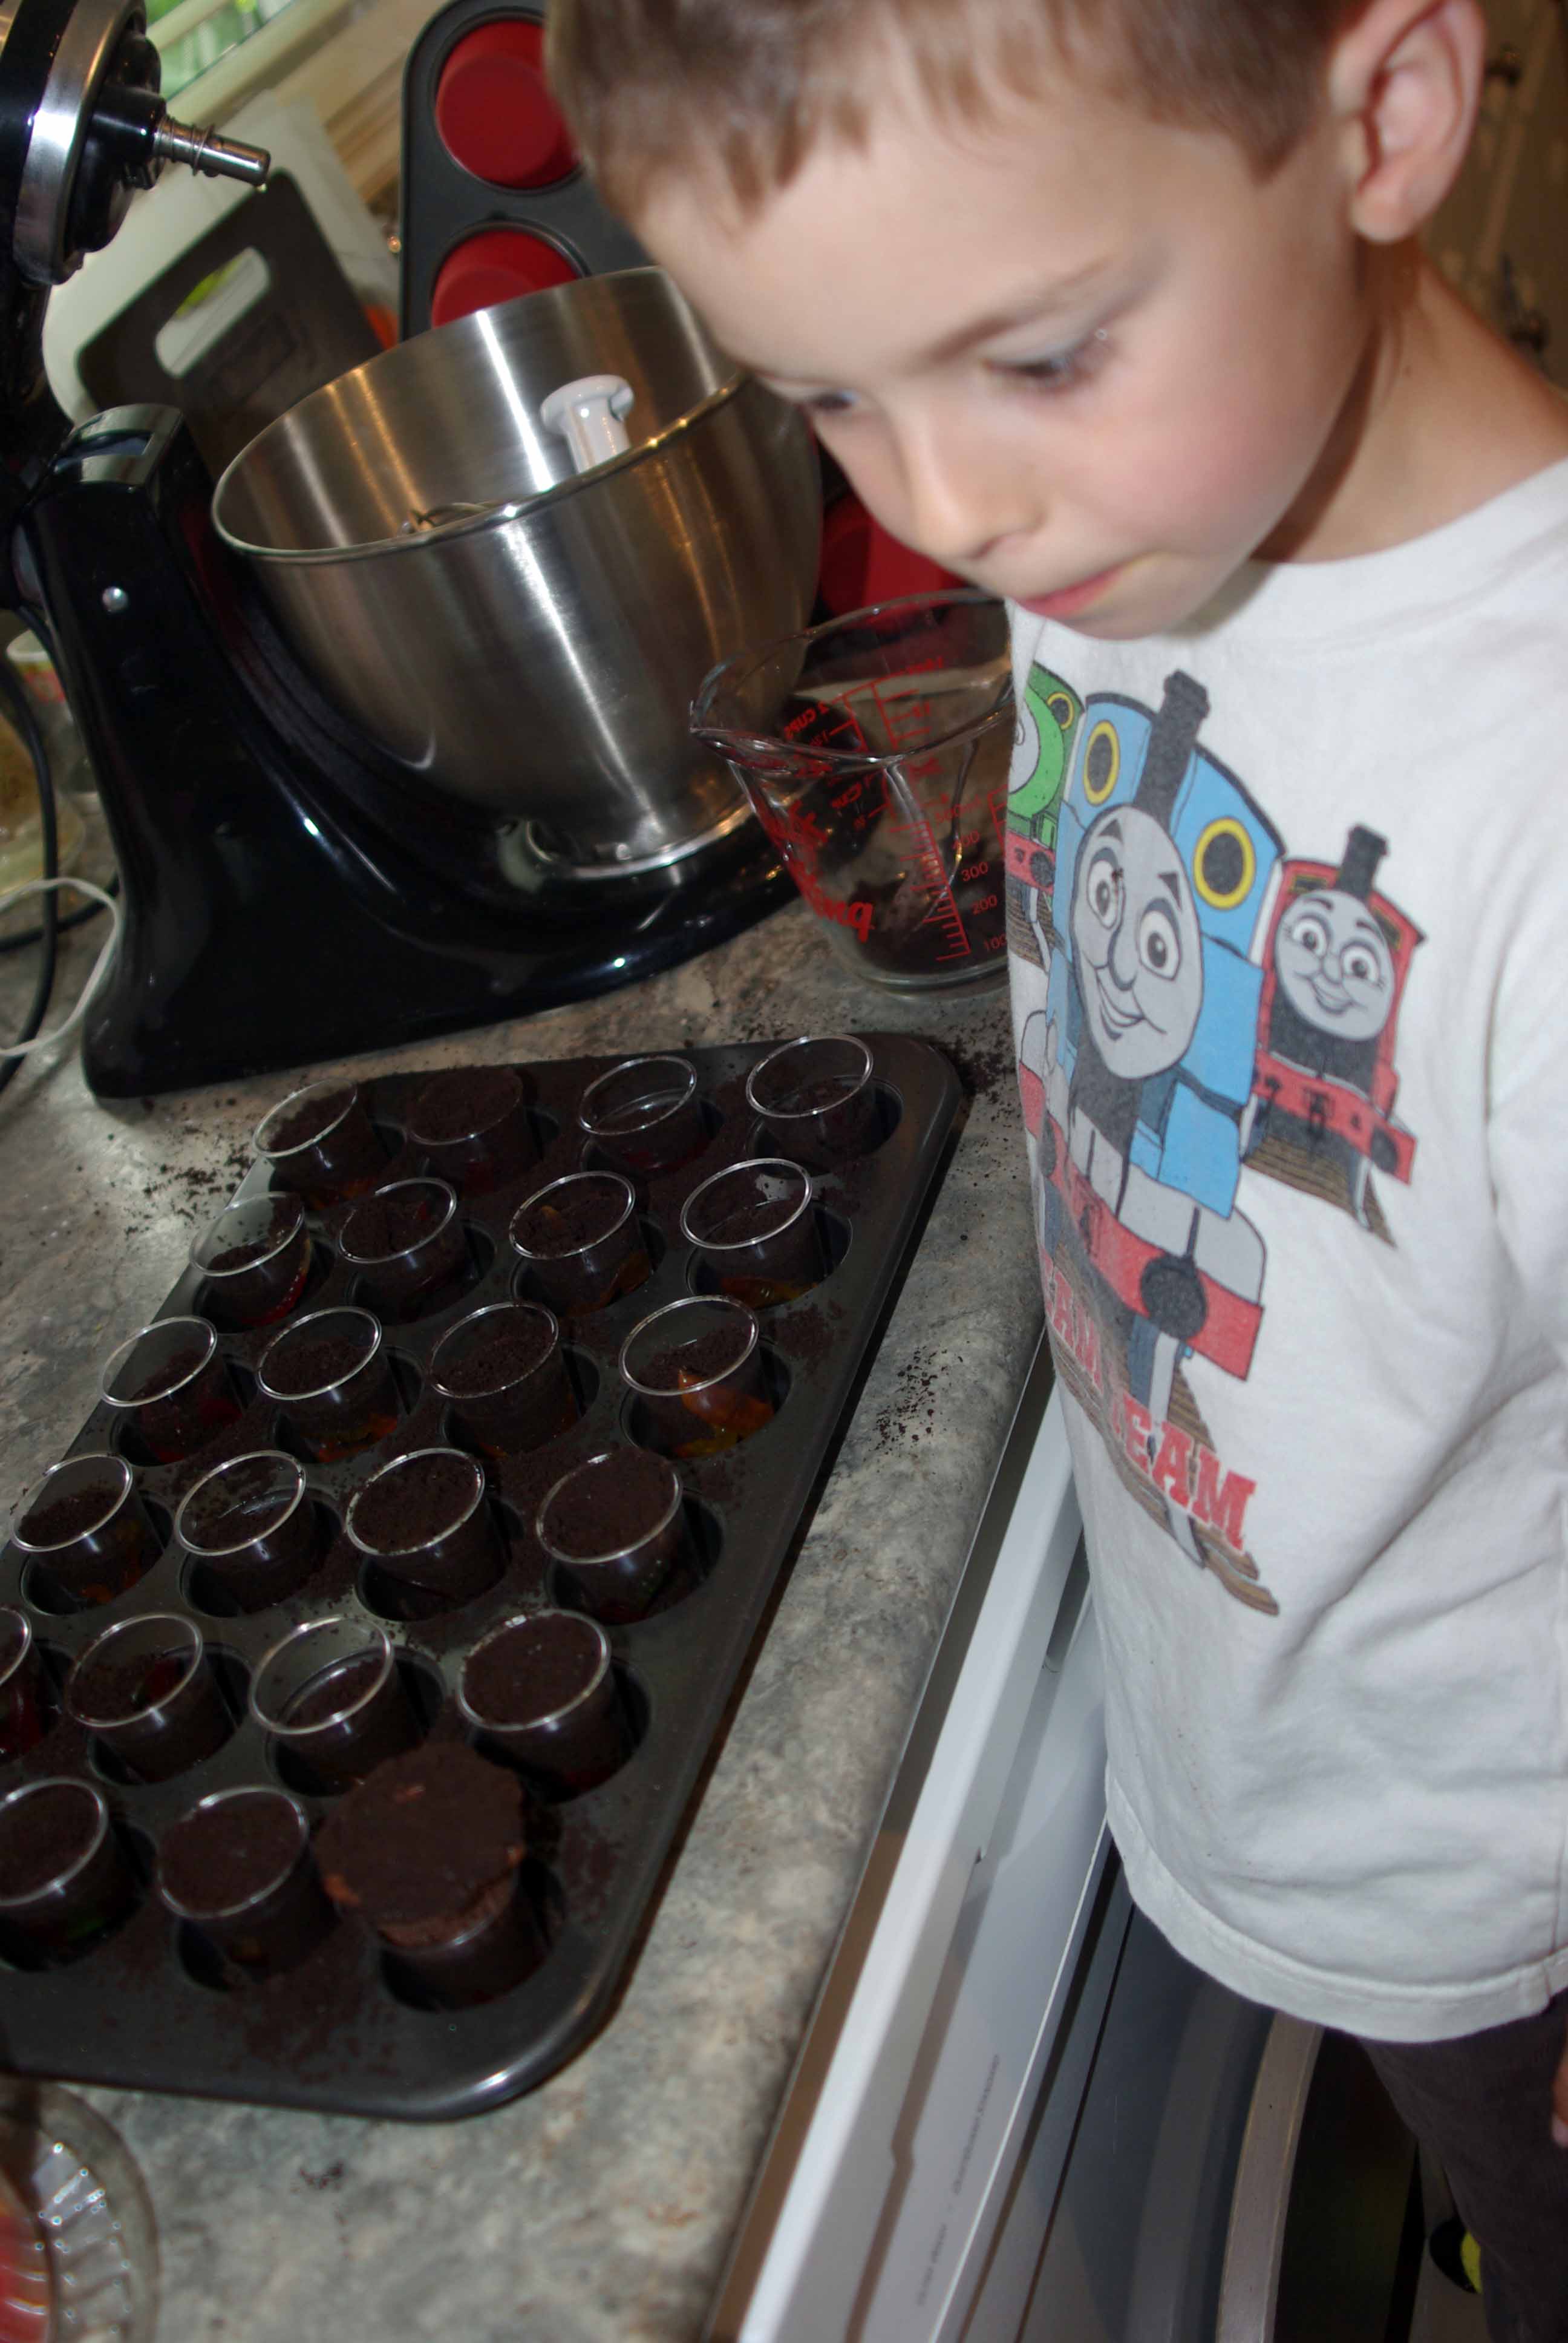
  3. to get the little ones involved, give them a cold mini cupcake pan and the little glasses, have them put one in each circle
  4. Put a worm in each little cups – again a very kid friendly task
  5. fill the cups 3/4 full with cookie crumbs – Sasha did this task also using a spoon to scoop in the crumbs
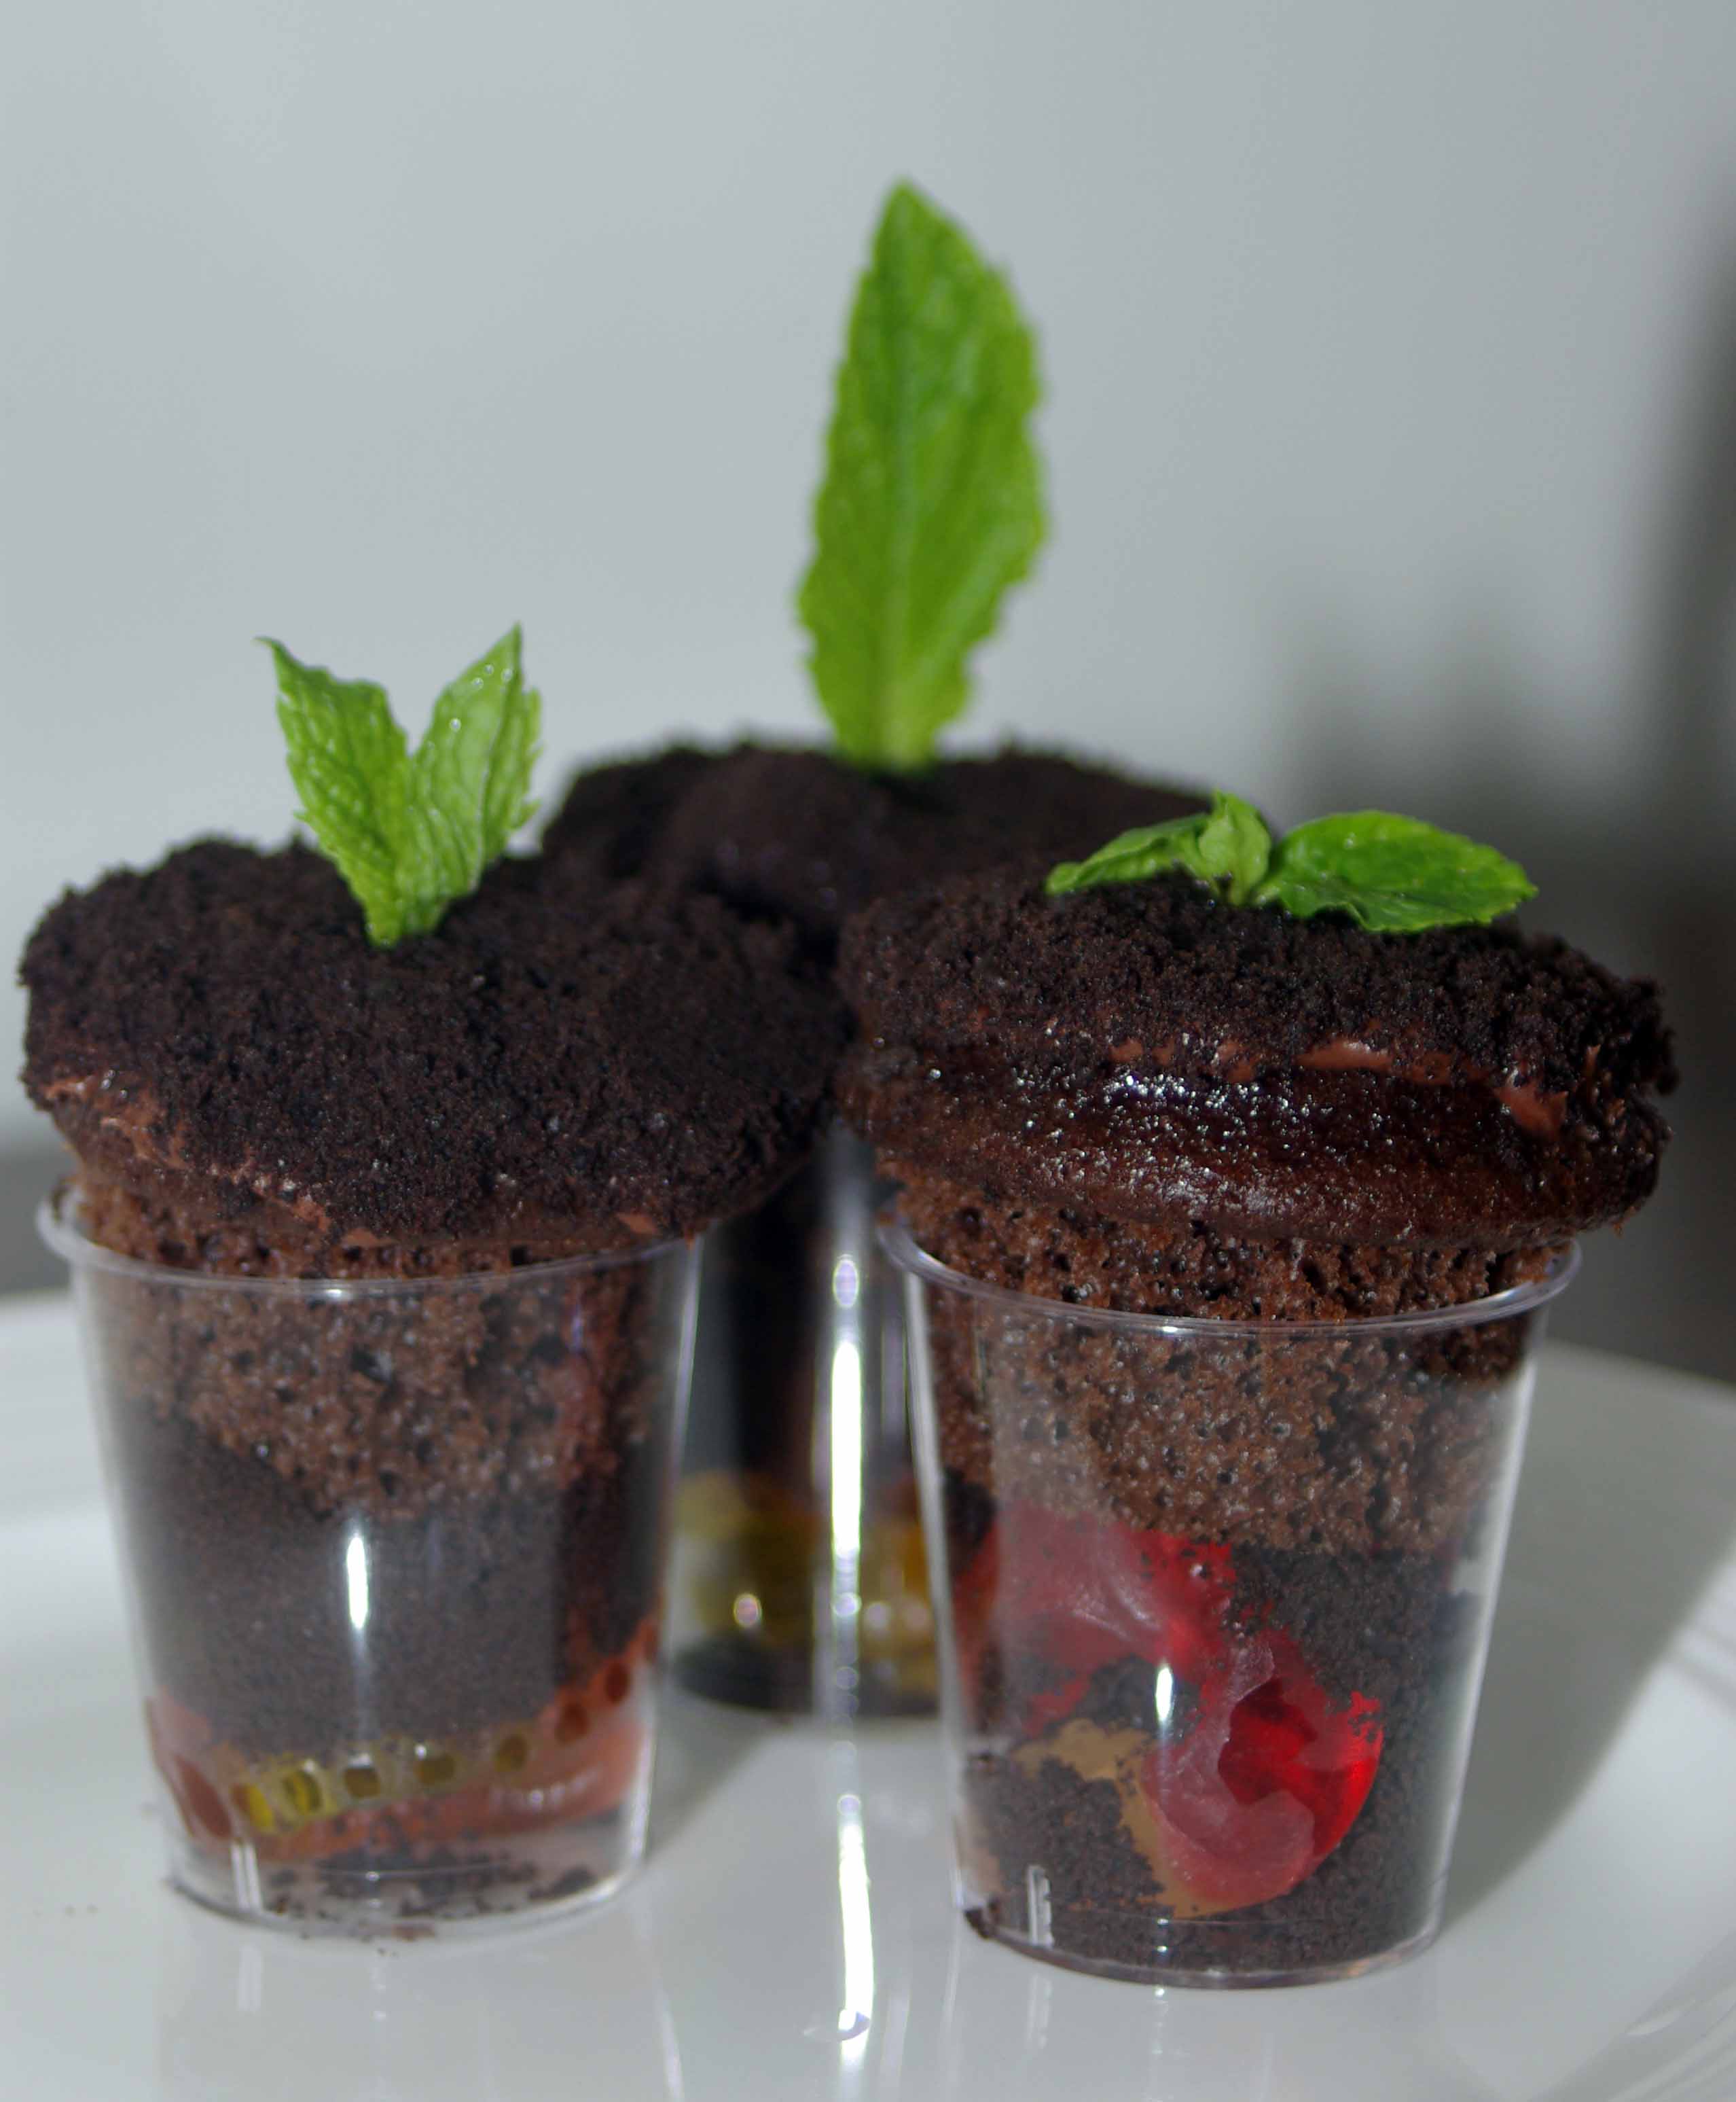
  6. put in a mini cupcake (wrapper removed)
  7. top with a sprig of mint before serving (if you put the mint in the cupcakes and refrigerate the mint wilts)

The kids and some of the parent’s at pre-school loved them.  The kids loved pulling the worm out of the dirt.  I like them because they represent my little guy sprouting, plus they are fun.

graduation

Keep celebrating, baking and creating.

Find me at http://www.makingalife.me or sign-up for email updates below.

Enter your email address to subscribe to this blog and receive notifications of new posts by email.

Watermelon Cupcakes


Here is a super quick post, because these cupcakes are super easy.  Especially when you are a box baker.  Sometimes life warrants cupcakes but time doesn’t allow for “from scratch”.  So faced with the choice of cupcakes fast and easy or no cupcakes at all, I go the easy route.

Ingredients:

Cherry Chip cake mix

3 eggs

water or milk as per the package

oil as per the package

red food colouring

mini chocolate chips

vanilla frosting

green food colouring


Directions:

1. Prepare the cupcakes as per the box directions.

2. Once all of the ingredients are mixed add a couple of drops of red food colouring, the more drops the more intense the colour.

3. Then mix in about 1/3 of a bag of chocolate chips.

4. Bake the cupcakes per the box directions

5. Mix up the green frosting, using vanilla frosting and green food colouring.  Again the colour depends on how many drops of green you use.  Start with a couple of drops and add more drops until you are happy with the colour.

6.  Wait until the cupcakes cool.

7. Frost.  I used a piping bag, but you could use a knife.

8. Add chocolate chips to the top.

9.  Serve or eat.

Keep baking, crafting and creating.

I just got my own blog website, find me at http://www.makingalife.me or sign-up for email updates below.

Enter your email address to subscribe to this blog and receive notifications of new posts by email.

← Back

Thank you for your response. ✨


BBQ Treats

burgers 2I am really looking forward to the first long weekend of the summer season.  I know that summer doesn’t technically start until June 21 but we are kicking it off NOW.  If you are heading to a BBQ this weekend, or hosting a BBQ what are you serving for dessert?  How about burgers?

TIPS: I used a boxed cake mix for these beauties.  Using a silicone cupcake tray means that there are no paper wrappers to remove.

Ingredients:

  • Chocolate cake mix
  • Vanilla cake mix
  • Oil – as per box mix directions
  • Eggs- as per box mix directions
  • Milk/water – as per box mix directions
  • 1/2 cup coconut
  • Green food colouring
  • Yellow & Red tube frosting
  • Optional decorative sticks
  • cupcake wrappers

Step 1. Prepare batter & bake cupcakes, if the goal is 12 cupcakes burgers you need 3-6 chocolate and 12 vanilla.

Step 2.  While the vanilla are still hot roll the top of the cupcake in a plate of sesame seeds

Step 3.  Let cool

Step 4. Cut the vanilla into 2 pieces, and chocolate into 2-3 pieces depending on the size

Step 5.  Mix 1/2 a cup of coconut with green food dye to make relish

Step 6.  Using prepackaged tubes of frosting for the ketchup & mustard, or a piping bag and coloured frosting, stick the coconut relish to the top of the bottom bun with either ketchup or mustard.  You could also use white frosting if you like mayo on your burger.  Drizzle a little ketchup or mustard on the edges for fun.  Put the burger on the bottom bun.

Step 7.  Using the alternate condiment put the top of the burger on the bun, again drizzling a little on the edges.    Stick a decorative stick in the top if you wish.  ENJOY.

Have a great weekend!

burger 1


I just got my own blog name, find me at http://www.makingalife.me or sign-up for email updates below.

Enter your email address to subscribe to this blog and receive notifications of new posts by email.

Chocolate Bird’s Nests

For Easter I made up a batch of these Bird’s Nest cookies.  They were a hit with someone!


Ingredients:

  • 4 ounces semisweet chocolate
  • 1 cup small chow mein noodles
  • 12 small chocolate or malted egg shaped candy

Directions:

  1. Melt chocolate.  You can microwave or use a double broiler.
  2. Add chow mein noodles and stir to combine (if the mixture looks too loose, add some more noodles).
  3. Using 2 spoons, spoon onto parchament paper and shape into nest.
  4. Put little chocolate or malted eggs into nest and let the chocolate set up for about 30 minutes in the freezer.
  5. Remove from the freezer an hour before serving.

Enter your email address to subscribe to this blog and receive notifications of new posts by email.

Lego Party

This will be the last post about Sasha turning 5 I promise, but birthdays bring out the crafter in me so I thought I would share.  We rented the gym of the local rec center for Sasha’s party for the second year in a row, it comes with a bouncy castle, ride on toys, and sports equipment.  But the very best part is that I don’t have to clean up after the party.  Sasha chose a Lego theme which was fine by me and quite easy to decorate for.  My husband and I have an agreement about throwing parties; he is always happily in charge of the menu, cooking and drinks.  I take care of invites, decorations, presents, and dessert.  This arrangement is also the way that all holidays operate and it works perfectly for us.

Every year I have made Sasha a birthday shirt to wear to his party, this year he requested dark green one which I found at Joe fresh for $1.94 and stamped FIVE on it, piece of cake.  Unfortunately for me I had to walk through the women’s section to get to the kids clothes so while the green t-shirt was a deal the final bill wasn’t $1.94.  Sasha and I made old school paper invitations to give to the kids in his class designed to look like Lego blocks.  We hung a felt Happy Birthday bunting over the table of treats which I whipped up.   Using Lego that we had on hand and a picture easel I made the 5 sign which Sasha now has proudly on display on his bed side table. The coloured boxes contained Slinky’s which I tried to decorate to replicate Lego blocks for the take home gifts for the older kids.  I love a bargain as much as I love making crafts and the Slinky’s were a steal at $0.75 each at Target.  The kids also took home candy Lego which Sasha and I packaged with a little thank you note.   I went to a couple of stores before I found Lego candy so hit up the Bulk Barn if you are on the hunt.  I also used the Lego candy to decorate the cupcakes along with a Lego/Five flag made from paper straws and printed images.  I made 3 1/2 dozen cupcakes for the 30+ people at the party.  The cupcakes are on a board which I made from 2 pieces of laminate flooring glued together and wrapped in aluminum foil.  I used the same cupcake platter last year because it’s a great way to serve the cupcakes, all of the kids can just grab one, or two or three cupcakes from the center of the table.   Sasha and Logan both had a great time, and I imagine all of the other little people did too.  Until next year.

The Big 5

My oldest turned 5 yesterday, and to celebrate I made this cake for gezzert.  It was a little harder than I though it would be.  I printed out the number 5 on regular printer paper and used toothpicks to stick it into the cake.  The frosting was semi-hard at this point so the paper didn’t stick to the cake.  Then I thought I would just shake the sprinkles on and the cake would be done.  Instead I had to spoon them on, and push them into the frosting.  I was wondering if the frosting should still be wet?  But not too wet because the colouring of the sprinkles would run.  If anyone knows a better way please let me know.   Then  I tied water balloons to wooden skewers, stuck them in and voila.  The birthday boy was very concerned that the heat from the candles was going to pop the balloons, rest assured that didn’t happen.  Now who wants cake….

Reindeer Cookies

reindeer cookiesI saw these SUPER cute reindeer cookies on Pinterest, but they were peanut butter based, and with a peanut butter allergy in Sasha’s class, peanut butter is on the no fly list.  So I made nut allergy friendly chocolate chip cookies, with regular pretzels antlers, and a batch with chocolate covered pretzel antlers.  The nose, eyes and antlers can be added to any of your favourite cookie recipes to deal with any of the allergies in your life.  A tip…get those antlers, eyes and noses in fast and then pop them in the freezer to harden the chocolate so they stay in place.  Enjoy.

On the ninth day of Christmas…we created a village.

Gingerbread villageWith a little help from my 3 year old we made a gingerbread village.  I have never tried to make a gingerbread house from scratch because it just seems like too much work.  There is nothing wrong with a store bought kit, the fun part is decorating it anyway so why make a giant baking mess for a similar result.  My little guy is eyeing the houses, I wonder how long they will last?

On the seventh day of Christmas…I wrapped a giftcard

Since I have been on mat leave I have found myself watching some daytime TV.  I saw this idea on Steven & Chris, and thought how smart.  So for the gift card receivers on my list, dig through the candy for the real treat.  I bought the little paint cans, inserted the giftcard, and filled up the can with candy.  Not exactly crafting but a creative way to wrap a giftcard.

On the sixth day of Christmas…my true love covered me in chocolate

IMGP7415Sounds yummy, but really I meant peanut butter balls and sugar cookies.  For my birthday this year I got a KitchenAid stand mixer (I know what a lucky girl) and I decided what better time of year than Christmas to give it a good workout.  I whipped up at least 15 dozen treats, sugar cookies, peanut butter balls, and mints.  I signed up for a cookie exchange with some other moms and traded my treats with others for a little more variety, YUMMY.  My go to shop for just about everything, Michael’s had these cute little boxes on sale for $1.00.  With my son’s help we made little tags with card stock and Christmas stickers.  As far as the recipes go, I always just google a type of treat, read the reviews and take it from there, I may or may not remember to bookmark it so it’s always a surprise.  Hope you are hungry.