Crafting Through the Holidays…again

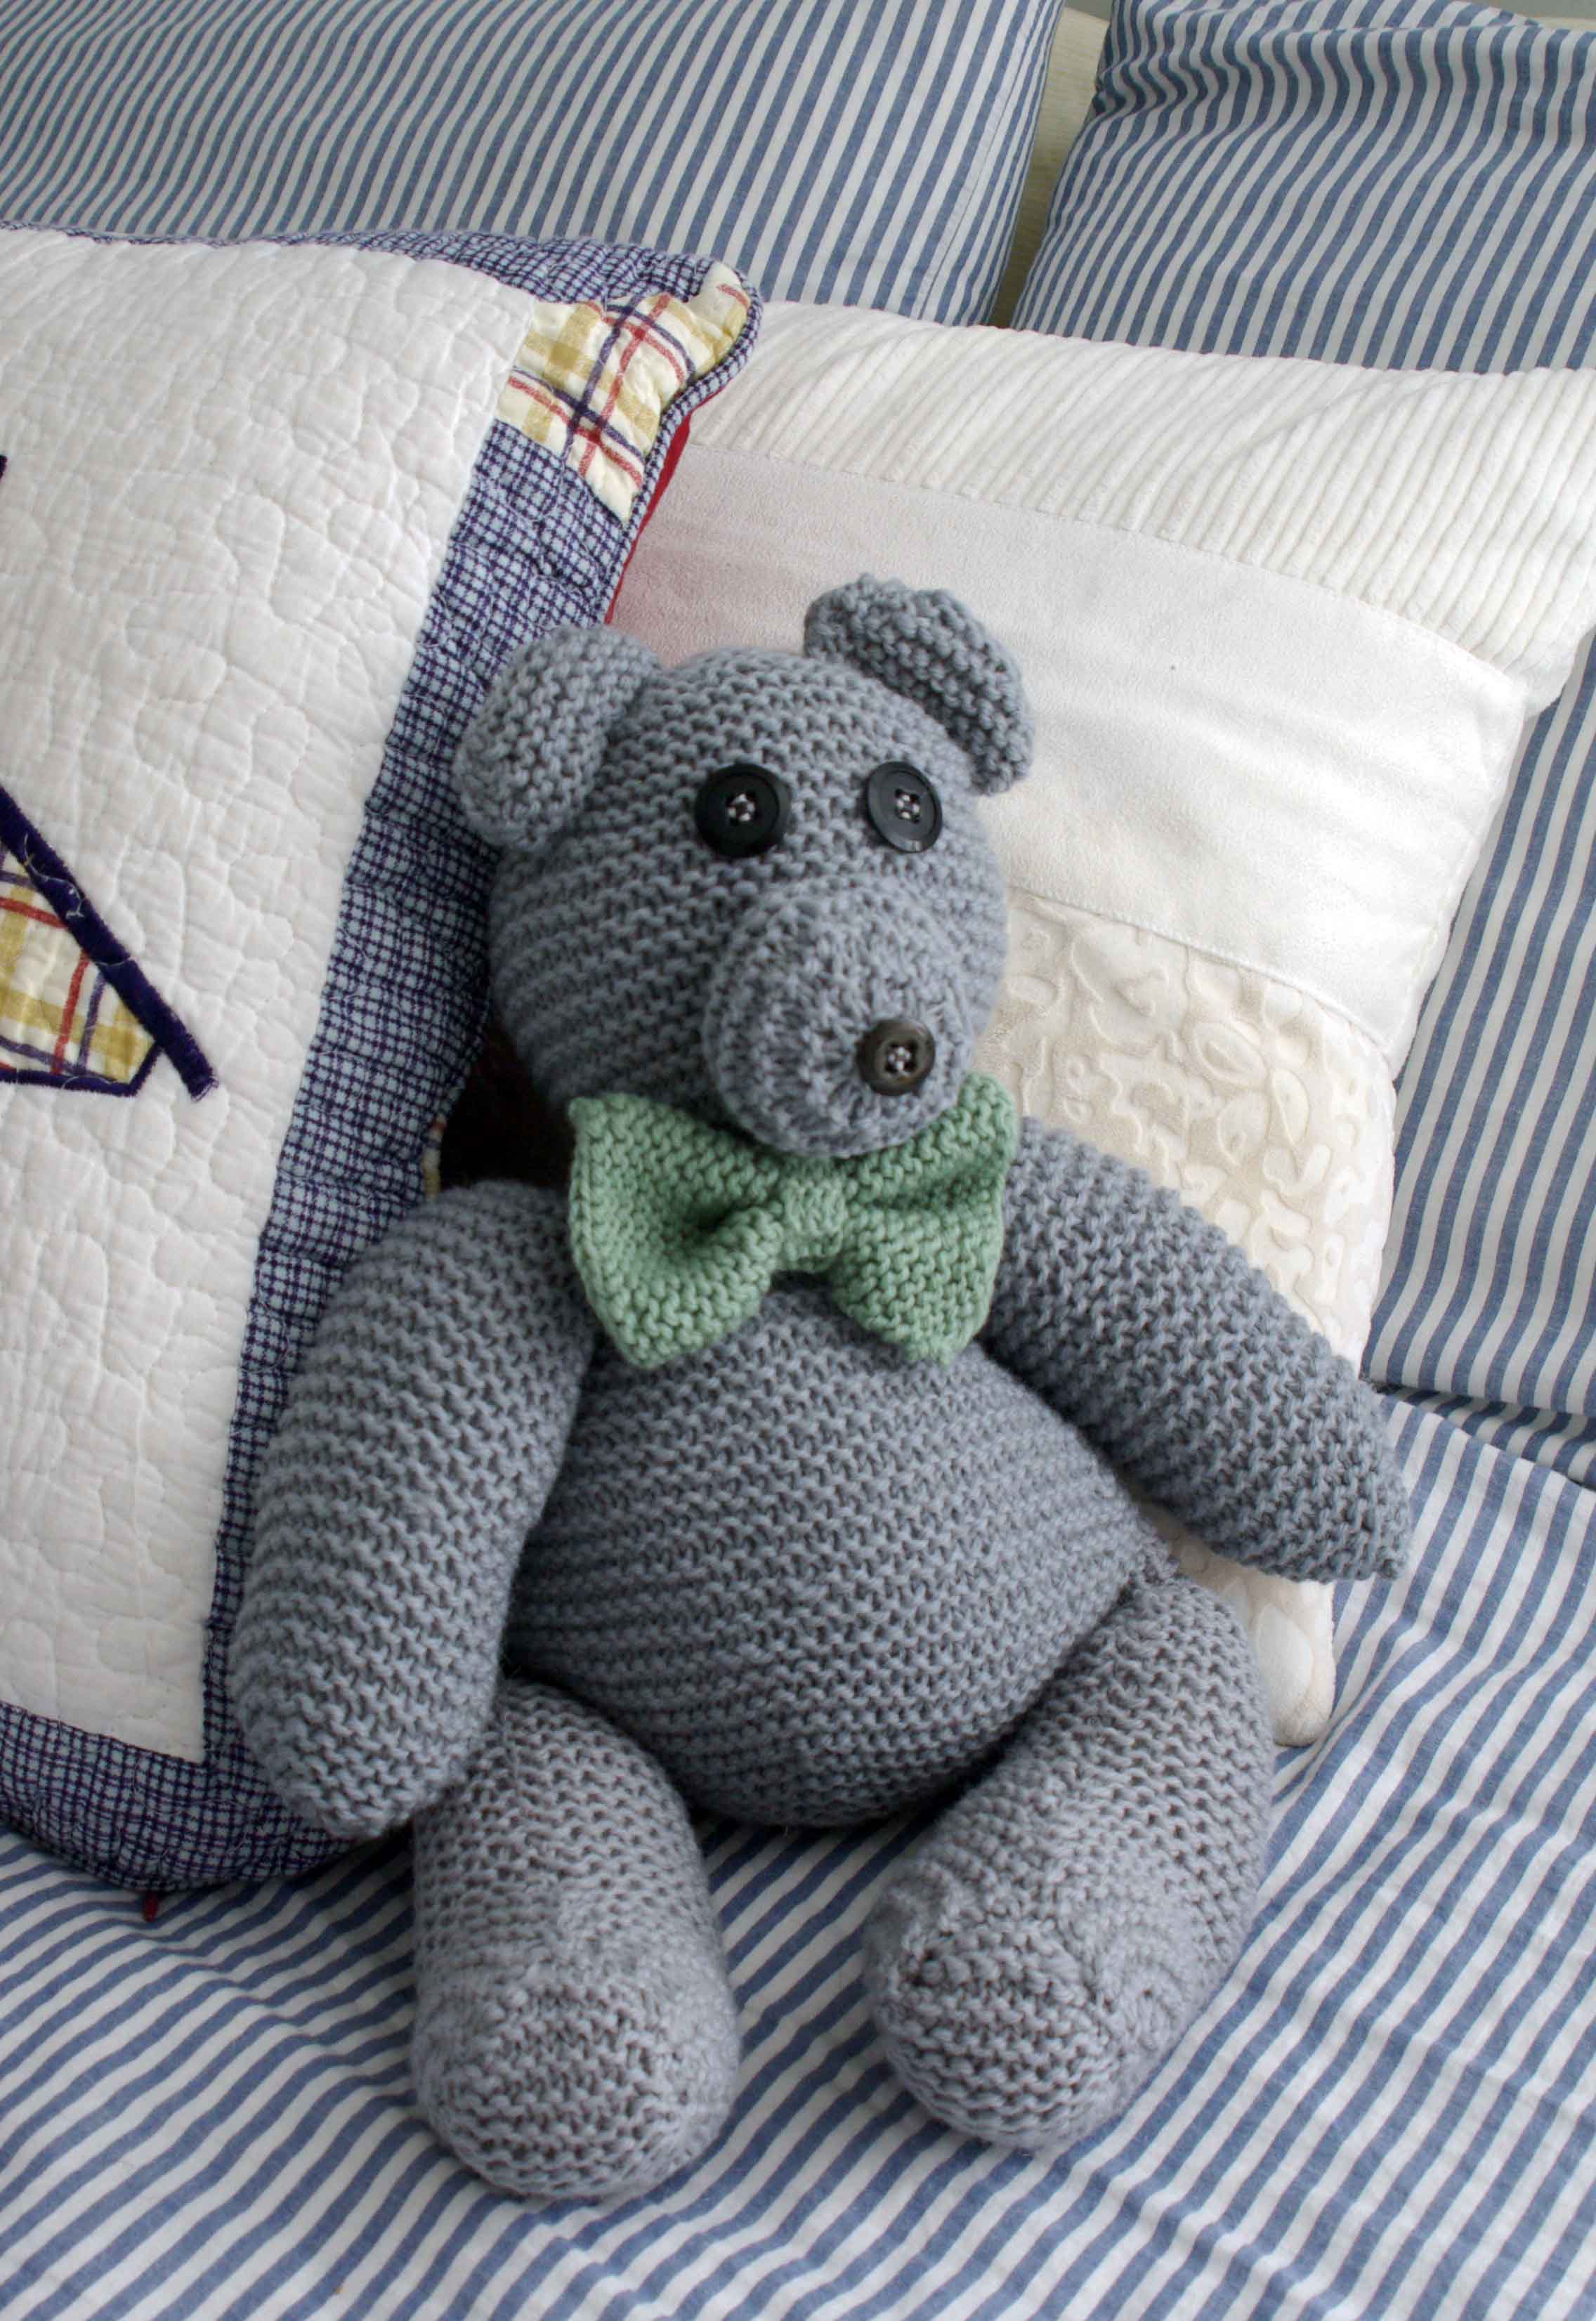
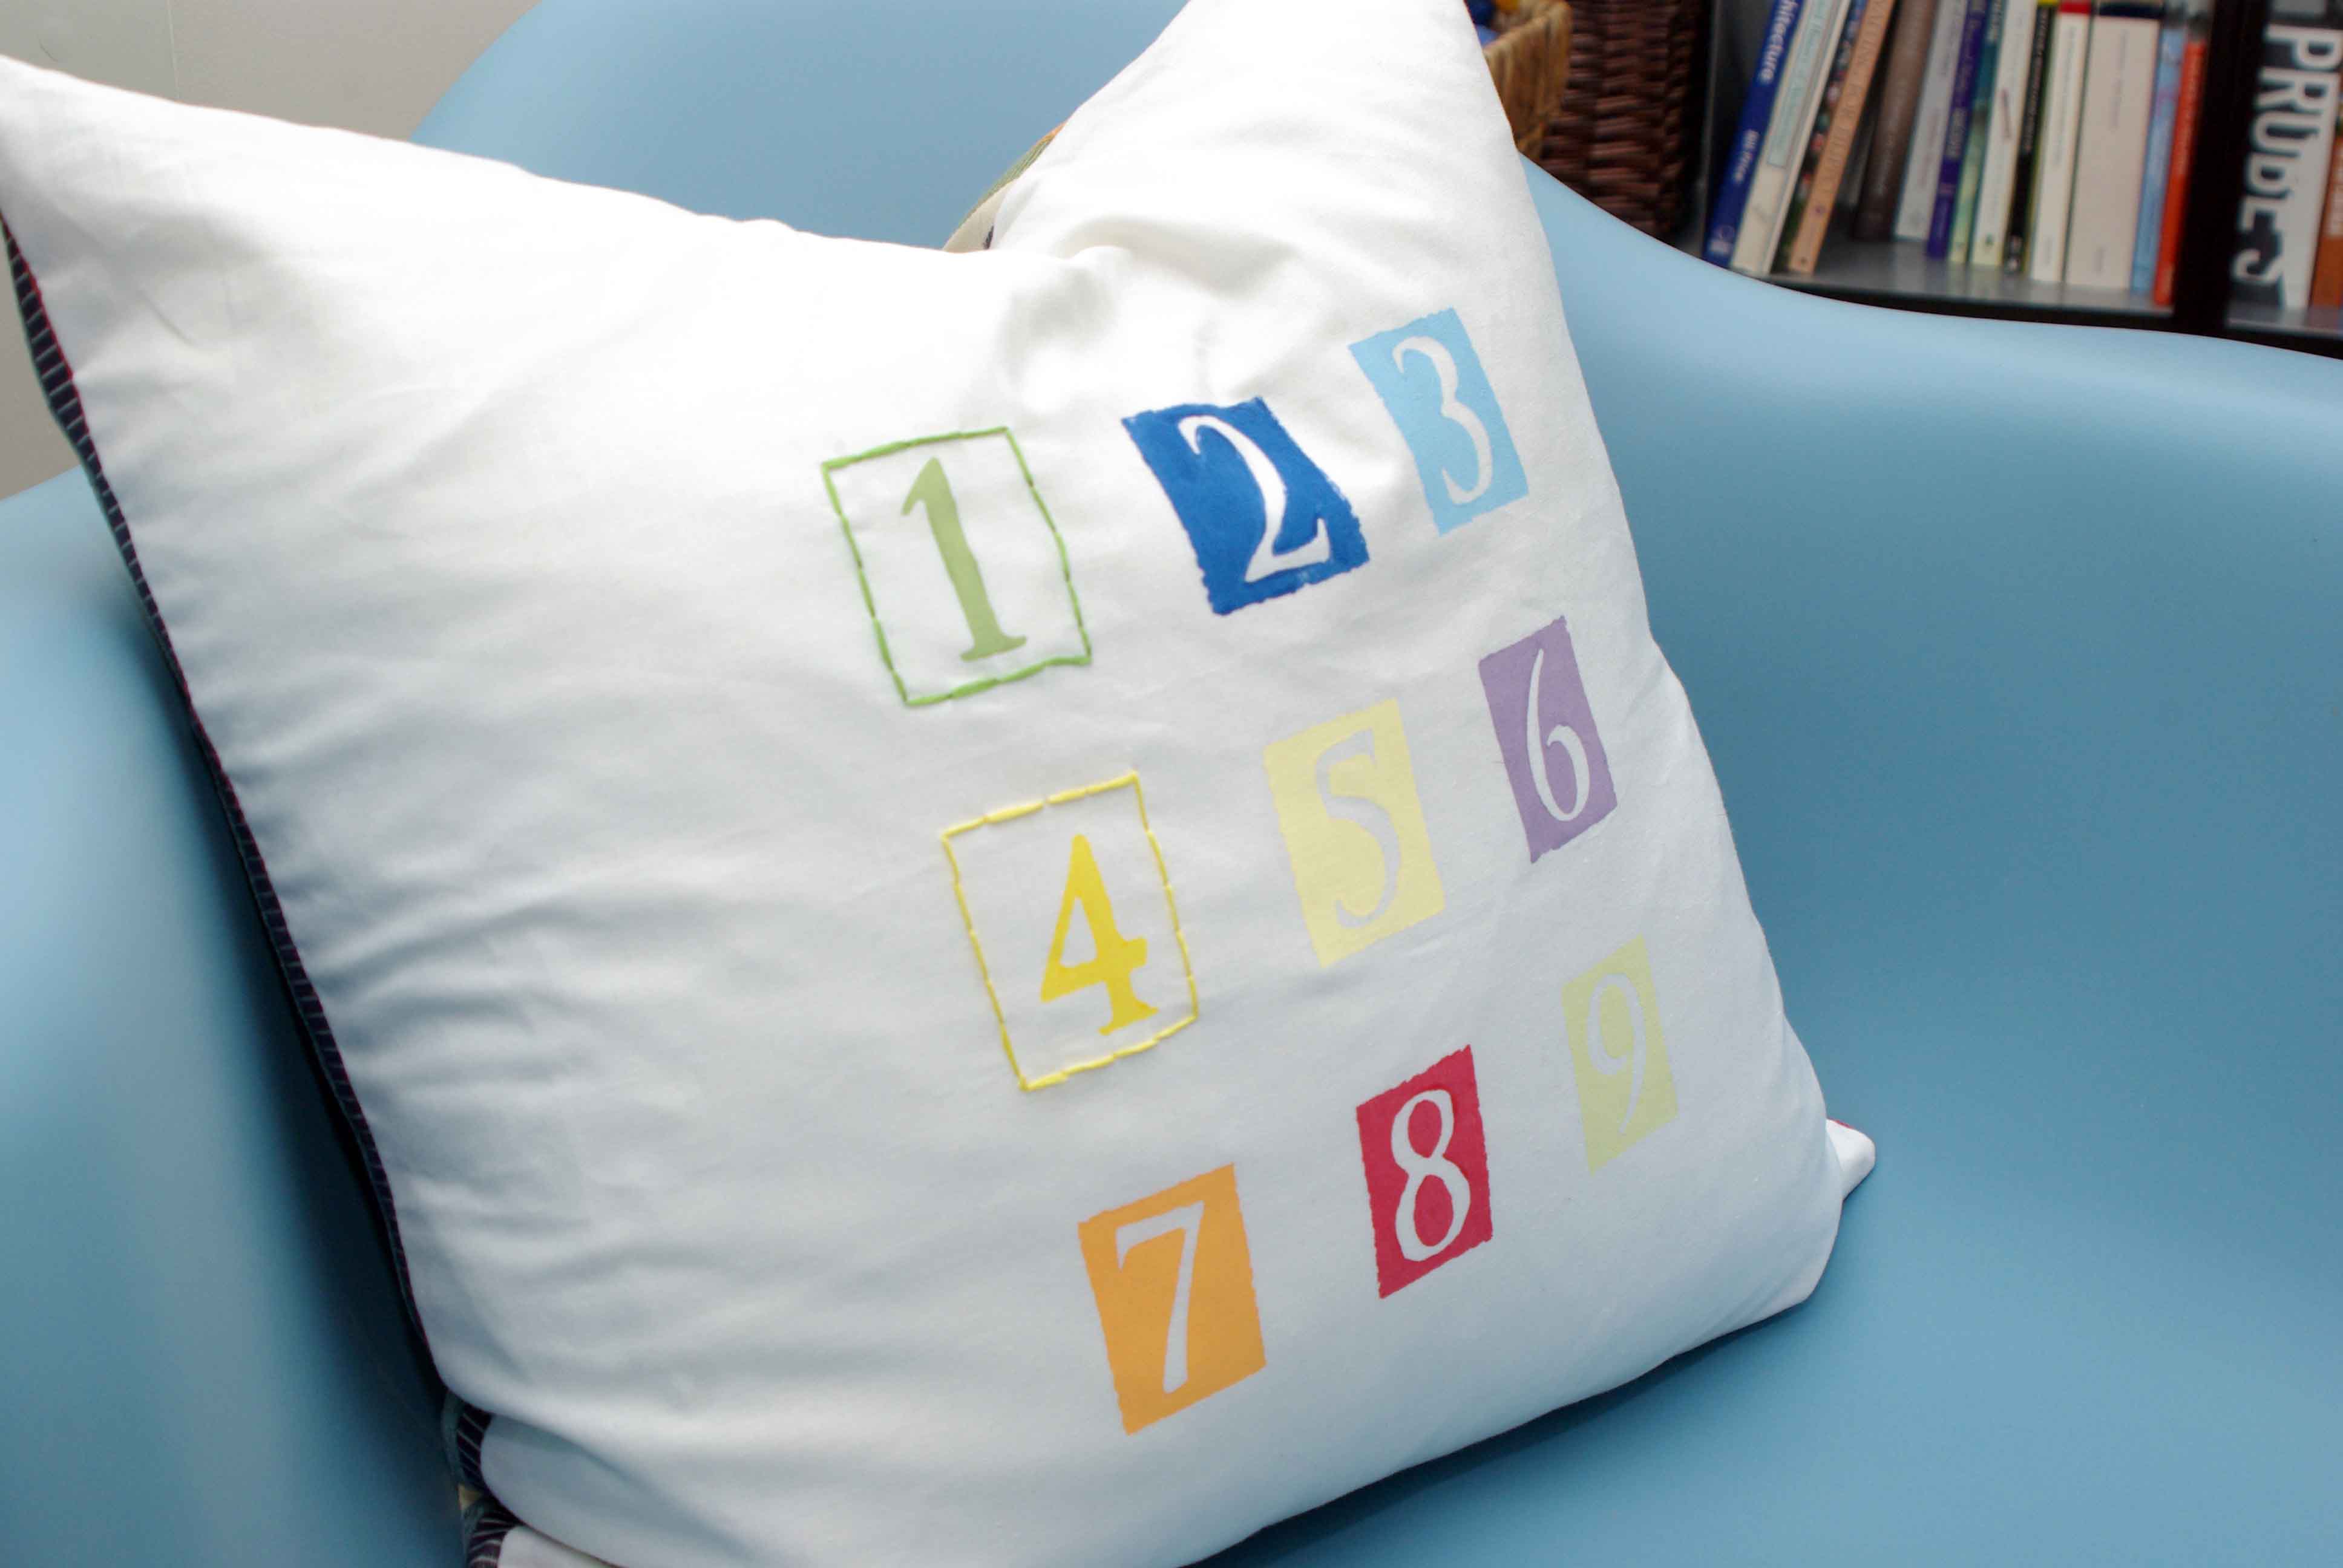
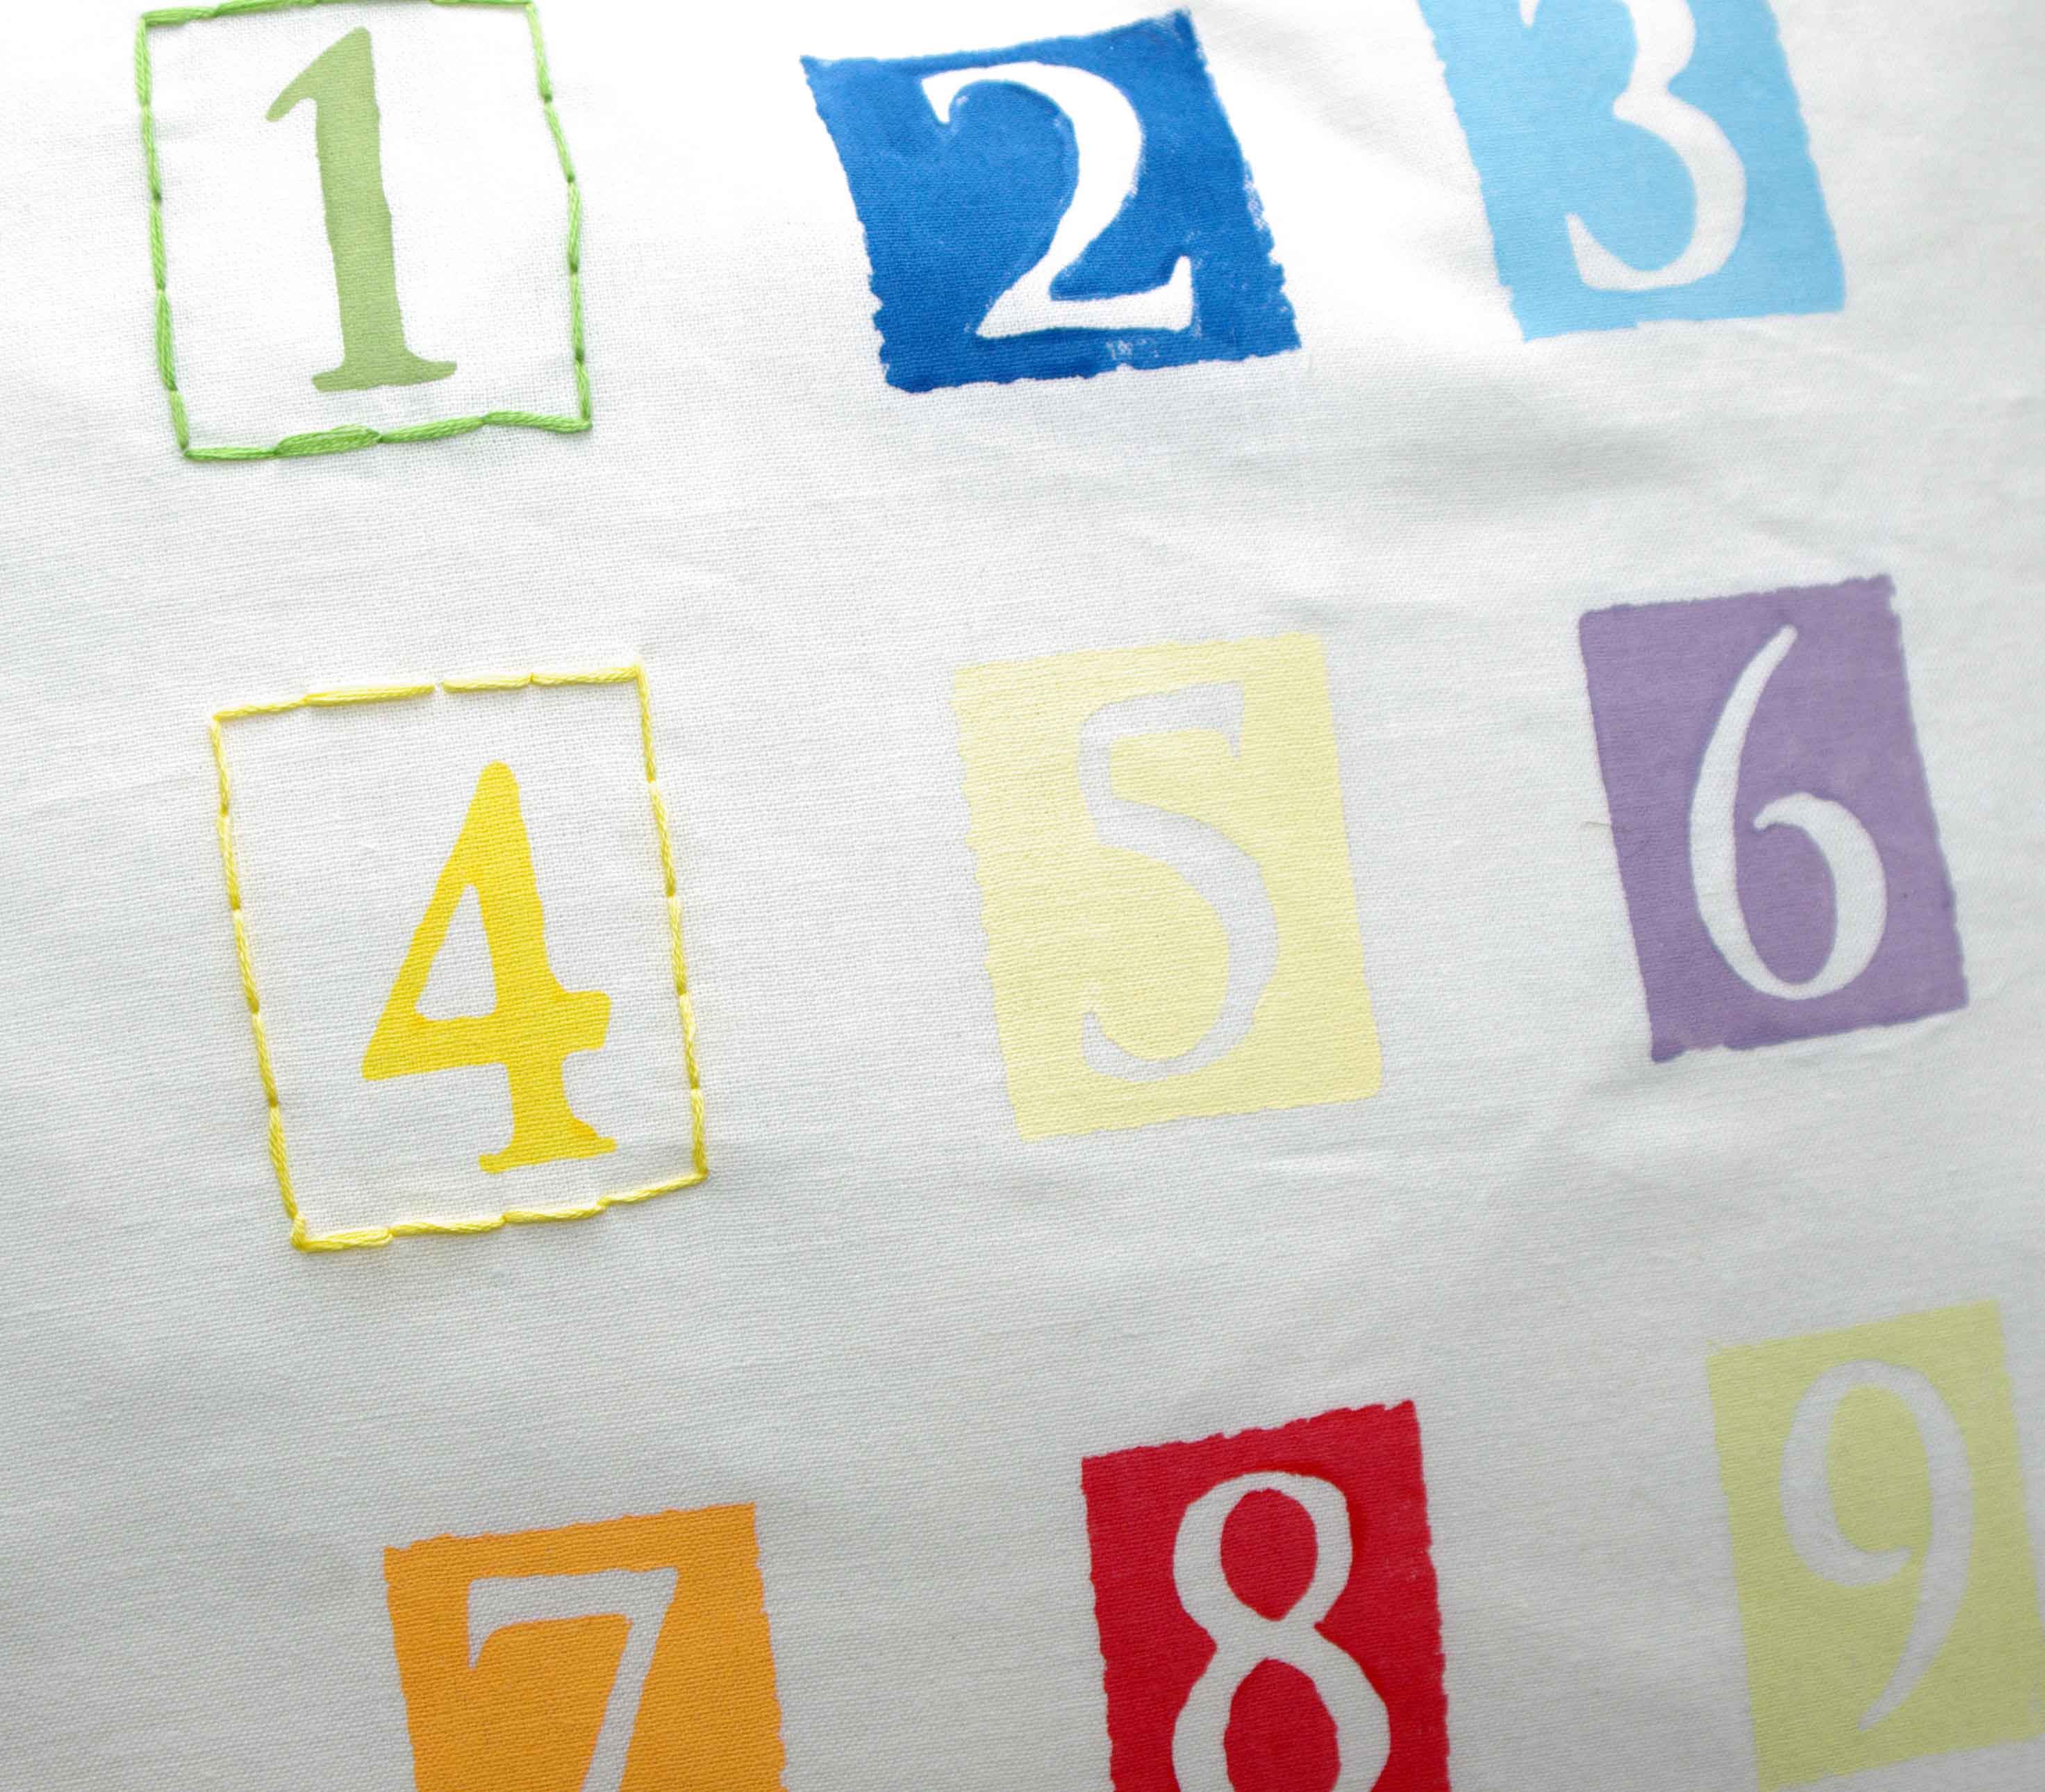
Last year I wrote a blog at Christmas called Crafting Through the Holidays, and this year I am still crafting through the holidays, I just can’t help myself. I like to make the kids presents every year, and this year is no different. For Logan I have made stacking knit/sewn boxes. It was quite an undertaking, and probably not worth the time, but who knows maybe they will be his favourite toy. I rarely follow a pattern, or a recipe for that matter to the letter. I adapt patterns and recipes depending on the ingredients I have available. In this case I looked at a pattern from one of Susan B Anderson’s knitting books, and changed the yarn, and the sizes. I would like to say that I was still 100% successful, but one of the boxes doesn’t quite fit. Stacking these boxes inside of each other will be a test of Logan’s dexterity & patience, and there isn’t anything wrong with that.

Our Cross-dressing Christmas Tree

tree skirt 1 With three guys in the house the testosterone over flows. Much to my surprise the Christmas tree is male too.   I was told by my four year old that “the tree is a boy, and boys don’t wear skirts”.   Of course I learned that the tree was a boy only after I made it a skirt.  So the compromise, a train tree skirt. For the times that I have put up a tree in the last 18 years, the skirt was missing. Sometimes I put a towel, or piece of random fabric draped around the base of the tree. I just filled the bottom with presents and who knew what was hiding underneath. But this year I committed to “finishing” the tree. I was out shopping, and I saw a beautiful tree skirt (with a train on it) for $100.00, and thought hey I can make something like this. My go to for “floor” fabrics are canvas painting drop cloths available at most hardware stores for what amounts to a couple of dollars a yard for heavy-duty fabric. A trip to Michael’s for ribbon, and felt and I was ready to craft.  I edged the skirt with ribbon, cut out the train shapes and cargo out of felt, and using coloured embroidery floss sewed the train cars, ribbon/button embellishments and button wheels to the fabric base. It is a hit was Sasha who insisted on making a paper train to match.

tree skirt 3tree skirt 2

I'm A Top Craft & Diy Mom Blogger @ Top Mommy Blogs - Please Click To Give Me A Vote

Boys & Balls

It seems like things are always flying around this house.  I don’t know if it’s a boy thing but everything gets tossed.  In an effort to incorporate the kids into the surroundings I made these felted bouncy balls to sit in a wooden bowl on the coffee table.  They are decorative and functional, the perfect type of thing to have when little fingers are busy tossing everything in sight.  They are soft so they don’t hurt anyone or anything.  They are also machine washable, a perfect attribute when dealing with the hands & mouth of  a one year old.  I knit wool covers for bouncy balls, threw in the washer on hot and magically the wool covers felted in the wash.  I adapted a pattern from the “Itty-Bitty Toys” book by Susan B Anderson to fit the size bouncy ball I bought.

Stuffies

When I was a kid I loved stuffies.  I had my favourites and slept with them every night.  When my first born arrived, the first present I bought for him sat neglected.  He was not a fan of stuffies, and when he was three he asked me to take all of the stuffies from his room, and put them in the soon to be baby’s room.  Well that was a very good call, my second little person, is a stuffie snuggler.  He sleeps with one, or two, or three at night.  When one is laying neglected on the floor, he can’t seem to crawl by without burying his face in it.  He crawls around the house with little stuffies in his mouth.  Yes he looks like a dog while doing it.  He loves his stuffies and he comes by it naturally.  So when I saw a pattern for a knit teddy bear, I had to make it for him.  I finished it the other day and was going to wait for a special occasion to give it to him, when he came into my room pointed at it and said “what’s that”, pointing until his dad brought him close enough for a snuggle.  He grabbed it, and stuck his thumb in his mouth and had a little snuggle, his sign of approval.

Sewing Lessons

A funny thing about little boys, or my little boys anyway is that any strange noise must be investigated.  If I ever want their attention I just need to make a little noise and they will come running.  So it’s a sure bet that if I start sewing, I automatically get an audience.  With the audience I get a volunteer.  In this case I was making a pillow and Sasha was my helper.  I walked him through all of the steps of making a pillow, he was interested in how the zipper would be attached, and why I was doing certain things.  He also loves to sew, which means that he presses really hard on my foot as I sew.  This time I let him wind the bobbin all by himself, he was pretty stoked.  I always forget what it’s like to be little and constantly learning.  Often I get caught up in time, I am always trying to do too many things at once and  I want to get things over with and move onto the next project.  I need to remember to enjoy the process, be patient, and respect the learning and creativity of the little people in my life.  

When I look at the pillow I think of the process, not the finished product.  Sasha and I stamped the numbers on the fabric, he helped me pick the colour for the stitches, he came with me to the fabric store (and played with cars inside of the bolts of fabric), and he helped me sew the final pillow.  This pillow is a reminder of a little foot pressing on top of mine “driving” the sewing machine, the way only a little boys imagination could.  We are working on another project together which I will write about soon.

Button Obsession

I have been busy making lots of things.  The extra steps to photograph and write about my creative adventures get put aside so I can start the next project.  This is a project that I made months ago for Logan’s room.  I purchased a shadow box frame, cut out a piece of mat board, blew up some letters on the computer, printed/cut them out, traced them on to the mat board and got crazy with the glue gun and buttons.

I have a bit of an obsession with buttons.  When we were thinking about wedding favours for our Mexican wedding which happened exactly three years ago today I was googling images and came across the picture of a boutineer made of buttons, and because buttons hold things together I though that it was symbolic for a wedding.  Anyway I am always looking for ways to incorporate buttons into craft projects, so when I saw an image on Pinterest of a letter made of buttons, I was inspired to make Logan’s name to hang in his room.  It hangs over his change table and he is beyond frustrated because he can see all of these colourful buttons which he can’t touch.

Teepee Adventures

postMonths (maybe even a year) ago I picked up this fun fabric at IKEA with every intention on making the boys a teepee.  The fabric lived in the closet for months, until one typical Victoria weekend it rained.  I dusted off the fabric and the sewing machine and got to work.  I searched the internet for teepee patterns, and found something that I altered to work for us.  After an hour of planning and cutting, I had 5 large triangles.  I sewed them together and made a teepee.  I bought some dowels at Rona, cut them, painted the ends and assembled the teepee.  The boys have had more hours of fun in the teepee, than it took me to make it so I consider this project a WIN.  Can you picture me pretend roasting marshmallows over a red pillow on chopsticks in my living room??  It has happened more than once in the last couple of months and I hope that it is going to happen again.  With a little fabric and creativity the house is transformed into a whole other world.  Everyone should roast marshmallows in a teepee in their living room at least once.

Baby Blocks

blocks 1When Sasha was a baby I made him a set of blocks with his name on them.  So I figured that I owed Logan something similar.  I made Logan 1-2-3 blocks instead.  The blocks have sounds, ribbons, textures, colour and patterns.  For the alphabet series each one has a painted object which references the letter on the block.  The number series is similar with one or more side with a number of objects to reference the number of the block.

They are a labour of love because they take a while to cut, draw, paint and sew but it’s nice to see the kids play with something I made.

Knit Furniture

IMGP8686It was only a matter of time before I married knitting and furniture making.  I have seen these types of pillows or poofs before but they were always quite expensive, so I figured I would try to make one myself.  So to make this knitted green poof I created a round canvas form and filled it with bean bag filling and hand stitched it closed.  I then knit a long rectangle  and wrapped it around the canvas form.  I stitched the ends of the knit rectangle together on the short ends and then gathered the top and bottom by hand stitching.

Materials:

Yarn – Red Heart Comfort medium worsted weight 867 yards (Walmart $10)

Canvas – Super Heavy Weight drop cloth (Canadian Tire less than $10)

Bean Bag Filling – Walmart $30 but only used 3/4 of a bag

Knit Pattern:

CO55, K2, P2

Cast off leaving a couple of yards of yarn to sew and finish ends, I used the entire ball except 12″

Canvas Pattern:

IMGP8675

Using one 34″ x 63″ piece of canvas cut out the shape below.  Sew the sides of the triangles together to form a circle.  Cut out a circle out of canvas for to reinforce the top and bottom.  See picture of the finished canvas form for clarity.

06-12-2013 08;03;51PM

Feeling like a GROWNUP

master 1

It’s funny that a piece of furniture can make me feel like a grownup.  I own a house, and have two kids yet what really makes me feel as though I am all grownup is a headboard.  I moved out of my parents house when I was 18, and have been headboardless ever since.  Until just a little while ago.

I love to make things out of garbage, you know freecycle, upcycle, recycle, what ever the trendy name is for making things out of trash.  So as I was laying in bed one night headboardless very pregnant with baby number two, I thought maybe I can just whip up a headboard.  Driving to my midwife appointment the next day I saw a pair of saw horses that would be perfect to use as a stand as I worked on the headboard, so I pulled over to the side of the road and popped them in the back of the car…score one for me.  As I began on my headboard building journey I was quickly reminded that at 9 months pregnant there would be no whipping up of anything, I was lucky to get out of bed, never mind making a part of one.  With nothing but good intentions the headboard was put on the back burner, until my little guy was 3 months old and I felt like a human again.  Then I was back at it, with a little paint, a little bit of trim, an old door, some inexpensive lights, and a little bit of hardware I made a headboard and became a grownup.

We have a very intimate relationship with furniture, we sit on it, we eat on it, we work with it, we sleep with it, we make babies in it (or practice making babies), we rock those babies in it yet so many people just see it as a prop.  I love my relationship with furniture, and even after we move from this house I will take the headboard that I made out of the old door from Logan’s nursery into my next house with fond memories of another time.