On the fifth day of Christmas…Frozen, Waldorf style

My talented mom has also been crafting this holiday season.  She was challenged by one of her friends to make a Waldorf style Frozen toy and this is the end result.  I was so impressed that I thought that I would share it.  I did have a laugh when she told me that she would head to Walmart for inspiration.  I can picture her standing in the electronics section with a posse of little girls watching Frozen on all of the TV screens.  I am pretty sure that she wasn’t singing along but I can’t be too sure.

Superhero capes

If you could choose a super power what would it be?

At a party this weekend I was asked what superpower I would chose if I had the option and my response was the ability to fly. Most people wrote something about reading thoughts or controlling people with their minds. Thinking about it now flying might not be the most practical super power but it sure would be fun. In keeping with the flying theme I made all of the super hero’s in my life personalized capes for Christmas. And if you are interested I will make one for you too, click here for details.

When you have more than one child I find that there is fighting over everything. Having personalized toys helps cutting back on the fighting (at least when they can recognize their own names).

Up, Up and away.

On the third day of Christmas…Clothes pin Wreath

On the third day of Christmas I made a clothes pin wreath.  We have a clear glass front door which means that if you feel the urge to have a midnight snack in the nude the neighbours can see all your bits and pieces.  It also means that anything hanging on the door should be nice looking from both sides.  Most door hanging decorations are only meant to be viewed from one side, the backs are typically unfinished or ugly.  My solution is a washi tape clothes pin wreath which is nice from both sides.  As a bonus the style fits with the modern aesthetic of the door.  Plus it was easy, fast and fairly inexpensive.

To make a similar wreath you will need:

supplies

  • Washi tape – get it at the dollar store, Target or Walmart (don’t spend the big bucks at Michael’s)
  • Clothes pins – dollar store
  • Foam core – dollar store
  • Chalkboard clothes pin – Michael’s
  • Scissors
  • A dessert plate
  • Fishing line and a magnet (for hanging on a steel door)

Instructions:

1. Decide how big to make the wreath.  I held the dessert plate up to the door with a couple of clothes pins on it to get an idea of what the finished size would be.  I traced the dessert plate onto foam core, cut out the circle and then traced a circle that was 1/2″ smaller and cut out the center to make a foam core donut.

2. Using 5 red and 5 green patterns of washi tape I started making the clothes pins.  I made 10 clothes pins with each colour, so 50 pins total, with red on one side and green on the reverse.  When alternating red and green you will have a 10 pin repeat.  I would suggest not mixing and matching the tape patterns when applying them to the pins or it will be difficult to get a nice pattern on both side.  I would make a set of 10 that matched with a red pattern on one side and green on the back (but don’t use those tapes again in other combinations)

3. Decide on the repeat pattern, and clip the pins onto the foam core circle.

4. Write a message on the chalkboard clothes pin, and hang.

On the second day of Christmas…my mommy made me a stocking cap.

Seems that 2 years ago I was also writing about making hats that don’t fit. Maybe one day I will learn.

spaleksic's avatarMaking A Life

Sasha1Very recently I decided that it was time to re-learn to knit.  Years ago I made a scarf (I know…how original), but I figure with 2 little boys it is the perfect time to pick up the needles again.  I planned to knit both kids a hat and mitts for Christmas, but there was two little problems with my plan. 

Problem one: I am not exactly an expert at making things the right size so I needed to test the hats on the kids and that is where the dilemma lies.  If I test the hats on the kids heads they will know that I am making them hats for Christmas.  While chatting with my sister she mentioned that she is also knitting hats for her boys for Christmas, and she tries the hats on the kids while they are sleeping.  Her husband thinks it’s child abuse, I think that it is genius. …

View original post 68 more words

On the second day of Christmas…

On the second day of Christmas my true love made for me a Santa cap.  I ended up making 3 of these this year with one fitting me by accident.  I was reminded once again that checking the gauge before starting a knitting project is important.  I was trying to make one for each of the kids.  The hat I made for Sasha is too big but Sasha has informed me that he doesn’t need one because he has a Santa hat from the dollar store.  Perhaps once the dollar store hat has ripped or the glue seam dries out he will want the knitted one.  I can only hope.

If you are interested in the pattern, it was free from Lion Brand and can be downloaded here.  I had to edit the pattern to get the right gauge for the bulky yarn mentioned below.

I used Lion’s Pride Woolspun, Red (body) and Fisherman (band and tassel)

P.S.  Ericka the one for Grace was knitted just for her 🙂

On the first day of Christmas…

Two years ago I started a blog called Crafting through the holidays, and I wrote about a craft, baking, or holiday inspired project everyday for the 12 days of Christmas.  It was my first attempt at blogging, and two years later I am still at it.

So on the first day of Christmas my true love made for me….. Reindeer cupcakes!

reindeer cupcakes

There was a cupcake fundraiser at my son’s school this past week and these reindeer cupcakes were my contribution.

I used pretzels for the antlers, M&M’s for the eyes and nose, and a chocolate button for the snout.  I was thinking as I was making these that chocolate or yogurt covered pretzels would be good too.

On the first day of Christmas two years ago my true love gave to me a Veggie tree, check out this link for more info

veggie tree

I also made a cookie version of the reindeer cupcakes last year, check out this link for more info.

reindeer cookies

3 nights, 2 kids, 1 hotel room

I am going to admit that this is the first time since Logan was born that we have attempted to stay as a family in a single hotel room.  We have traveled quite a bit with the kiddies but usually we stay in a suite (spoiled I know).  This was a bit of a test to see if the kids are old enough to sleep through a little noise.  Some of you reading this are probably laughing at me right now, and good for you, I am glad to be of service.  But seriously travelling with kids and their schedules can suck the fun out of a vacation.  My kids have their own rooms at home which is quite luxurious for all of us but it makes travel a little difficult because they are not used to the noise of other people in their space.  Sasha can sleep through anything but he makes more noise than a partying 19 year old while he is asleep.  Logan takes forever to fall asleep and once he does he is a light sleeper who wakes screaming at least once.  By screaming I mean like a fire alarm going off in the middle of the night.  He also loves to nap in the afternoon (don’t we all) but it’s next to impossible with Sasha and I in the room.  Yet this time we sort of managed to make it work. Logan napped in the stroller or car while we were out and about, not for long but it was better than nothing.

So where did we go?  We went to Vancouver, hardly far but far enough that it was difficult to go home in the middle of the night if things were going badly.

Day 1 – Ferry to Vancouver and IKEA.  I had to get my IKEA fix and as a special bonus the kids were asleep when we pulled into the parking lot, so my husband who loathes IKEA kindly volunteered to hang with the kids in the car.  I made a mad break for it.  I should have taken longer as it would be the last time that I would be alone for 3 days.

Day 2 – We stayed at the Westin Bayshore which is one of my favourite hotels in Vancouver.  It’s right on the water and within walking distance to the Vancouver Aquarium and Stanley Park which is where we headed for the day.  It was a great time of year to visit the Aquarium.  It’s a zoo in the summer but I really appreciated that it wasn’t very busy.  We finished the day with a swim in the hotel pool which wouldn’t have been complete unless someone fell in.  Both kids are taking swimming lessons but neither can swim alone yet so they were both wearing their life jackets, disaster averted.    Here are some pics from our walk through the park and the aquarium.


Day 3 – The skytrain and Science World were on the agenda for day 3.  We took the Skytrain to Science World just for fun.  I had never been to Science World, so I was in for a surprise.  It was AWESOME!  We spent the whole day there, there was just so much to do.  Fun times.

Day 4 – We went back to IKEA, I just couldn’t help myself.  The Richmond location which had been on strike for a very long time (more than a year for sure) was out of one of the key items on my list so we hit Coquitlam.  The sold out item will appear in a future post but it’s top secret for now!  We managed to sneak on the ferry on the way home and we were at home before bedtime.

The trip had it’s issues like the two hours that it took Logan to fall asleep each night (no exaggeration), and the amount of food we wasted was atrocious, but fun was had and memories made.

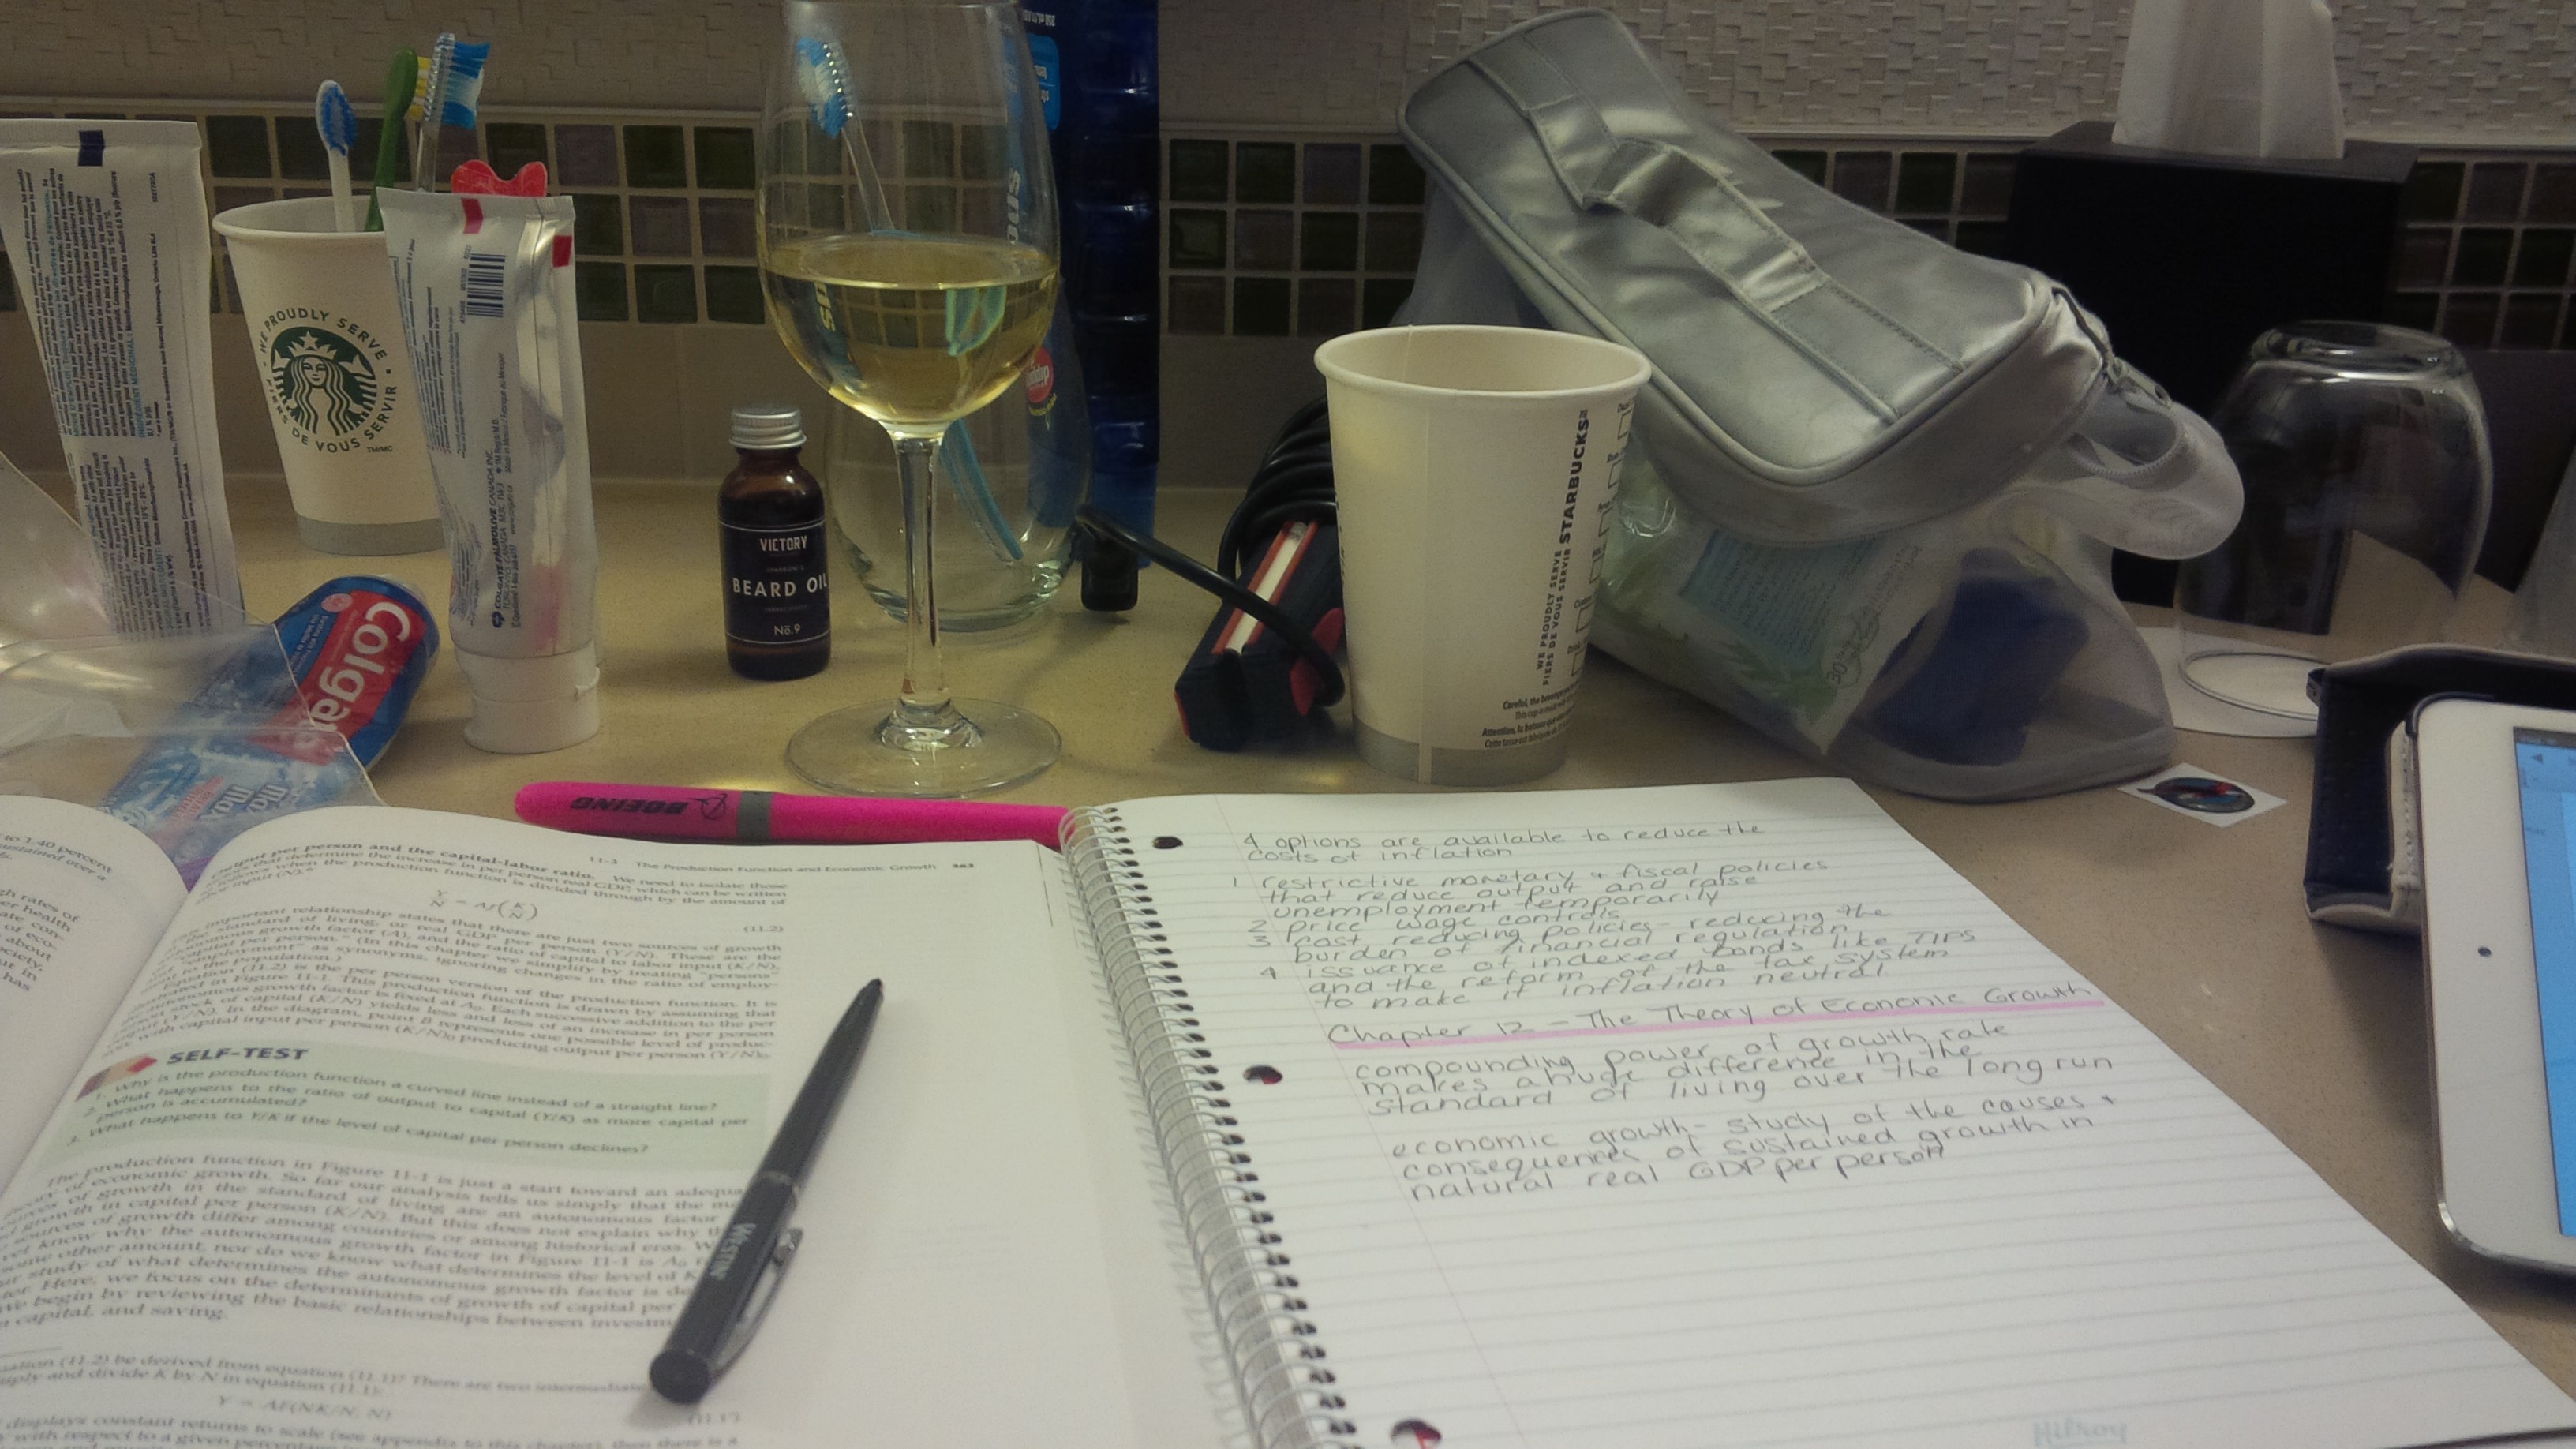
This was my office for a couple of nights after bedtime which had a striking resemblance to a bathroom.

Fancy Office

Top Mommy Blogs - Mom Blog Directory


35 Sucks. Banana peanut butter chocolate pie does not!

35 sucksMy husband had a birthday last week which prompted me to ask, what kind of cake would you like?  His response…you know that one that your mom bought from the grocery store that one time when she was visiting, that was really good.  I respond with…the one that she got the day after I delivered Logan??  He’s like ya, it was good.  OK seriously I have no idea what the cake from the grocery store that my mom bought more than 2 years ago 24 hours after I gave birth to our second son tasted like, what it looked like or what it was called.  Neither could he, he just remembered that it tasted good.  I also have the feeling that if I could have found the right cake that it wasn’t going to taste the same as he remembered, so I opted for something different.  Frozen banana peanut butter chocolate pie

Did you know that fourth anniversary gifts are flowers, fruit and appliances?  I do because it was just our 4th anniversary and I bought my husband a Yonanas machine.  How romantic.  If you haven’t heard of it, it takes frozen bananas and turns them into the consistency of ice cream.  It might sound gross but it’s actually quite delicious, especially when you add chocolate, peanut butter, walnuts, whipped cream and coconut.  Apparently there are other ways to turn bananas into ice cream.  I saw some recipes that used a food processor, but we haven’t gotten to the food processor anniversary yet, so we don’t have one.  So if you have a Yonanas machine or a food processor and want to give this pie a whirl the instructions are below.

Frozen banana peanut butter chocolate pie

  • chocolate graham cracker pie crust (you can make your own or buy one from the little elves)
  • 4 frozen bananas – frozen with the peel removed
  • enough chocolate chips to line the bottom of the pie crust
  • 2 1/2 tbsp peanut butter
  • enough chopped walnuts to line the bottom of a pie crust
  • a sprinkle of coconut
  • whipped cream (in a can because I am lazy)

Instructions

  1. Remove the bananas from the freezer and let them thaw on the counter for 10-15 minutes depending on your room temperature.  You want them to be frozen but not rock hard.
  2. Heat the oven to 400 degrees.
  3. Line the bottom of the pie crust with chocolate chips and put in the oven for 3-4 minutes or until the chocolate is soft but still in the shape of chocolate chips
  4. Put 2 1/2 tablespoons of peanut butter in a microwave safe container and melt on high (our microwave is old so it took 30 sec)
  5. Take the pie from the oven and pour the peanut butter on top of the chocolate
  6. Top with chopped walnuts and put it in the freezer
  7. With a Yonanas machine grind up those bananas into an ice cream texture
  8. Take the banana ice cream and spread it over the frozen pie crust
  9. Top with coconut and put it in the freezer
  10. Take it out of the freezer 10-15 minutes before serving so that you can cut it.
  11. Top with whipped cream.
  12. ENJOY!

The kids were super excited for Daddy’s birthday.  Here are a couple of pics.

Like what you see, then vote for me!  Click on the button below, THANKS.

Visit Top Mommy Blogs To Vote For Me

Somebody is going to be a BIG Sister….

IMG_1945To be clear I have 2 boys and I am not pregnant. But someone near and dear to my heart is. My little sister is going to have another baby. Here is a pick of my niece Ruby who looks thrilled to be a big sister, in her BIG SIS shirt made my yours truly. I made a batch of these shirts recently for newly arrived babies, babies on their way and their siblings. I am looking very forward to this new arrival because babies come with nothing so they are the perfect target for my crafty goodness. Plus my sister doesn’t seem to mind being showered with my homemade creations. Congratulations to Erin, Phil and Ruby as they continue to expand their lovely family.  I can’t wait for April to arrive so I can meet this new little person!


I'm A Top Craft & Diy Mom Blogger @ Top Mommy Blogs - Please Click To Give Me A Vote

Remembering

Life is short and I am reminded of this everyday.  A child in my son’s preschool class last year lost her dad. Her father was a member of the Canadian military and died on leave on the way home to see his family.  I can’t think of anything worse for a child than to lose a parent.

As I was making the Christmas Sock monkeys (on a Saturday night after most of a bottle of wine) I got to thinking that if the socks had meaning the monkey would be more than just a decoration.  My mind went on a bit of a spiral and I ended up thinking about the family from Sasha’s class that lost their dad & husband.

Before I sound like a complete nutter, we see this family everywhere, our kids are the same age, they go to school together, our youngest go to a play group together and our kids have swimming lessons together. So in the school yard bright and early Monday morning I approached the mom.  I told her that I was thinking about them on the weekend and I explained my idea about turning her late husbands socks into sock monkeys for her kids.  It was a slightly awkward conversation  because I was asking for her late husbands socks and I have no idea how that conversation can be anything but awkward, but she brought me the socks a couple of days later.

When I started working on the sock monkeys I was in tears because one of the socks had pink paint on the toe and heel which I later confirmed came from painting their daughter’s room.  As I worked on these monkeys I thought about my own family and how I can’t imagine the pain of this family and the strength of the mom.  It’s my hope that these monkeys bring them a little joy even for a minute.

For a pattern and tutorial to make sock monkeys please visit Craftpassion.com.