I am a fan of nice surprises and I love getting mail, so imagine my delight when I opened a package today and these cuties were inside. Thanks Mom, you are the best.
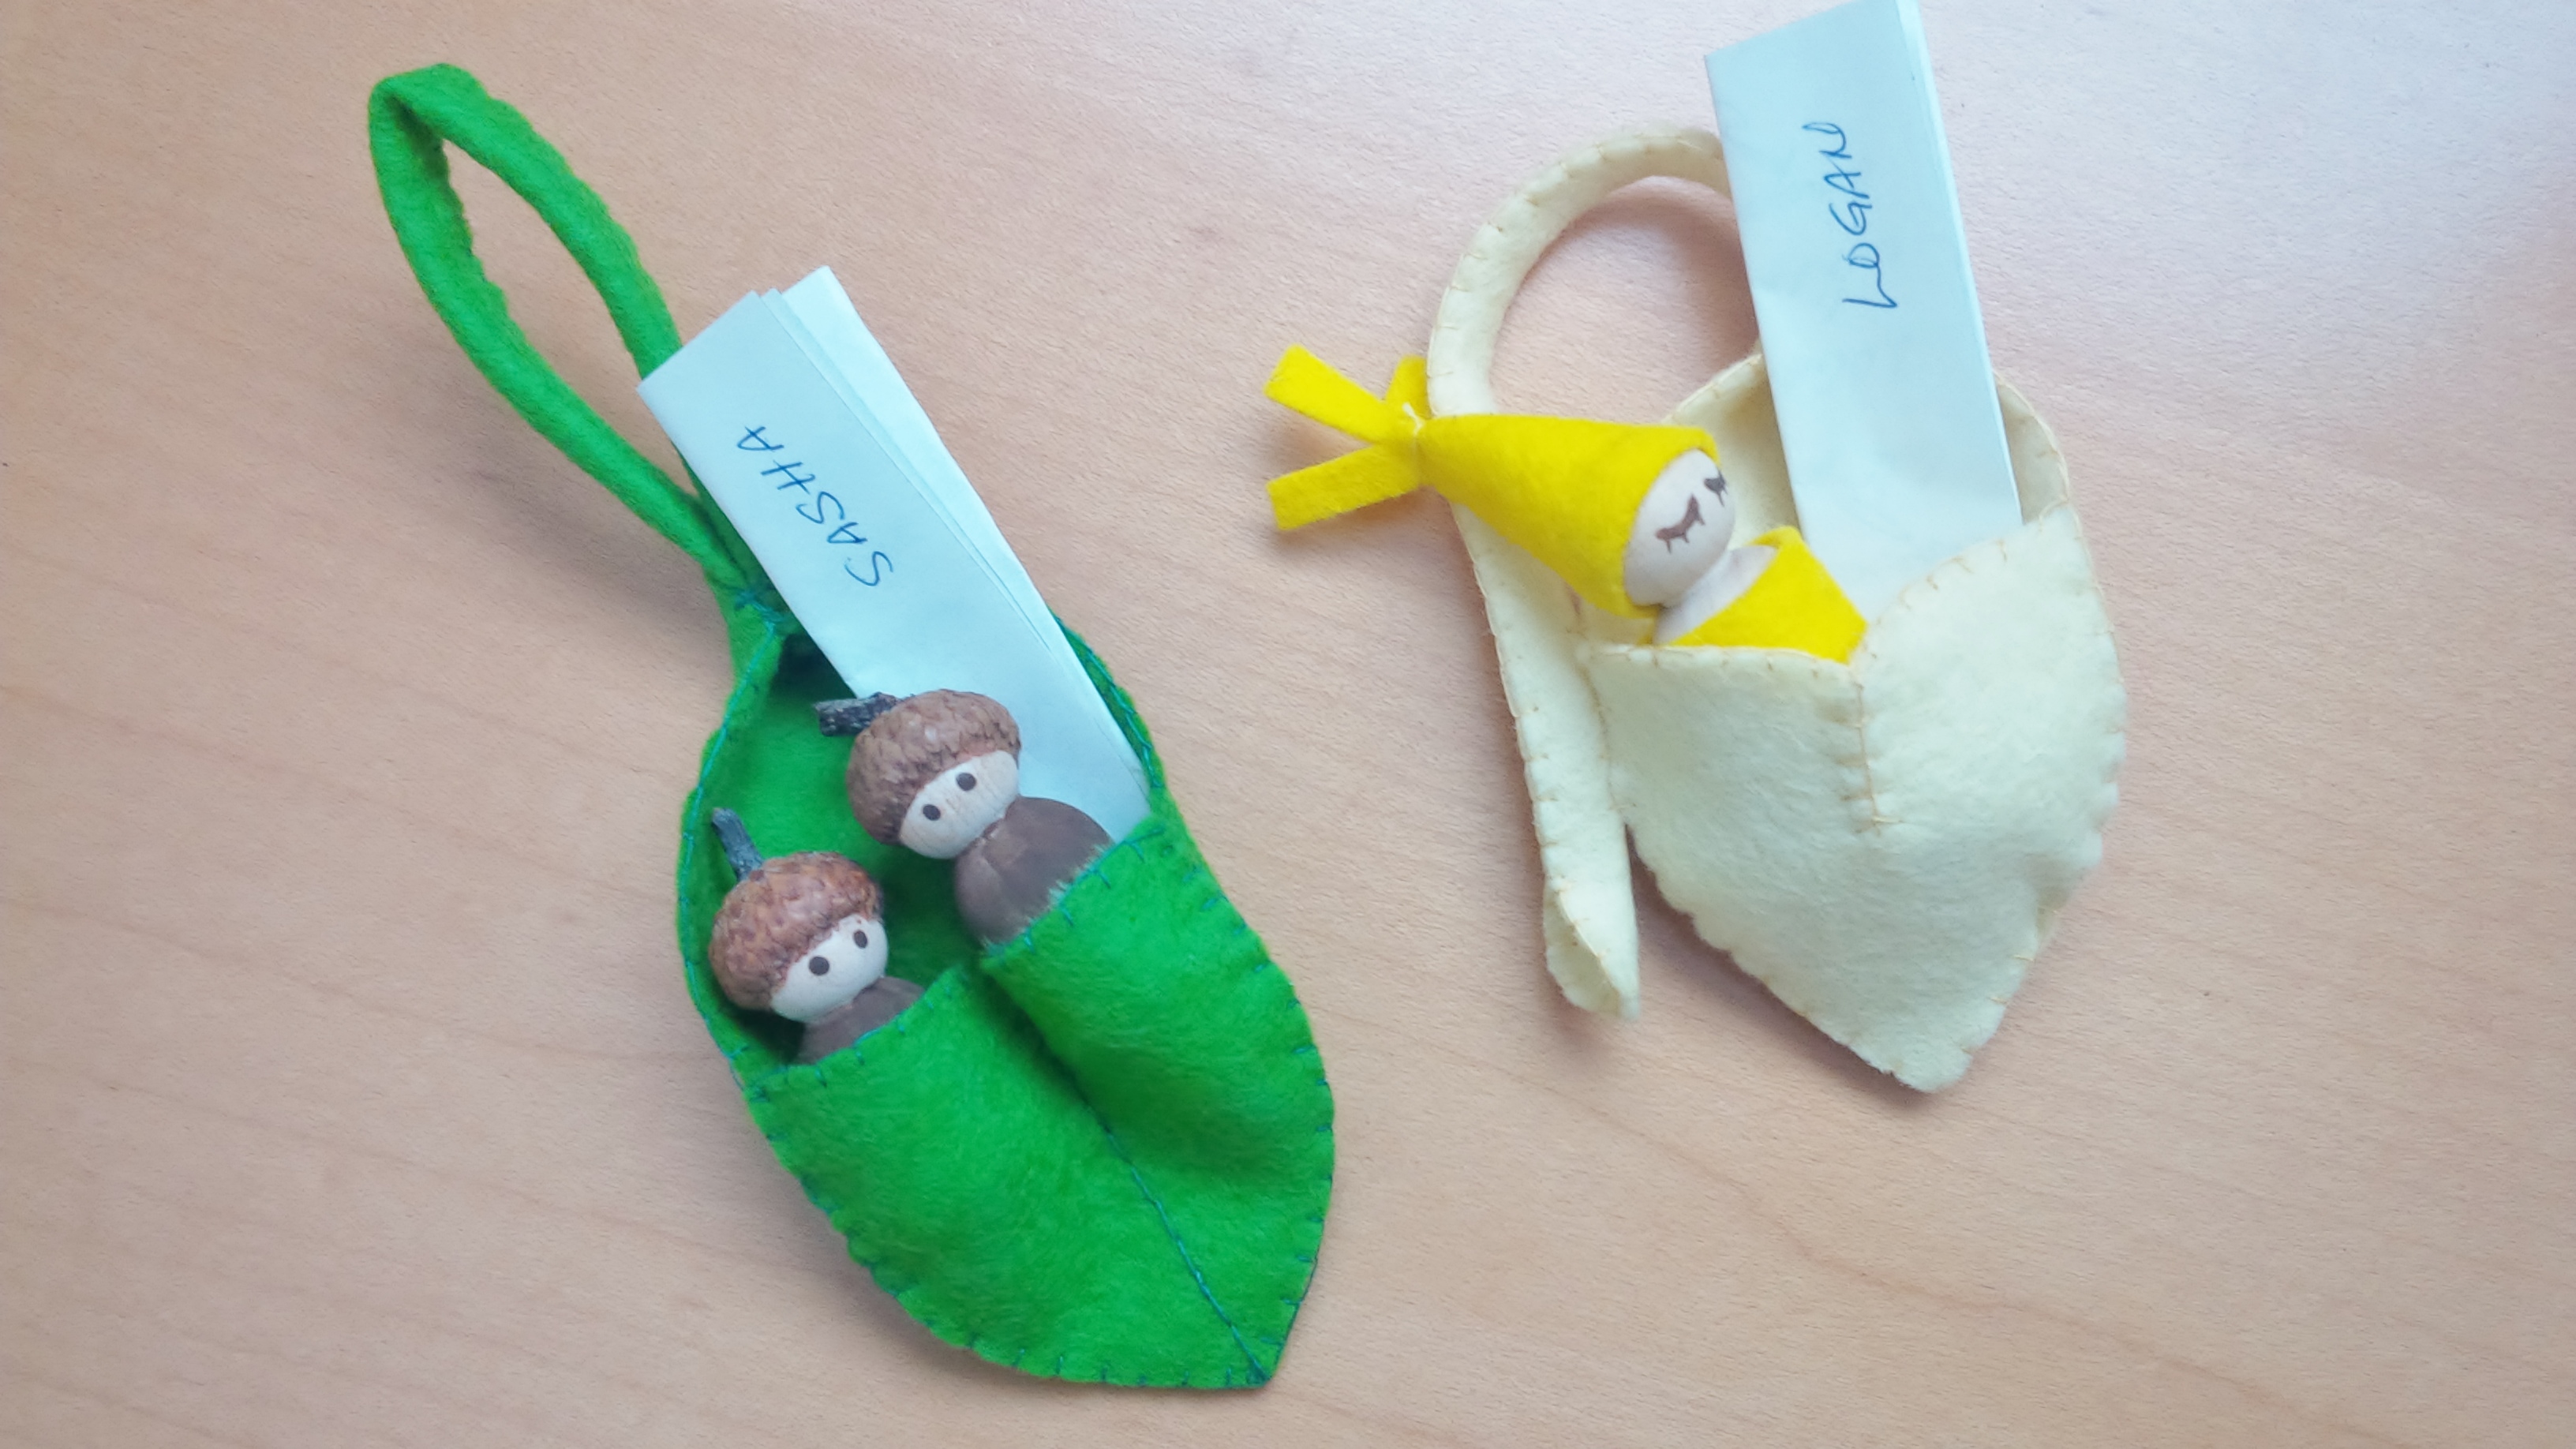
 I saw a blog post about making felt hearts to give to someone who might be nervous about a new situation and I though that it would be perfect for the first day of kindergarten. So with a scrap of felt, embroidery floss, and some stuffing I whipped up a pocket heart for Sasha. I told him a story about making it from my heart and that I would know when he squeezed it if he was nervous. So on the first day of school he grabbed it on his own, while we were running out the door. The first thing that he reported when I picked him up was that he didn’t need it. The next day we searched the house in a panic to find his pocket heart before we left, and again he reported at pick up that he didn’t need it. On the third day he started crying in the line up because he forgot it, so home I went to get it and bring it back to the school. Note to self, make a couple of these and stash them in the car and purse.
If you want to make one for someone that needs a little love in their pocket see the attached PDF pattern.


Are you heading back to school or have someone in your house that is? Maybe a lunch bag made of leftovers is a great environmentally friendly option.
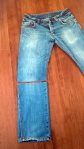
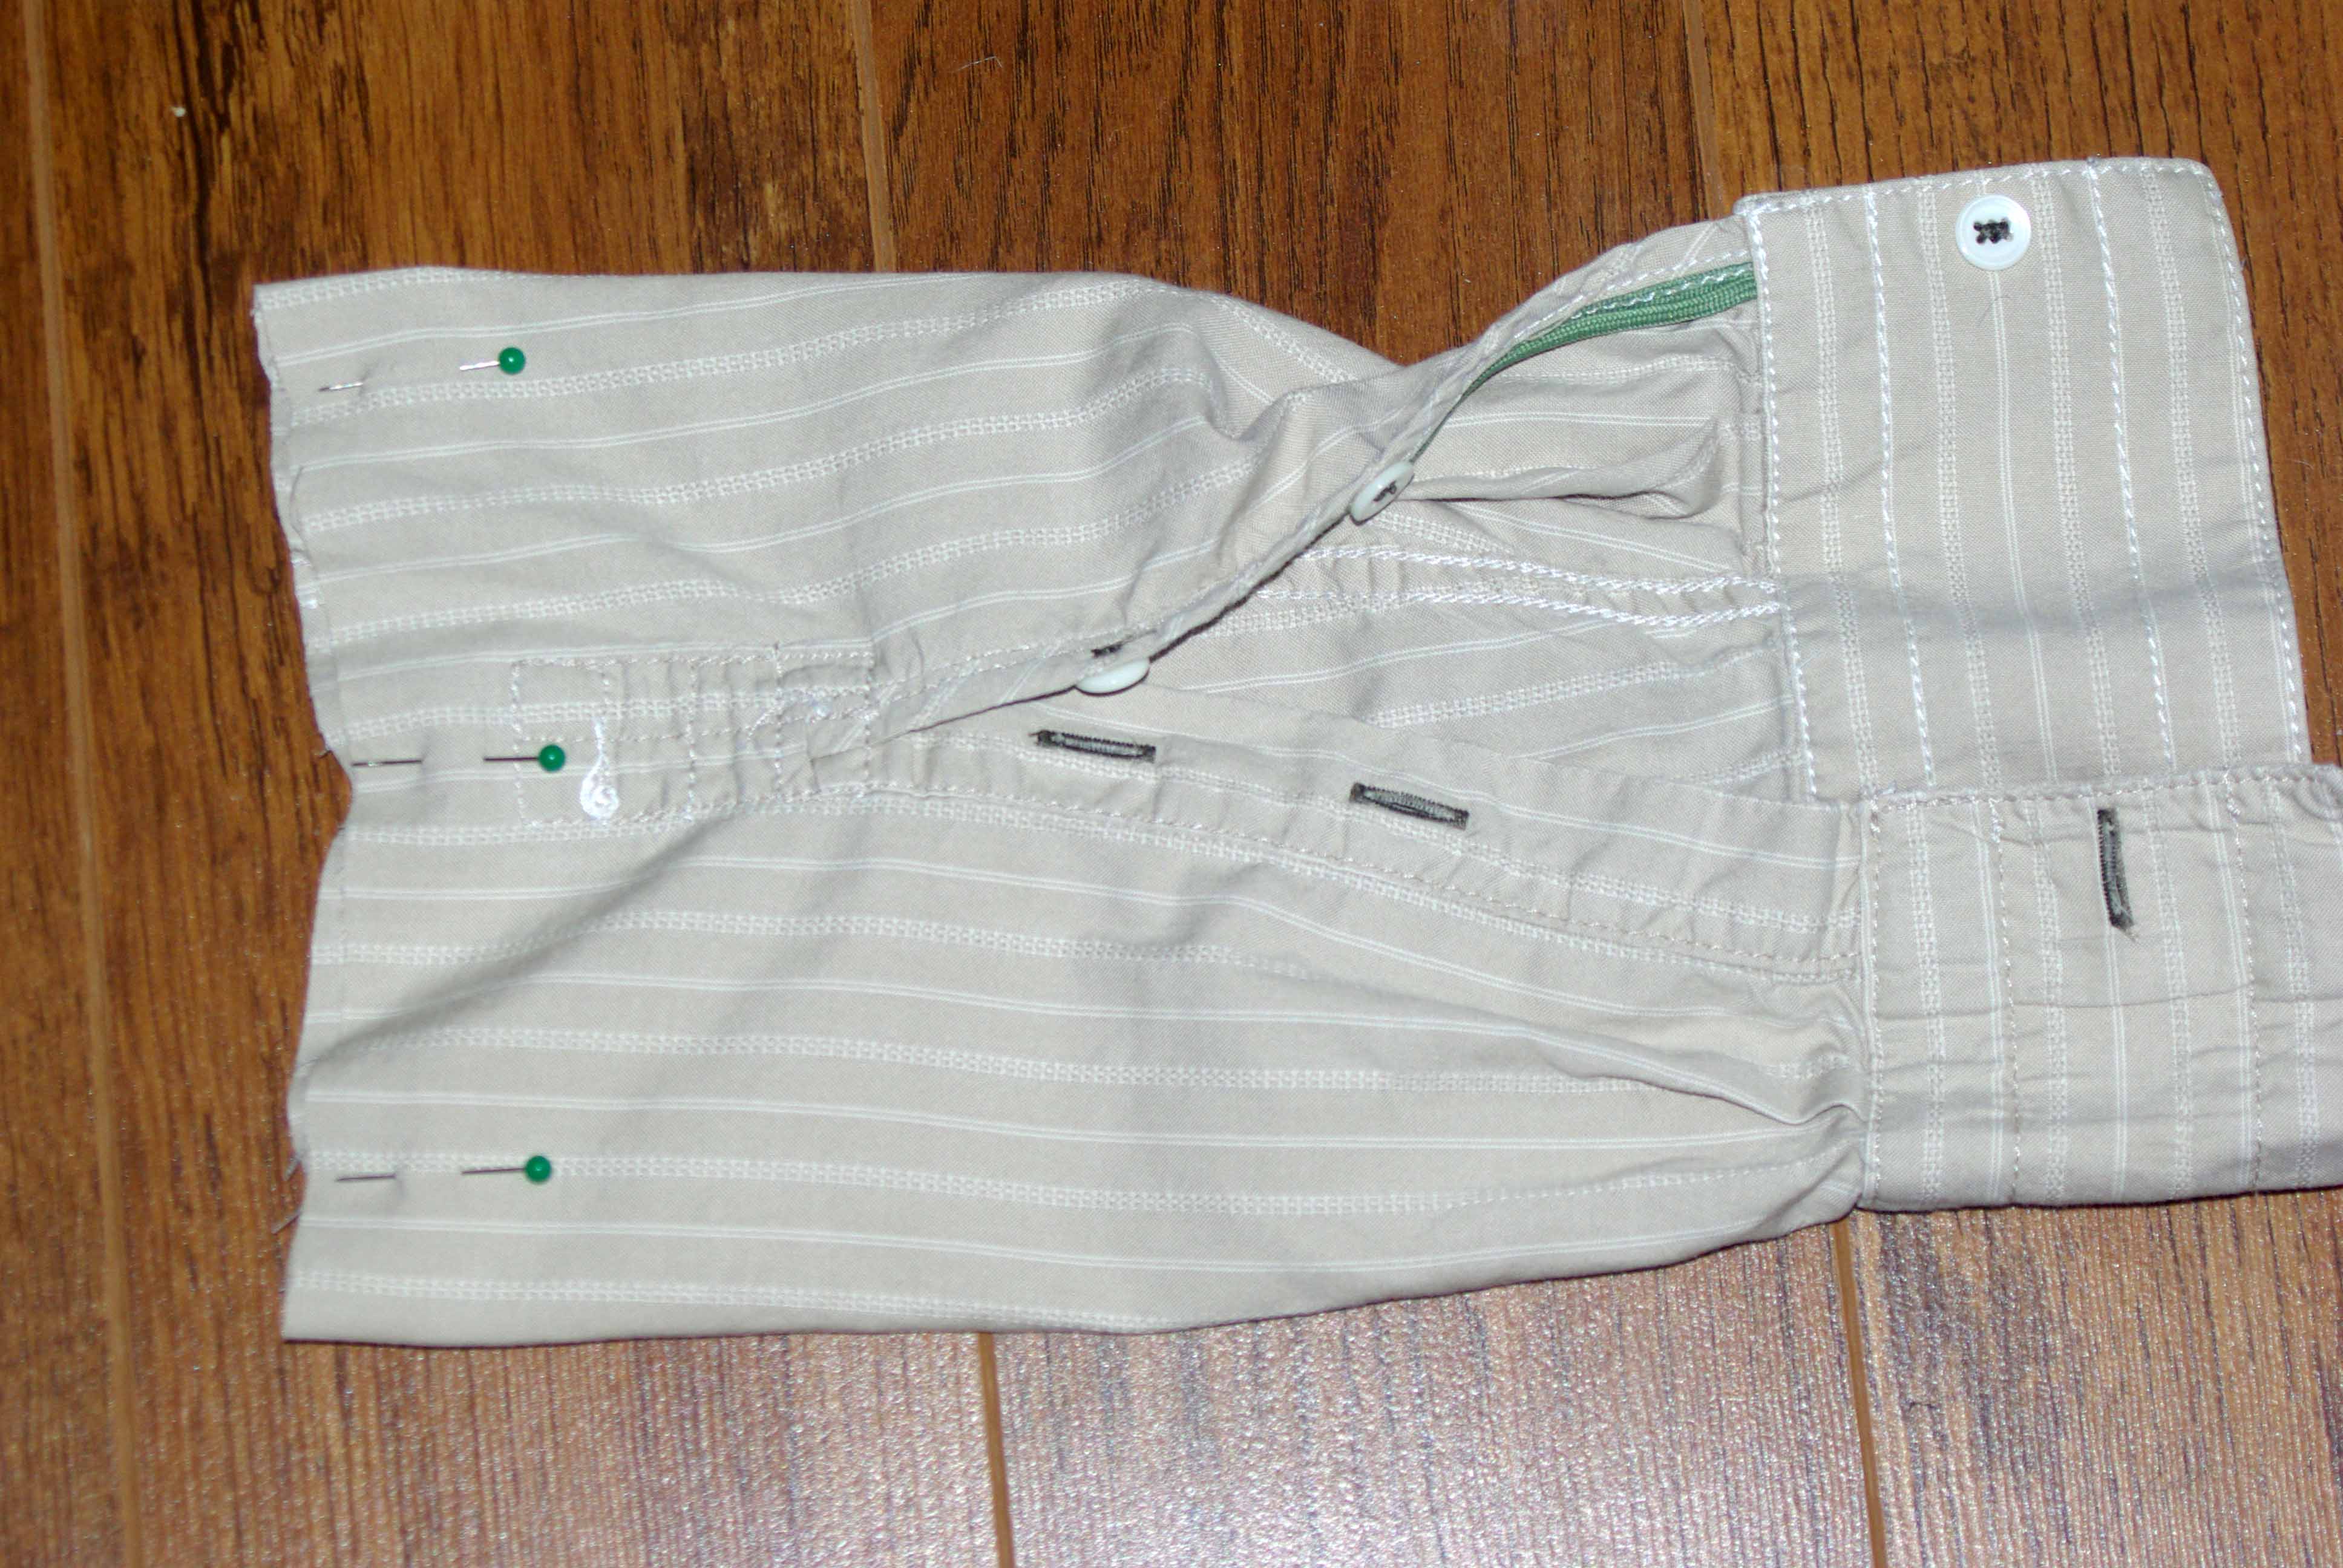
The Leftover Lunch Bag was made using a torn pair of my husbands jeans and a child’s belt. I was inspired by a pin I saw on Pinterest, thank you Between the lines for the idea.
Materials
 To make this lunch bag I recommend adult jeans, and not skinny fit, boot cut or straight leg would be ideal. A child size 4-5 canvas belt is great, they often come with pants or shorts and are not required, at least not in my house. This project took me less than half an hour with a sewing machine.
Instructions


Thanks for reading! Keep creating, and crafting.
I love before and after makeovers especially when they are interior design based. When we moved into our house almost three years ago there was a rotting plywood deck hanging off the front of the house. The picture doesn’t do the rotting part justice. The deck was constructed of sub par materials; added to and fixed up on multiple occasions with a little TLC, rusty nails and duct tape. We lived with the deck as it was for the first year, but come spring the demo started. The demo took about 30 minutes.
The before pictures:


There is an apple tree that dictated the size of the deck. We love the apple tree and wanted to save it. Here is a picture during construction; the apple tree is the little tree espalied along the front of the deck.
During Construction:

The footprint of the deck didn’t change because of the apple tree, but it was constructed with materials designed to be on the exterior of a house. We lived with the deck as it was for the next year and the following year we built the garden beds. Finally this year we got around to “decorating” it into an outdoor living space. This project was three years in the making, and it’s finally done, at least for this season.
Here is the current state:


We are using the steps as a herb garden, and the best part is that we don’t need to put on shoes to grab a handful of herbs. Sasha is very into gardening, and is helping to take care of the plants. Logan on the other hand walks over to the garden every afternoon looking for bites. I am using the garden as an opportunity to teach him colours, fruits and veggies. If only I can stop him from eating green strawberries we might get some fruit.


This is where I will be planted this summer, but I might just have a little competition.


Keep crafting, creating and gardening.
Find me at http://www.makingalife.me or sign-up for email updates below.
We live in one of those houses that are hard to find. If you live in one too you know what I am talking about. When someone is coming over for the first time you need to provide a map, written directions, and all of your numbers just in case. Pizza delivery people do not like us. The mail route is constantly changing, and we seem to be at the break point. Often I watch the mail person deliver mail to my neighbours but then turn and go back, and another carrier delivers to our house later in the day. We just live in one of those houses.
So if you finally find us, I wanted you to be assured that you are in the right spot. In case you missed the 4 sets of house numbers, yes that’s right 4 sets of house numbers on your way to the front door, here is the 5th.

These were super easy to make. I bought the pillows already made because seriously who can make pillows for $9.00. Technology is my friend, I started with a font I liked in Word and then enlarged in on the printer until it was the right size. Then using a sheet of felt (not the little ones but a 36″x36″ sheet) purchased at Walmart for $5.00, I cut out the numbers. I pinned the felt numbers to the pillows and sewed then on with embroidery floss.
Find me at http://www.makingalife.me or sign-up for email updates below.
I am working out, outdoors that is. I am going to blog a before and after deck reno soon, but here is a sneak peak at some of the decor items for our outdoor living area.
You might wonder how I get anything done with 2 little kids sometimes I do too. Making things is part of who I am, and by translation the kids are quite used to me having a project on the go. Usually I have a little helping hand for a part of whatever I am making especially if the project is for one of them. This is the foam that I used to stuff the deck bench cushion cover, and here they are jumping away. They played with it, and on it for a couple of days while I was making the cover. Once I had cut the foam to shape, they used the off cuts to make a tunnel and the moon. Its amazing what their little creative minds come up with. Sasha wants to help with everything, and there are so many little steps in the process that he can participate in, or he asks for the scraps to make his own creations.
Making of the bench cushion – my monkeys jumping and lying down on the job.


Here is the finished bench cushion, on the bench that my husband made. It’s great to be able to make projects with him as well. Now we are fighting over who gets to lounge on the bench in the late afternoon sun. Ah the luxuries of life.


For more details on the bench we got fantastic instructions from http://ana-white.com/2010/04/plans-simple-outdoor-dining-table.html. We adjusted the dimensions a bit to fit our space, but it was a great starting point.
I also made a pair of outdoor poofs I really don’t like that word it just sounds so poofy. I am open to suggestions on new names for these things. My inspiration for these poofs came from Target but the colours didn’t work for me, so I decided to see what I could come up with on my own. The great part about being able to sew fairly well is that you can make things exactly as you want them. The part that drives me crazy is that the fabric, foam, and stuffing cost more than what you can buy the finished products for and forget about costing my labour into the equation. Sometimes it feels like a conspiracy against those of us that like to make things. I did get the fabric on sale so at least it wasn’t that bad. For both the poofs, and bench cushion I used outdoor fabric and outdoor thread. All have zippers so that I can remove the covers to wash them, a necisity with kids. I have been sewing for at least 20 years so I can pretty much make up a pattern on the fly, if you can too please feel free to copy and enhance as you see fit.


Keep sewing, jumping and creating.
I LOVE wine, who is with me? Yesterday I posted how to make a pillow from a dress shirt, today I am going to reuse the sleeves. Have you ever been caught drinking wine from a paper bag? Me neither but if I am going to go that route I think I will class it up a little bit with these shirt sleeve wine bags. But in all seriousness, I wouldn’t mind getting a bottle of wine in a reusable bag such as these. Who am I kidding if you are giving out wine I am taking it in any form.
Should you have an extra shirt that you don’t need the sleeves for try making one of these wine bottle covers.
Step 1. With a wine bottle, full or empty your choice, measure the length of the desired wine bag. Yes that’s right, use a wine bottle as a measuring device. Forget the measure twice cut once rule just this one time.

Step 2. Cut off the sleeves so that the bottle will fit.

Step 3. Turn the sleeve inside out
Step 4. Pin the edge you just cut
Step 5. Sew the edge closed.
Step 6. Put the bottle in the bag, close up the buttons. You could make it fancy by tying a ribbon.

Keep crafting, creating and drinking?
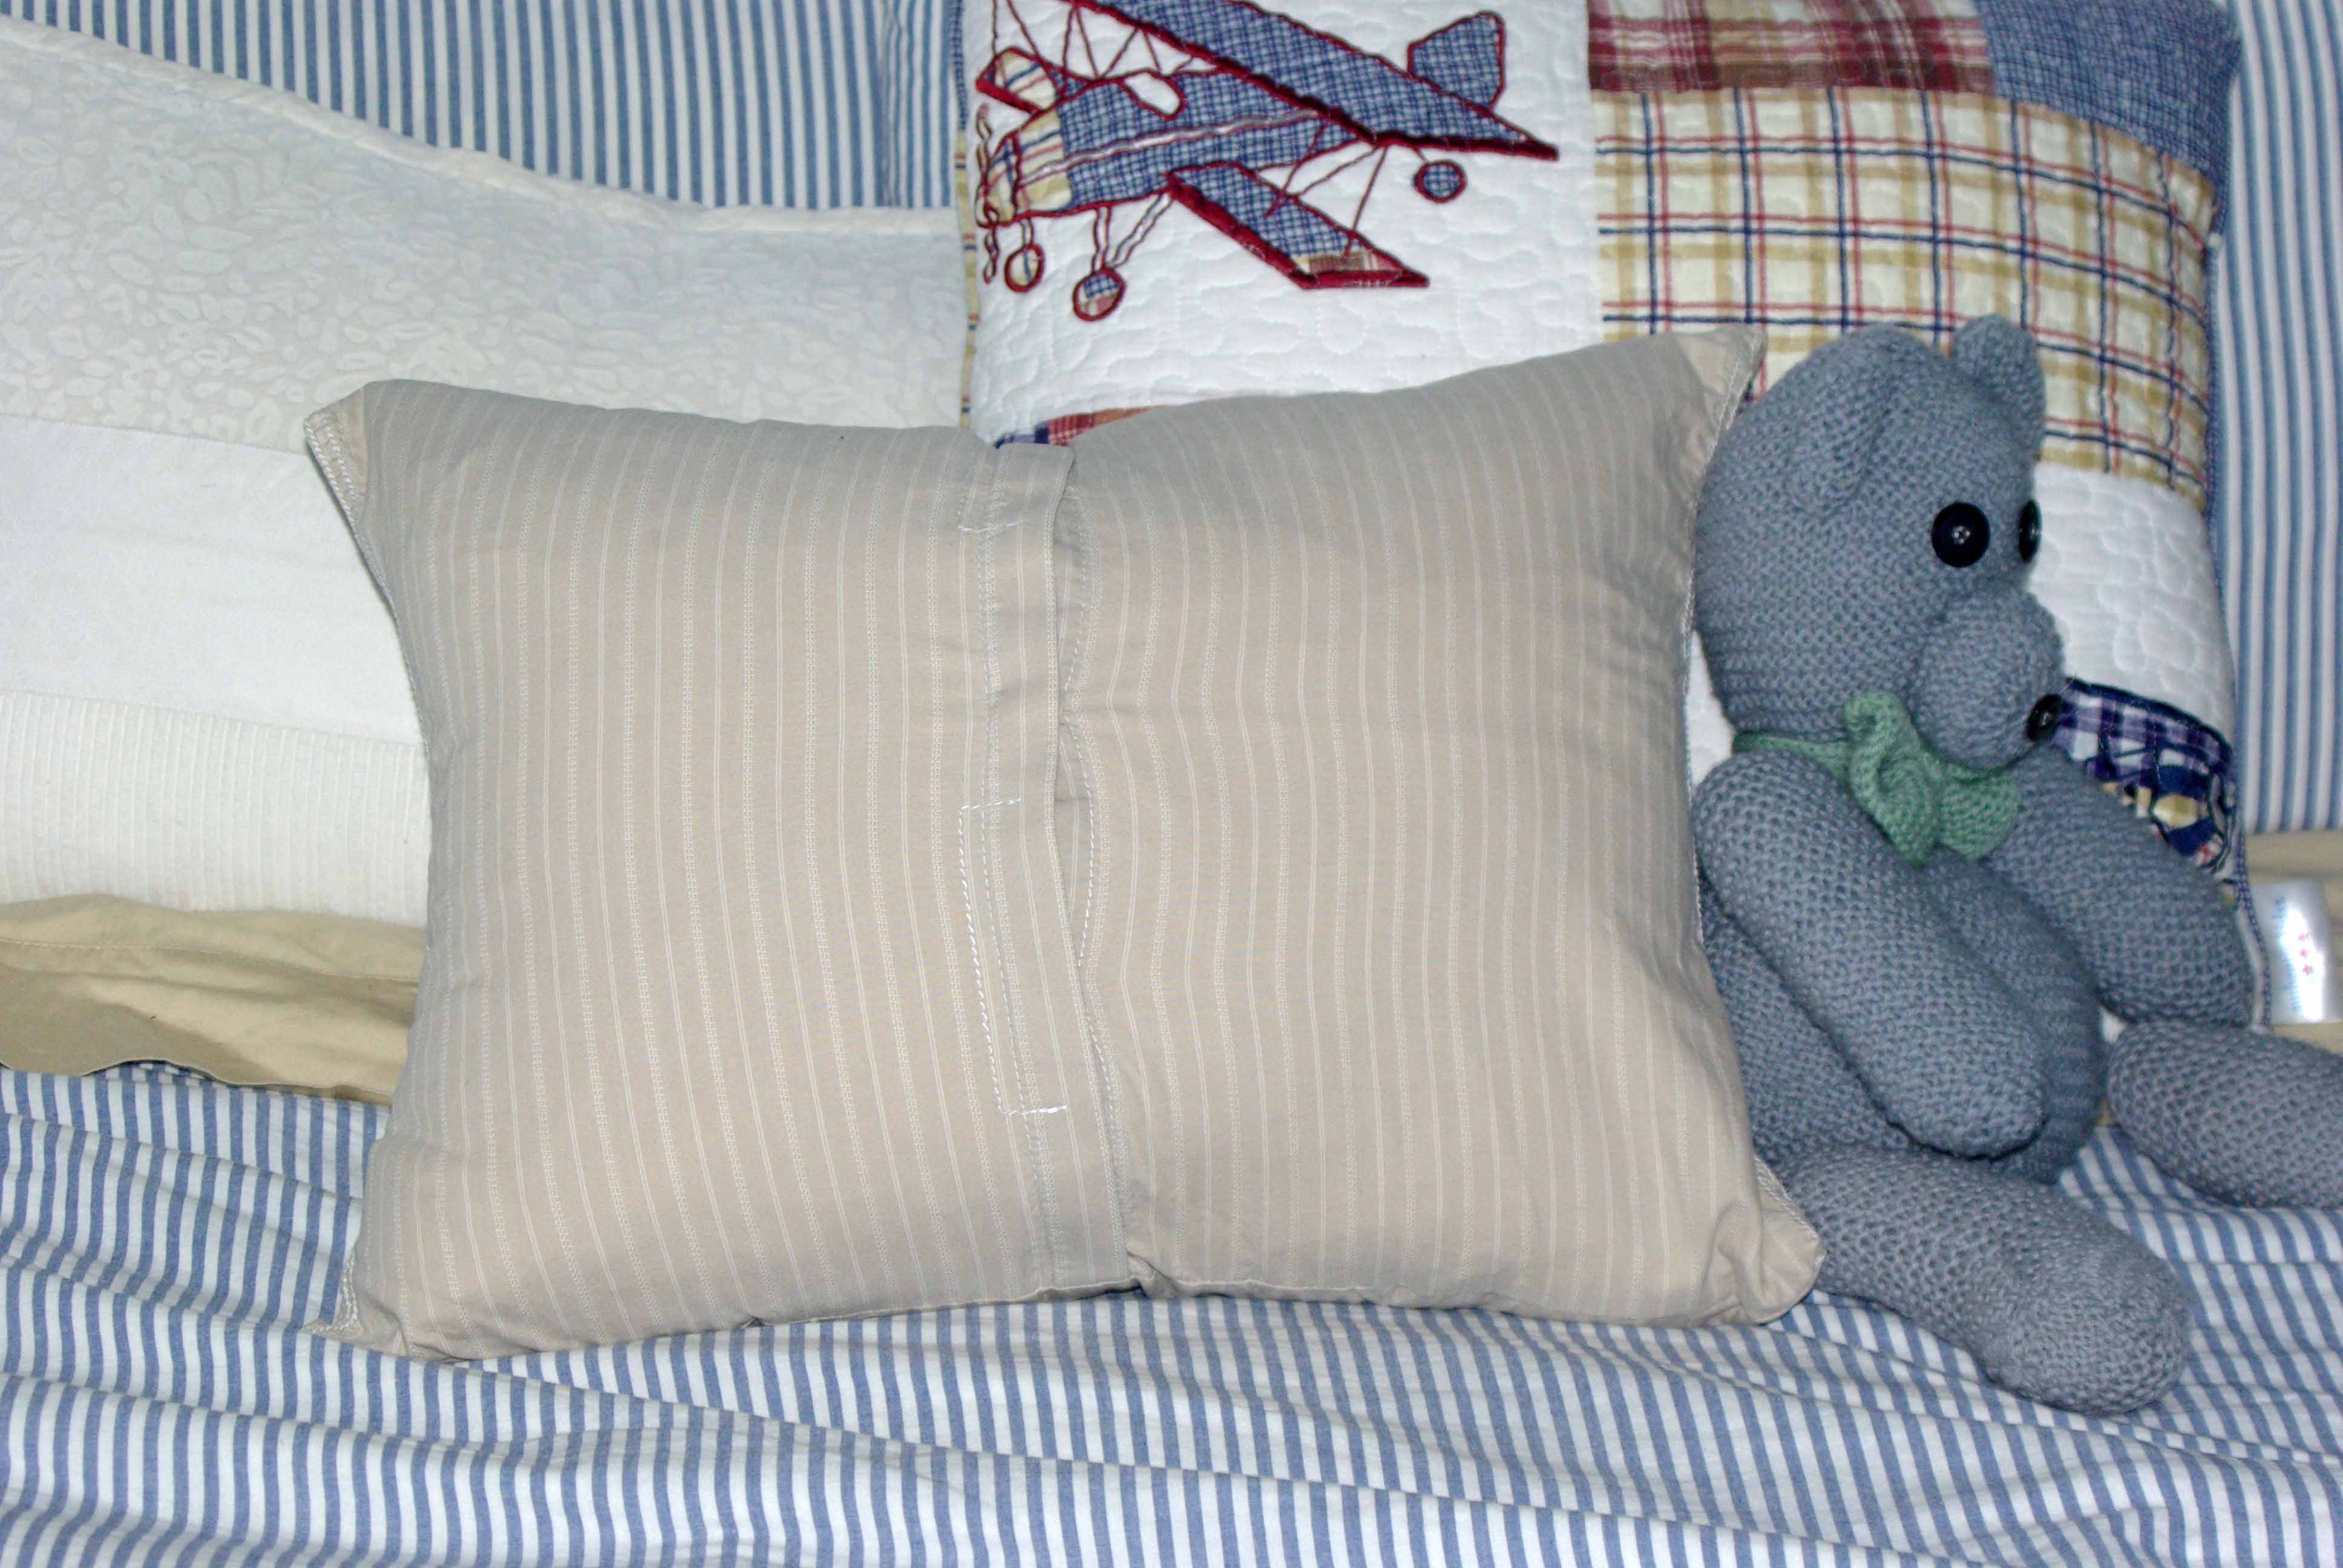 I had my sewing machine out last night, and no good can come of that. I have no idea why I think it’s such a big deal to get out a sewing machine, but once I have it out I must make those projects that I have been planning that require it. A while ago I saw a picture of a pillow made of a man’s dress shirt. My thoughts after seeing the picture were a little morbid, I though what a great idea for someone who has just lost their husband, partner, or loved one. It doesn’t have to be quite so morbid though, maybe it would be useful if you are in a long distance relationship, or have a partner that travels a lot, or maybe I have totally lost my mind. Or for the environmentalist, what a great way to recycle clothing. I will leave the judgement up to you. My husband’s comment was “Seriously don’t we have enough pillows”. He does have a point I couldn’t argue with, but seriously what’s one more? In case you can’t figure out which one is the dress shirt pillow in the picture above, it’s the beige one. It is a little boring, but everything can’t be flashy.
On the bright side, this was the fastest easiest pillow I have ever made. And FREE, who doesn’t love free.
Step 1. Start with a men’s button dress shirt, I asked my husband nicely and he gave me an old stained one. That’s true love, isn’t it.
Step 2. Iron the shirt (if you are lazy, just iron from the arm pits down)
Step 3. You do need a pillow form, or an old pillow you want to recover. Put the pillow into the shirt and check the size. For the one that I made I used a FJADRAR 20″x20″ pillow from IKEA. The instructions below are based on the 20″ pillow form and a men’s medium dress shirt.
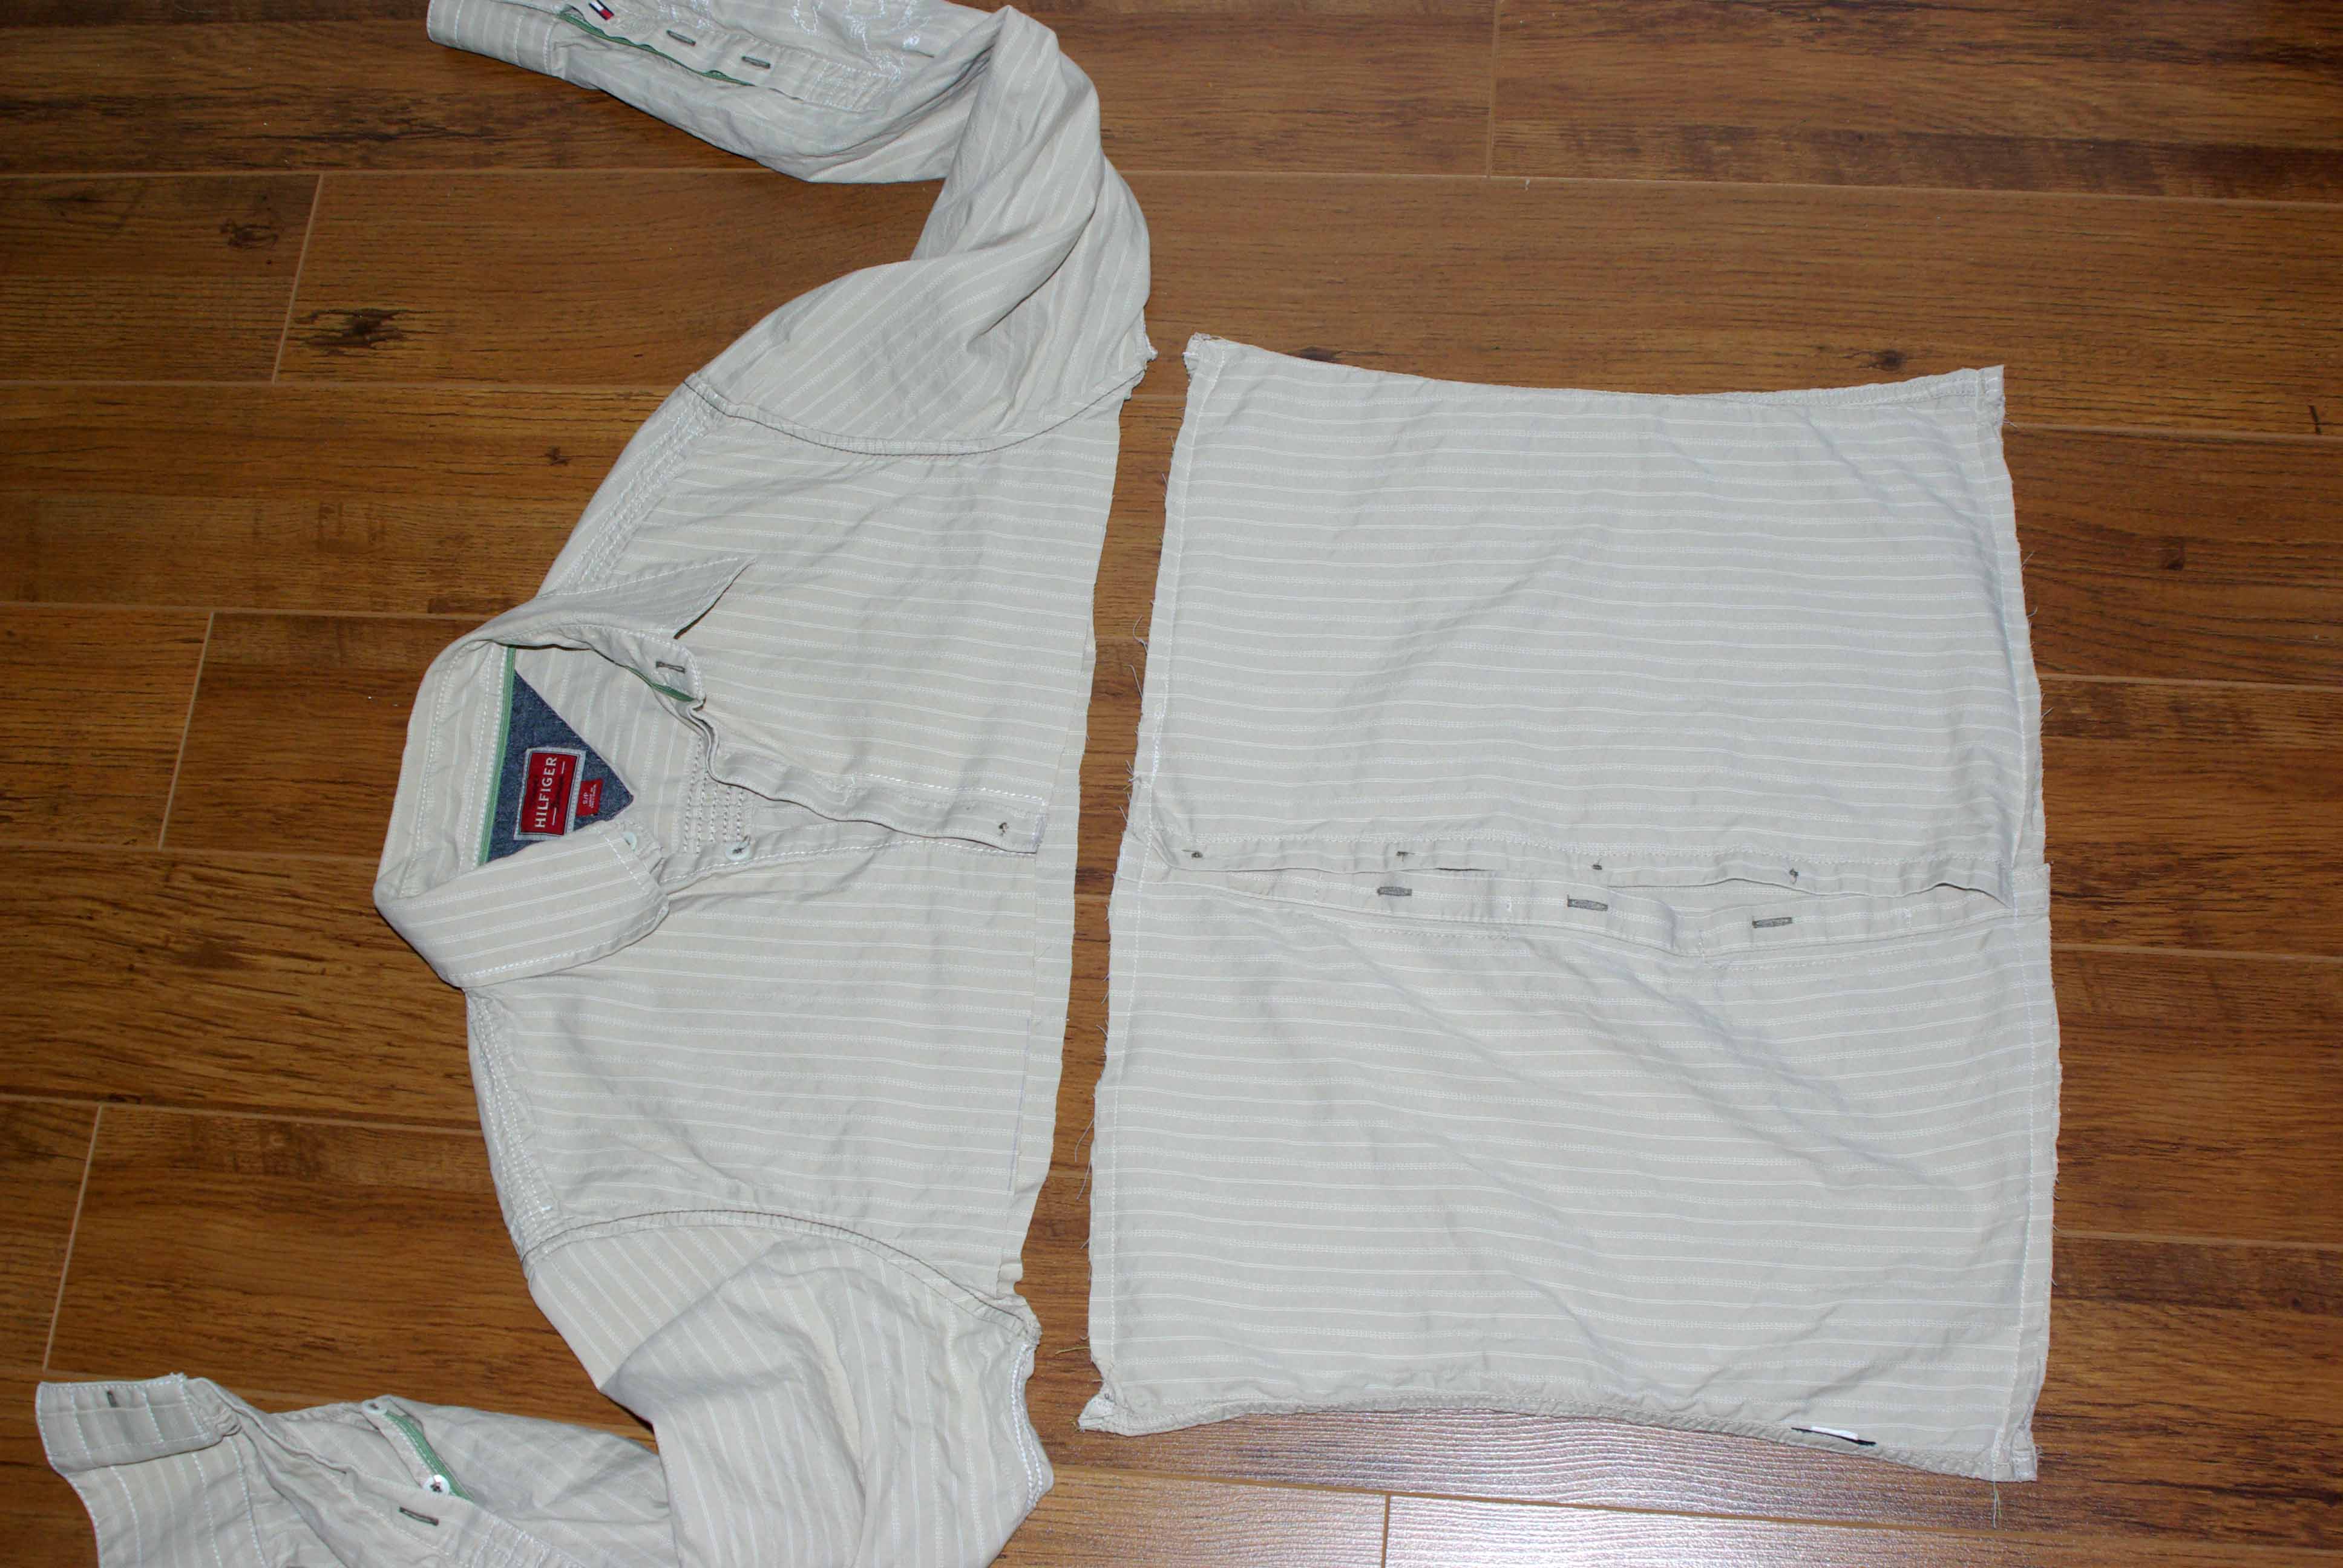 Step 3. Lay the shirt on a flat surface and using a straight edge mark a line from arm pit to arm pit, you can use chalk to make a line, or pencil/pen lightly. If you want to get super fancy, you can mark the cut lines to make sure the button’s are symmetrical. Cut along the line you marked.
Step 4. Trim the bottom of the shirt to be parallel with the line you just cut. All you want to do is square up the bottom edge, usually the bottom edge of dress shirts is not straight.
Step 5. With all of the button’s fastened, turn the piece of the shirt you cut off inside out. Pin the 2 open edges. Sew the edges closed.
Step 6. Open the button’s. Stuff with the pillow and fluff it up.
So now what do we do with the rest of the shirt? Great question, I will show you how to make something with the sleeves tomorrow. Crack out the wine, you are going to need it.
Keep sewing, crafting & creating.


It rains in Victoria a lot, I am not complaining. I would rather rain than snow, but it is a little hard for me to take the kids out to play in the rain. So we play inside, and this is one of the games that I made to keep my five-year old occupied. Snakes & Ladders is such a simple game to play which introduces numbers up to 100 and counting.
I got the idea from an episode of Steven & Chris and following their instructions I made this giant playing board. http://www.cbc.ca/stevenandchris/life/diy-snakes-and-ladders
I have copied their instructions below and changed their instructions a little bit based on my experience making the game. I had issues opening the PDF’s needed to print the transfer papers on their site so I made my own.
1. Start by purchasing some white iron on transfer paper for white t-shirts from an office supply store and a drop cloth from the hardware store (paint department). Don’t purchase the generic brand transfer paper, the quality isn’t great and it peals off when playing/walking on the game. Go for a quality brand, and one meant for canvas bags if you can find it.
2. Next, download snakes and ladders to print file with the game board pieces and print them on your transfer paper; you will need 25 sheets.
3. Trim off the excess colour/squares from the transfer paper using a straight edge and exacto type knife. Lay the transfer papers out face down. (download our snakes & ladders template to help you keep organized) I wrote on the back of each one so that I could tell the order when they were face down. Layout all of the sheets and measure how large you should cut/hem the drop cloth.
4. Hem the drop cloth. You might want to layout the transfer papers on the drop cloth at this point to make sure that everything fits. Measure the center of the drop cloth and start with the transfer paper with numbers 56/55/45/46.
5. Working from the center out iron on your transfer sheets as per their instructions. This process may take two to three minutes per page, but is absolutely worth it!
6. Let cool, and peel back the iron on paper to reveal your game pieces.
7. We purchased snakes from the dollar store and created ladders using dowel and twine (also from the dollar store), but use your imagination here — this is meant to be fun. We use trains or cars as the pieces you play with.
Keep playing, creating and counting.


I am outraged at the price of fabric these days. I don’t know if it’s worse here because I live on an island where most things are more expensive, or if fabric is expensive everywhere. Sometimes it’s cheaper to buy sheets, curtains or clothes for their fabric content, sounds ridiculous but it’s so true. These pillow covers were made from a fabric shower curtain which was on sale for $0.97, got to love IKEA. The other benefit of sewing pillow covers from shower curtains is that they come with button holes. I have no idea how to sew button holes with a sewing machine, but it seems complicated. This fabric had a letter pattern on it which I thought would be great for the play room, and with easily removable machine washable covers at less than $0.48 each how could I go wrong?
To make these pillows I laid out the shower curtain, and placed the pillow forms on top, centering the button holes so that I had an even number per pillow, and wasn’t cutting through the middle of one. I cut the shower curtain on either side of the pillowform leaving enough width for the seams on the side. I wrapped the fabric around the pillow over lapping the short ends by a couple of inches and cut it, this is where the buttons will be sewn on, leave enough length to hem the short end. You should now have a long rectangle piece of fabric with button holes at one end. The fabric should be a little wider than the pillowform and about 2.5 times longer than the pillowform. Hem the short edge. Lay out the rectangle right side up, fold the button-hole end towards the center (right sides together), fold the other end over the button-hole end (you shouldn’t be able to see the button holes, measure the folds to fit the pillowform. Sew up the 2 sides. Turn inside out and check the fit, the button holes should be on the outside flap. Sew on the buttons to line up with the button holes, and stuff with the pillowform. Using a shower curtain to make a removable pillow cover is so much easier than sewing in a zipper and just as easy as making an envelope style cover.
