In February I took a beginners crochet class just to try something new. There were only three of us in the class and by far I was the worst student. I think I was struggling because I also knit, and although the finished product looks similar the technique is quite different. Or maybe it just takes me a little longer to learn either way with a little practice I was crocheting.
These are the first 3 things that I made. The green square (if you can call it that) was my first crocheted masterpiece (kidding of course), the grey square with white edging my second attempt, and the two-tone grey scarf with blue stripe was the third. I have since progressed a little further and am working on a blanket. It is going to take forever and cost a small fortune, but I am committed anyway. I will post pictures of my blanket progress in future blog posts.


If you are new to crochet like I am or a crochet veteran, these little bunnies are quick and fun.
Step 1. Crochet a square, mine were 8″x8″ square.
Step 2. Using an embroidery thread in a matching colour, sew a triangle.

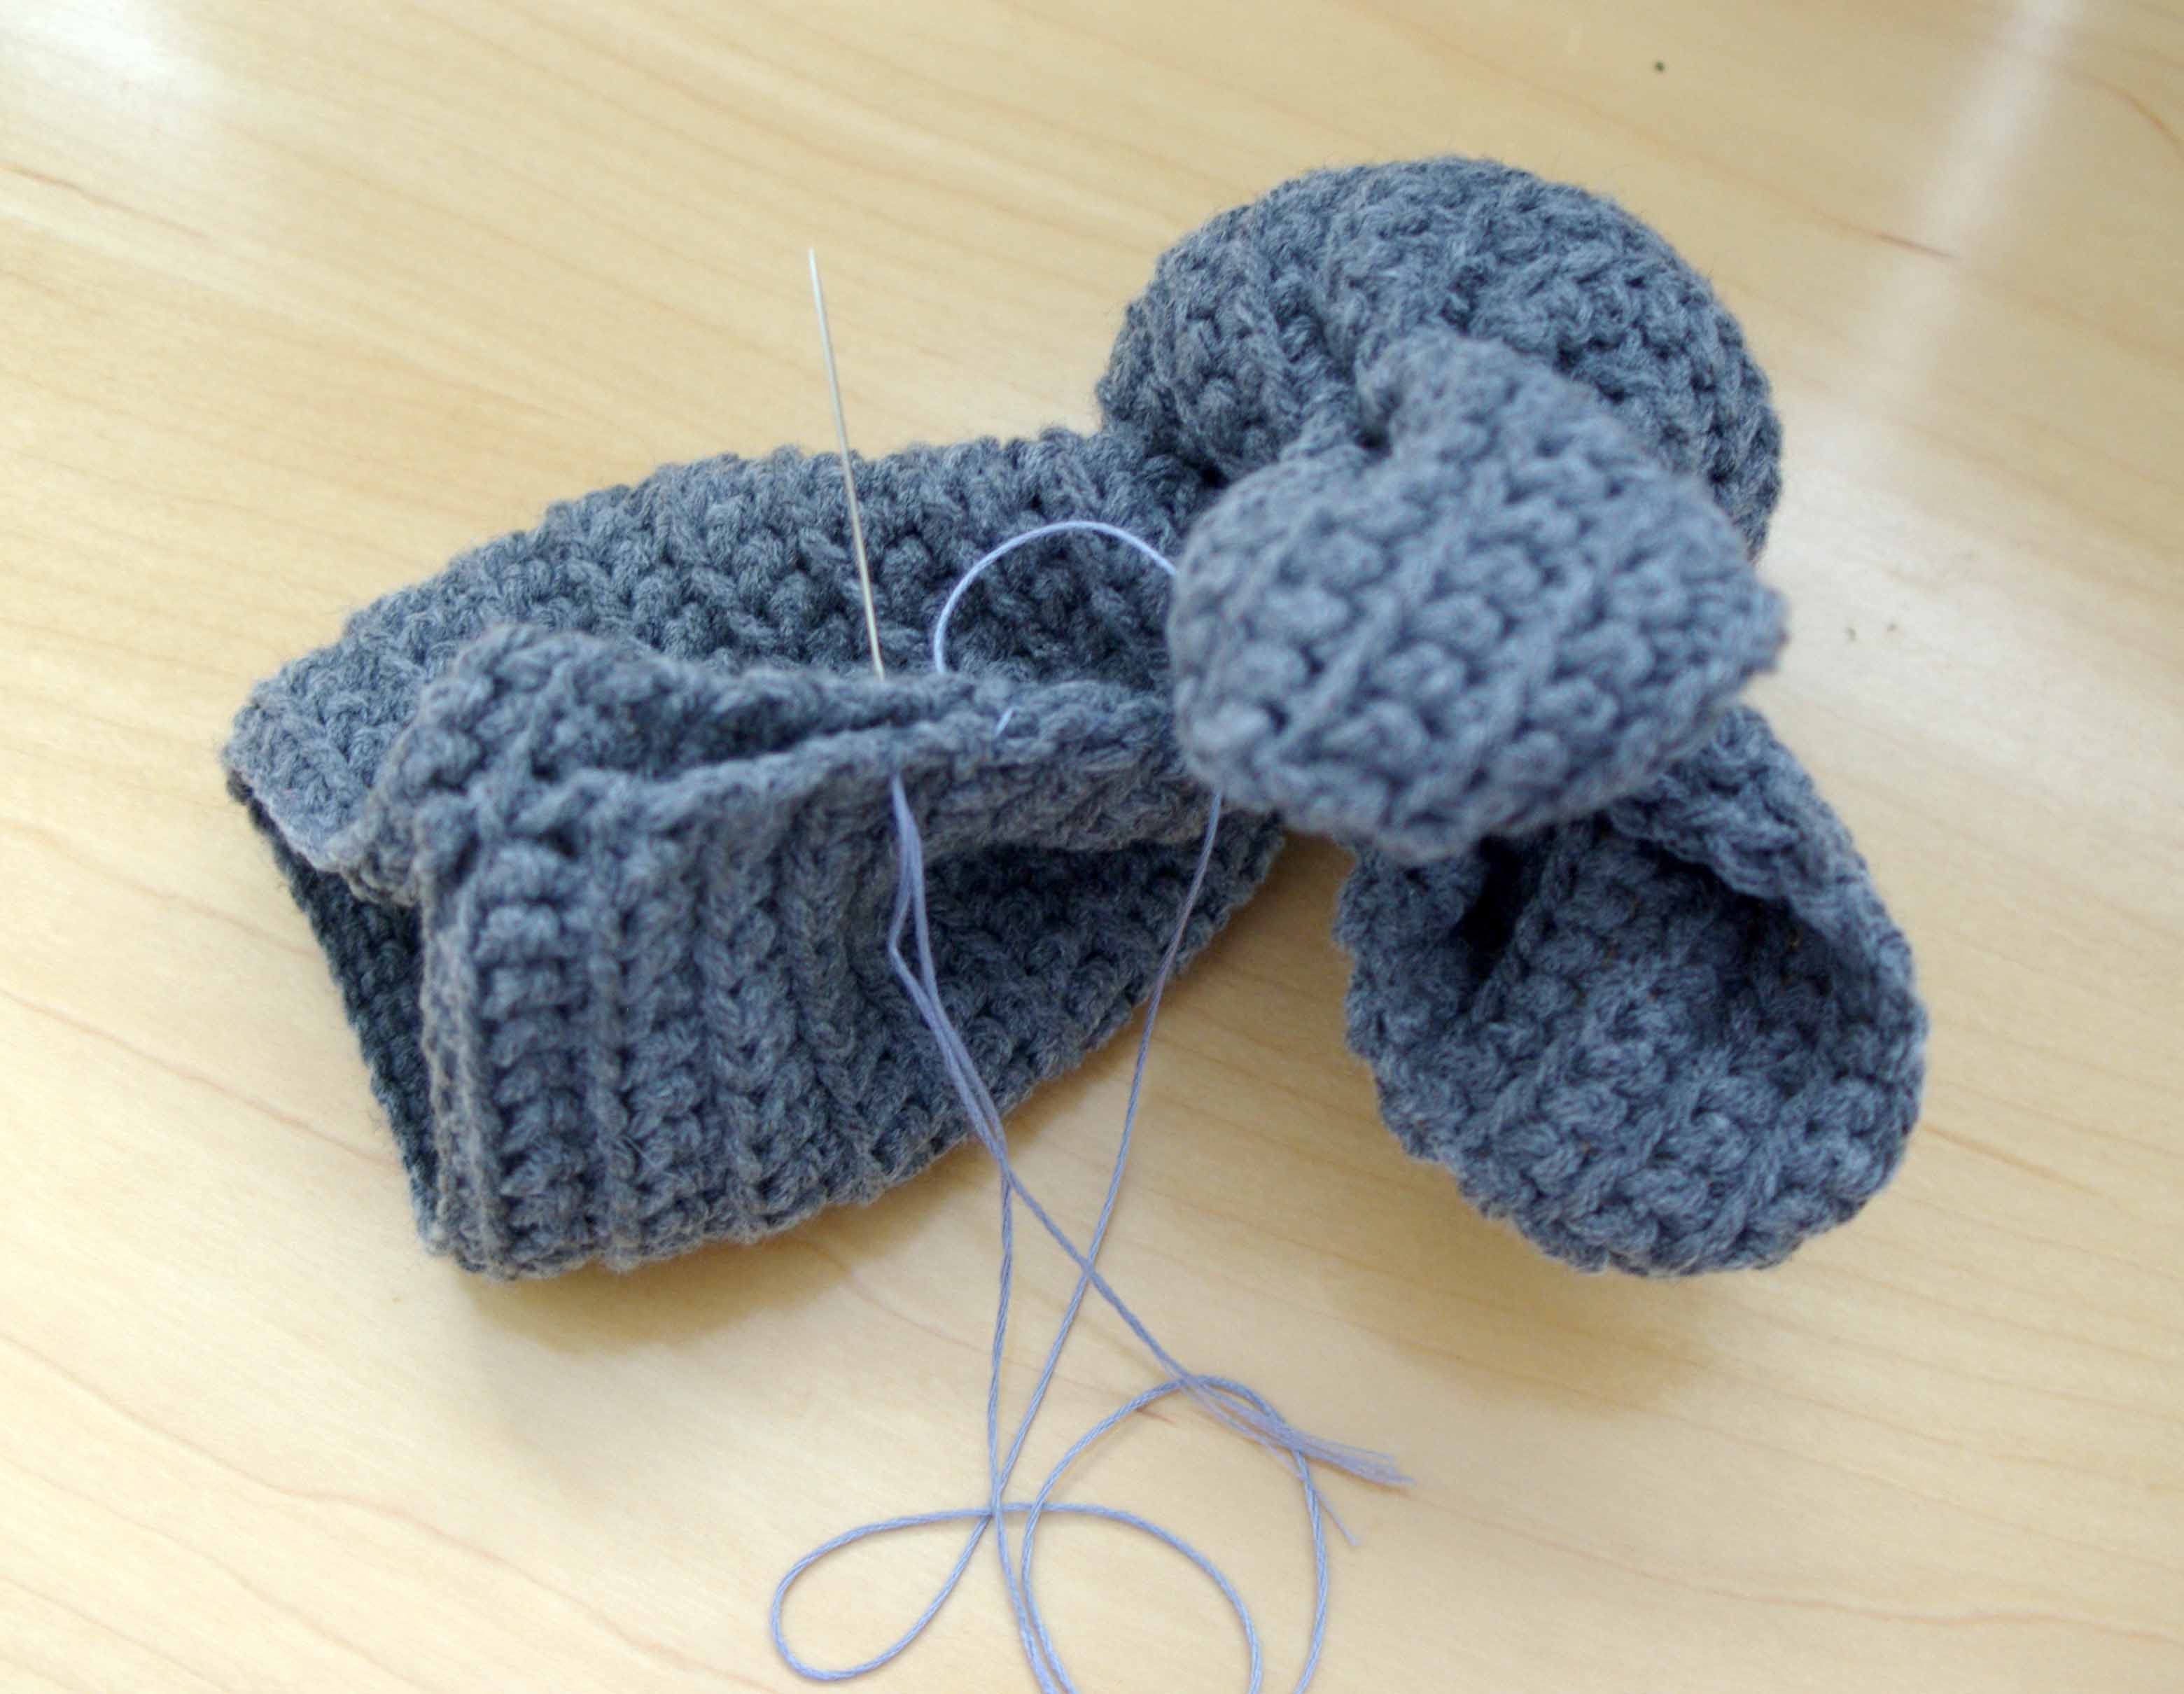
Step 3. Pull the threads to gather a square to form the bunnies head
Step 4. Stuff the head

Step 5. Sew up the head and down the back of the bunny
Step 6. Stuff the bunnies body

Step 7. Close the bunnies bum by running a stitch around the edge and pulling tight
Step 8. Sew on a tail, eyes, nose and tie a ribbon around the bunnies neck.


One thought on “Crochet 101 – Easter Bunnies”